A few weeks ago, I detailed my process for upcycling a Photon-based project of mine—the Brew Buddy—to the new Particle Argon. I covered creating a new breadboard prototype, adding a few new features not in the Photon version, and the process of converting the firmware to work with the Argon.
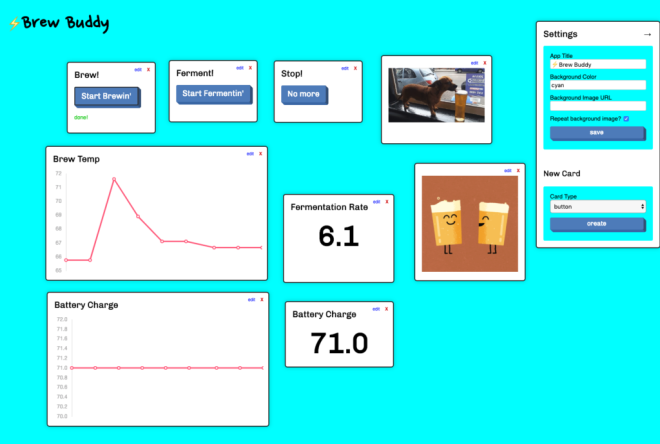
In this post, I’ll cover the second half of the project: from prototype to PCB and cloud-based control panel. As with the first part of this project, I’ve been live-streaming all my work on this project over on Twitch, so if you want to watch the replays, or join me for future projects, head over to my page and give me a follow to get notified.
DESIGNING A NEW PCB WITH EAGLE AND OSH PARK
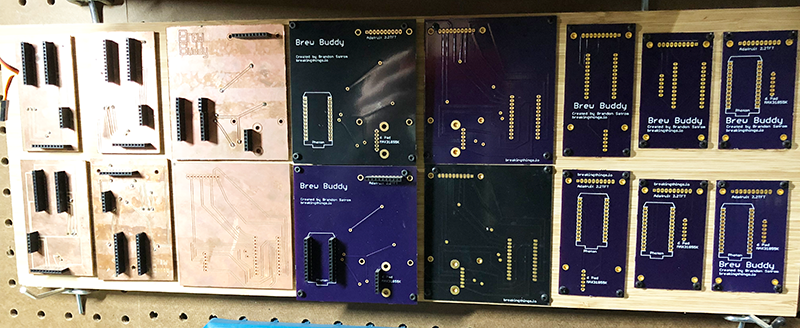
Having the ability to breadboard a new project is amazing, but once I get everything working, I can’t wait to get rid of that rats nest of wires and replace them with a fancy, custom-designed Printed Circuit Board (PCB). My original Brew Buddy project saw several PCB revisions over its early life, so of course I had to spin another board for this Argon-based iteration.
Various iterations of the Brew Buddy custom PCB that I’ve used over the years