Beautiful project from Frank Milburn on element14:
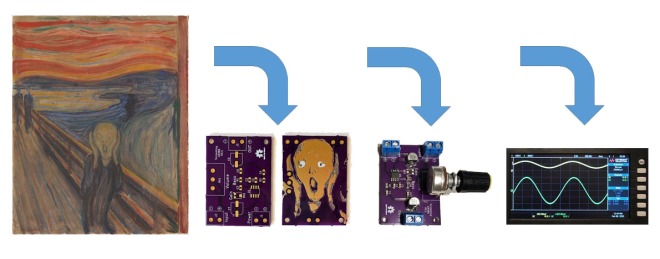
Screaming LM386: An Audio Amplifier with PCB Art
I decided to give PCB art a try and will be basing my attempt on methods described by Andrew Sowa. Andrew uses Adobe Illustrator for the art work and KiCad for the PCB design. I will also use KiCad but will use my trusty pre-subscription version of Photoshop for the artwork. Inkscape is another possibility. Andrew’s process is described in this video from which my work is derived. The detail behind many of the steps won’t be described in this post – watch the video for that.
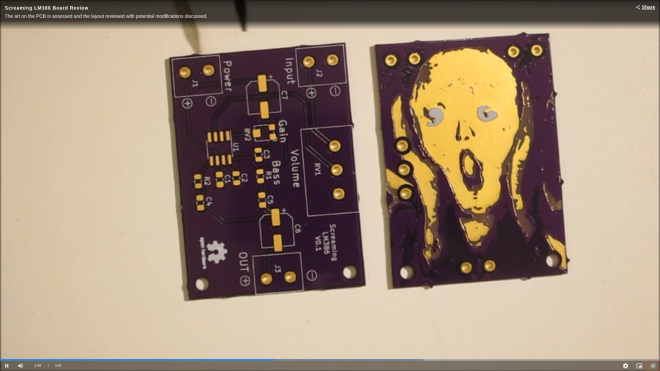
The goal is to take a photograph, painting, etc. and place it on a PCB using the FR4, copper layer, solder mask, and silk screen to make the palette. My PCB will feature the famous work by Edvard Munch, The Scream which has always fascinated me. So, how to turn a masterpiece into a PCB facsimile?
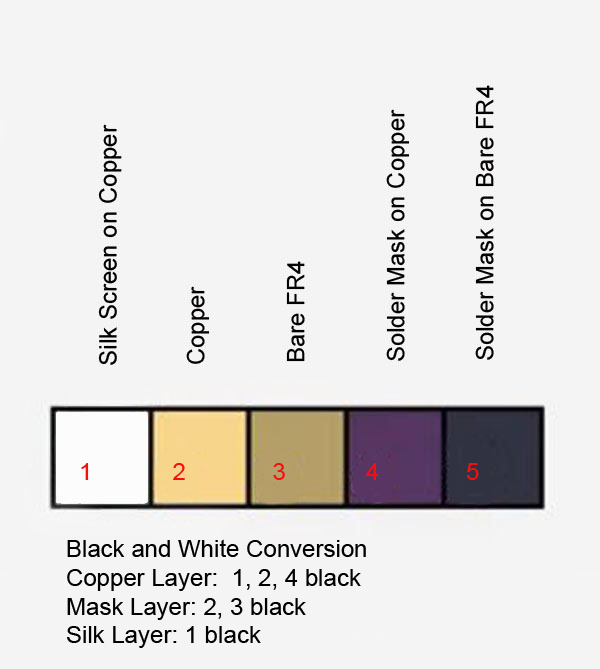
Palette
The limited palette is a challenge. For this exercise the focus will be on the central figure in order to reduce board size (and thus cost) of the experiment. The OSHPark purple solder mask will hopefully give the dark colors desired. Andrew also used OSHPark in his example, and helpfully provided a palette which has been modified here to help describe how the layers translate to color and are stacked for conversion in KiCad.
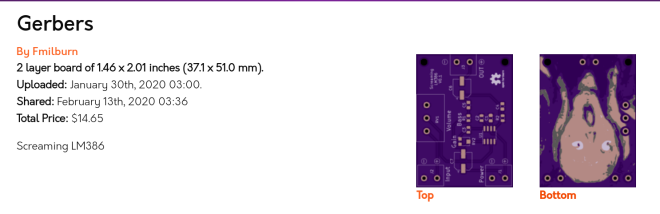
There is a shared project for the board:
And watch it on YouTube:
