shows how to create a DIY Robocar forked off of the “Donkey” Self-Driving car platform using the OpenMV Cam
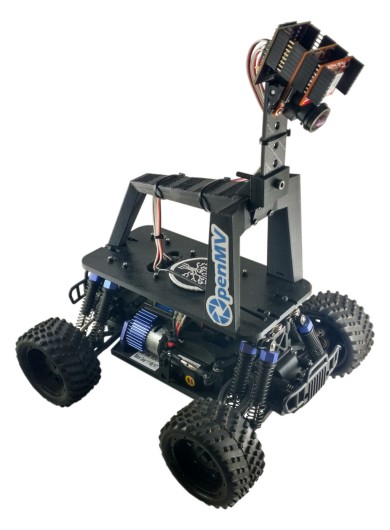
Donkey Self-Driving Car
The OpenMV Cam Donkey Car is designed to be easy to build out of parts that you can buy online and assemble together with basic tools. Below is the list of essential parts you’ll need to build the self-driving car.
Here is the car in action:
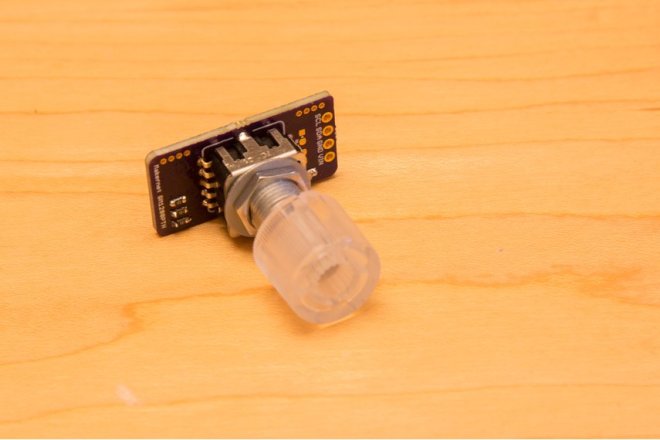
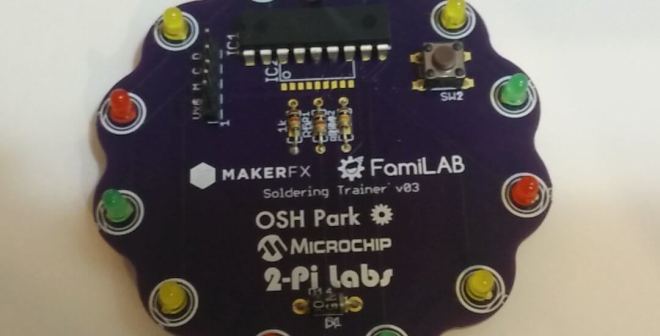
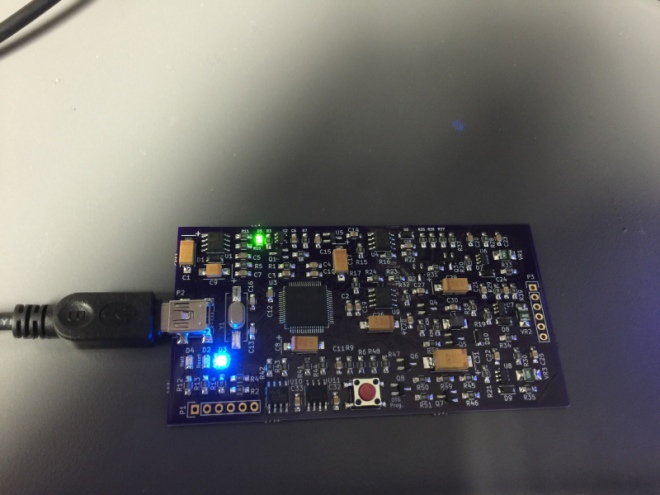
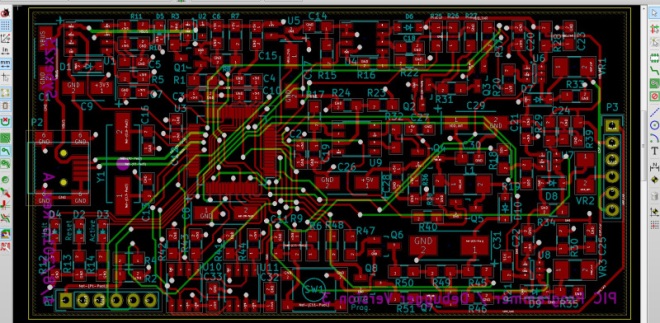
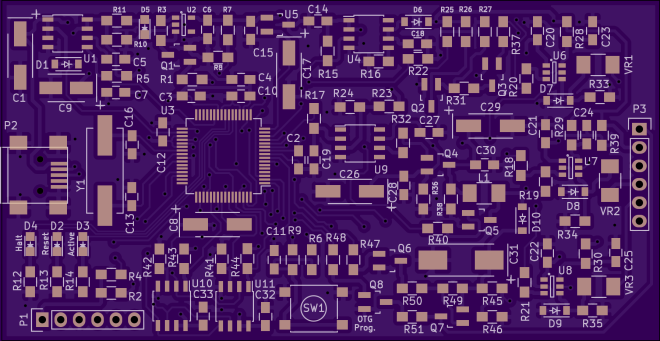
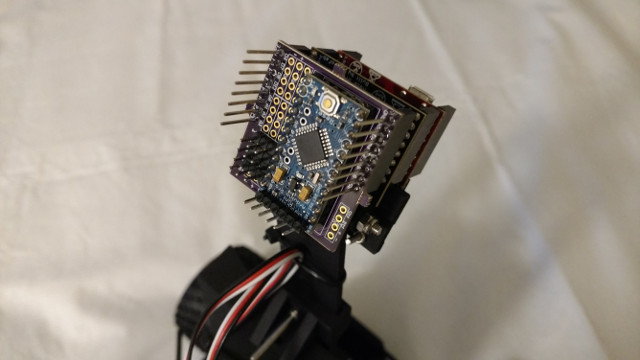
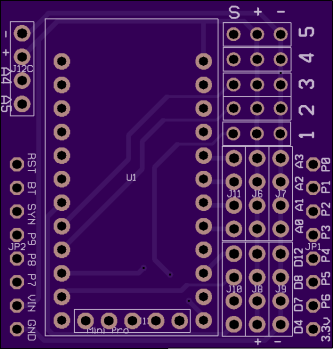
kwagyeman has shared the servo controller board on OSH Park:
OpenMV Cam Servo Controller
![]()