Turning The Beaglebone On A Chip Into A 3D Printer Controller

UPDATE: Thomas Sanladerer interviews Elias Bakken about the Revolve board

writes on the Hackaday blog:

Turning The Beaglebone On A Chip Into A 3D Printer Controller

It’s understood that 3D printers and CNC machines need to control motors, but there are a few other niceties that are always good to have. It would be great if the controller board ran Linux, had support for a nice display, and had some sort of networking. The usual way of going about this is either driving a CNC machine from a desktop, or by adding a Raspberry Pi to a 3D printer.

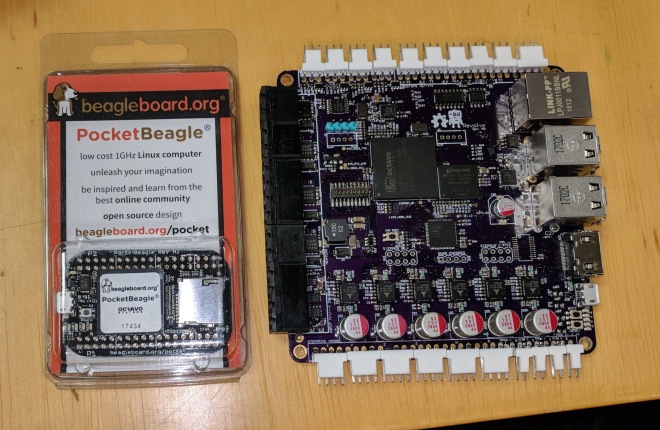
IMG_20180323_172921

The best solution to this problem is to just drive everything from a BeagleBone. This will give you Linux, and with a few motor drivers you can have access to the fancy PRUs in the BeagleBone giving you fast precise control. For the last few years, the Replicape has been the board you need to plug a BeagleBone into a few motors. Now, there’s a better, cheaper solution. At the Midwest RepRap Festival this weekend, [Elias Bakken] has unveiled the Revolve, a single board that combines Octavo Systems’ OSD3358 ‘BeagleBone On A Chip’ with silent TMC2130 motor drivers from Trinamic. It’s an all-in-one 3D printer controller board that runs Linux.


The specs for the Revolve are more or less exactly what you would expect for a BeagleBone with a 3D printer controller. The main chip is the Octavo Systems OSB3358, there are six TMC2130 stepper drivers from Trinamic connected directly to the PRUs, 4 GB of eMMC, 4 USB host ports, 10/100 Ethernet, 1080p HDMI out, and enough headers for all the weird and wonderful 3D printers out there. The software is based on Redeem, a daemon that simply turns G-code into spinning motors and switching MOSFETs.


The price hasn’t been set, but [Elias] expects it to be somewhere north of $100, and a bit south of $150. That’s not bad for a board that effectively does everything from online printer monitoring to real-time motion control. There’s no date for the release of this board, but as with most things involving 3D printer, the best place to check for updates is Google+.

You can also checkout the official product page for more info:

Revolve: Replicape has evolved

Turning The Beaglebone On A Chip Into A 3D Printer Controller

BeagleLogic Standalone featuring the Octavo SiP

Guest article written by  Kumar Abhishek on the Octavo Systems website:

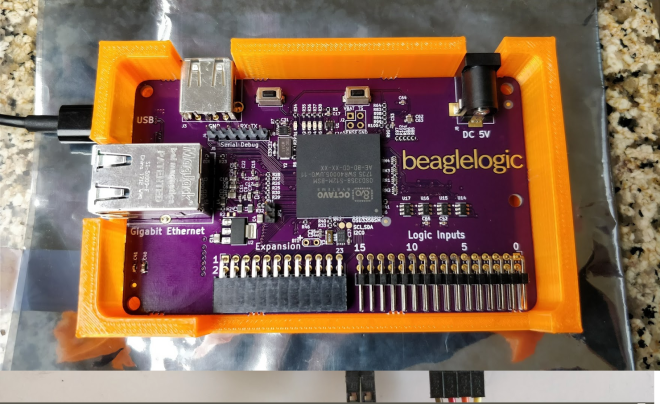
beaglelogic-case

BeagleLogic Standalone – Featuring the OSD3358-SM

Three years ago, as a student under the Google Summer of Code program for BeagleBoard.org, I developed BeagleLogic – that turned the BeagleBone Black and its variants into a Logic Analyzer using the Programmable Real-Time Units (PRUs) on the AM335x SoC to capture up to 14 inputs up to 100 MSamples/sec. It is possible to fill up to 300MB of the 512MB DDR RAM in the BeagleBone with logic samples – that’s 3 seconds of data at 8 channels (1.5 secs at 16 channels). I also designed a cape for the system – called the BeagleLogic cape that would allow buffering the external logic signals up to 5V TTL so that they do not damage the BeagleBone.

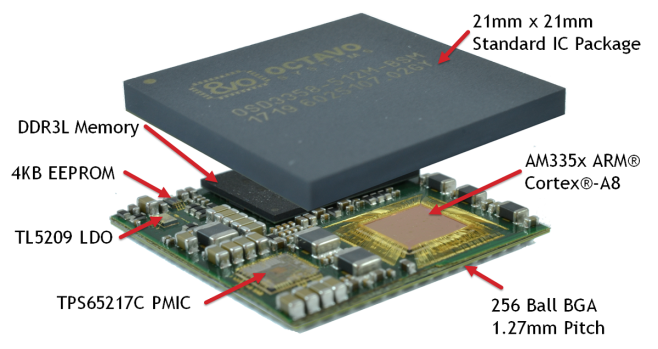
Stack-Up-Description.png

The launch of Octavo Systems and its OSD3358 SiP got me excited, and the idea of a turnkey version of BeagleLogic was rekindled as the design would be greatly simplified due to the SiP integrating the core components, leaving me to focus on the features I want to add to the system.

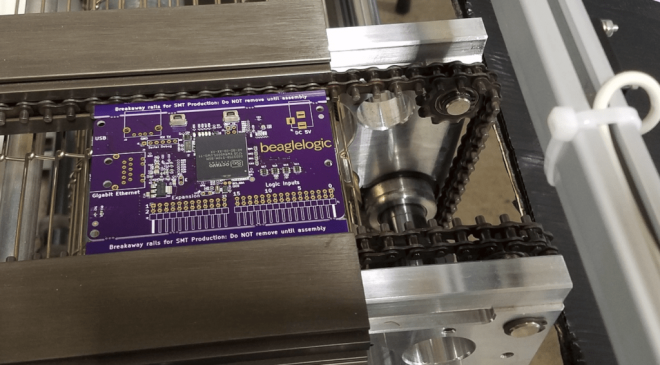
beaglelogic-timeline-1024x225

From concept to completion, this project took 4 months working on it part-time. I relocated in August so work happened at an even slower pace during that month

The schematics were originally based on the OSD3358, however Jason encouraged me to design based on the newly announced OSD3358-SM as it was smaller and had a more optimized ballmap. The schematics were then migrated to the OSD3358-SM in late July. At the beginning of the routing exercise, I was really apprehensive if the design could be routed in 4 layers but thanks to the optimized ball map of the OSD3358-SM, the routing was easily completed so.

beaglelogic-standalone

BeagleLogic Standalone featuring the Octavo SiP

BeagleLogic Standalone

Kumar Abhishek just announced on his blog a project that he has been working on the past four months:

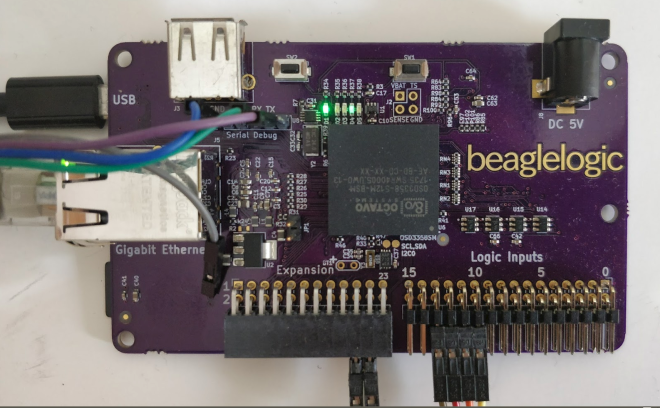
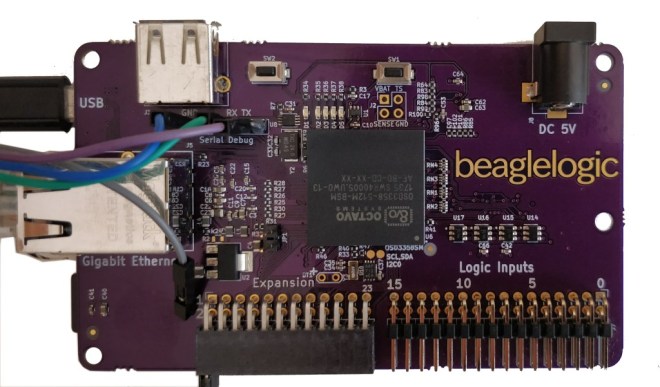
beaglelogic-standalone-top (1)

Announcing: BeagleLogic Standalone

BeagleLogic Standalone is a specialized version of the BeagleBone which is intended to be used a logic analyzer based on BeagleLogic.

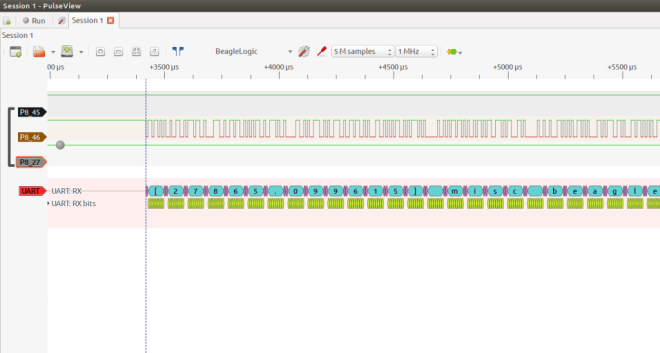
Screenshot-from-2017-10-10-09-37-04

This logic analyzer has networking capabilities (10/100/1000Mbps Ethernet); it can be used to used to debug circuits remotely. And as it is a full-featured Linux computer, you can run the sigrok set of tools directly on the BeagleLogic Standalone board (they come preinstalled in the BeagleLogic system image), or on your host PC. It has 16 channels and can sample up to 1.5 seconds of data at the maximum sample rate, which is 100MSamples/sec (3 seconds of data if using only the first 8 channels).

Screenshot-from-2017-10-06-14-45-03

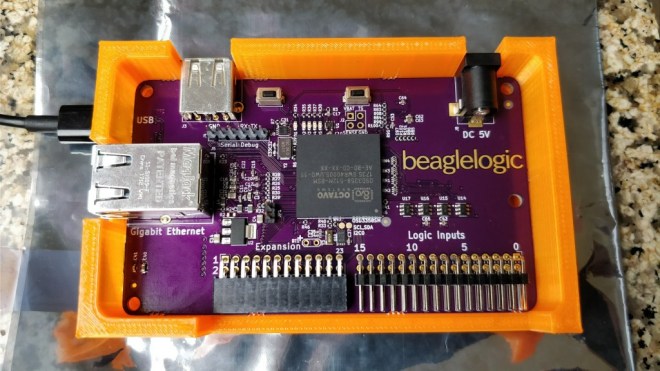
I designed and 3D printed a snug fit “open” case for the BeagleLogic standalone board. I’ve written more about it in a Hackaday.io project log.

bls-3dprintedcase

BeagleLogic Standalone is one of the 20 finalists in the Best Product round of the Hackaday Prize. The results are awaited on the 11th of November. It’s been a great journey taking BeagleLogic standalone from a concept to a prototype and giving a glimpse as to what it could be as a finished product and the experience I gained during the process is invaluable, and I wish to thank Hackaday for providing me with this opportunity.

If enough people sign up, I plan on organizing a group buy for BeagleLogic Standalone boards. If you want to get one, please do not hesitate and sign up here.

The documentation for the board is available at standalone.beaglelogic.net. You can also follow the project on Hackaday.io here.

BeagleLogic Standalone

Manual assembly of KiCad PocketBone

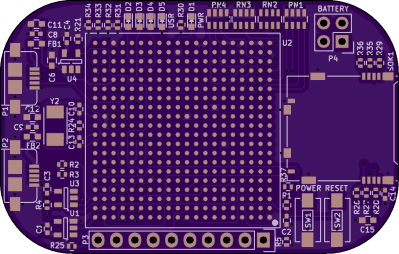
We’re excited to see that Michael Welling of QWERTY Embedded Design has completed manual assembly of his KiCad-designed PocketBone with the Octavo Systems OSD3358 SiP (System-in-Package):

BGA achievement unlocked

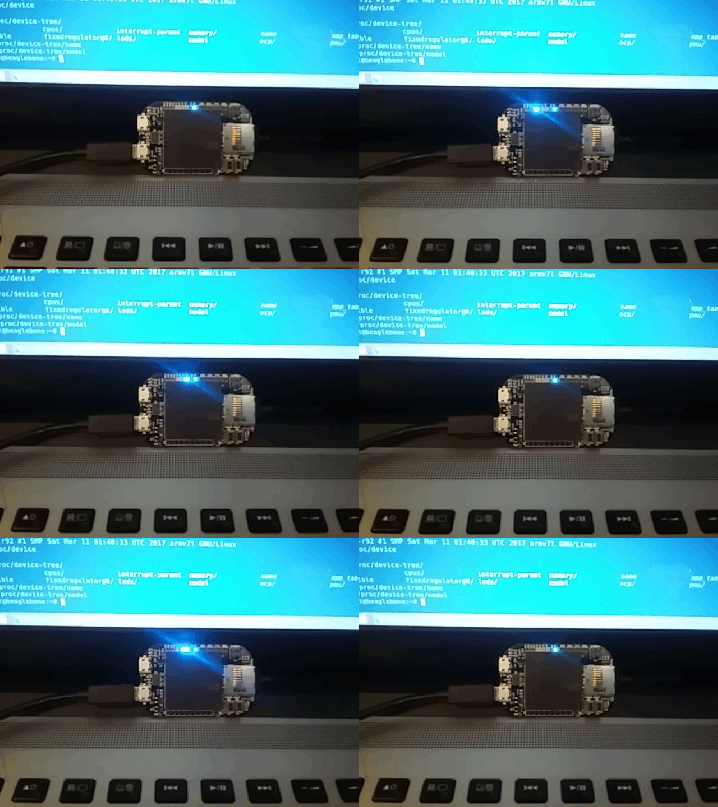
Michael used vacuum pickup tool to manually place the components:

Here is a video of him placing the components:

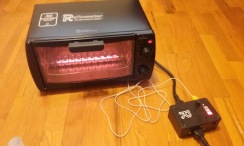
Michael then used Reflowster to reflow the solder paste:

16 - 1

Here is a video of the reflow process:

white

Check out the Hackaday.io project for more info:

Pocketbone KiCAD
3788351489463258322.gif

white

The KiCad design files are available in the GitHub repo:

github-smallmwelling/pocketbone-kicad

white

mwelling has shared the board on OSH Park:

PocketBone KiCAD (OSHPark Edition)

430cf4b5e7209149b34a565546a14259.png

Order from OSH Park

Manual assembly of KiCad PocketBone