Arduino Neural Network Robot

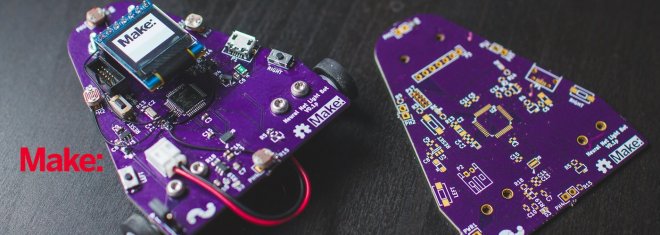
Sean Hodgins created an Arduino-based robot that avoids light by navigating using a neural network:
4863551509384902904
This project is meant to teach about utilizing neural networks in robotic platforms. There will be a 3 part video series on the Make YouTube channel on building the robot. It will start with prototyping and design, then move onto assembly and testing, and finally programming and running the neural network. You will be able to follow along and make your own robot in the end.

Part 2: Soldering and Assembly


Arduino Neural Network Robot

Donkey Self-Driving Car

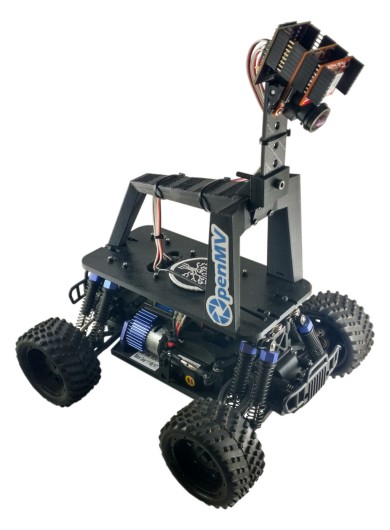
Kwabena Agyeman shows how to create a DIY Robocar forked off of the “Donkey” Self-Driving car platform using the OpenMV Cam

donkey-car-web

Donkey Self-Driving Car

The OpenMV Cam Donkey Car is designed to be easy to build out of parts that you can buy online and assemble together with basic tools. Below is the list of essential parts you’ll need to build the self-driving car.

step(34)small.jpg

Here is the car in action:

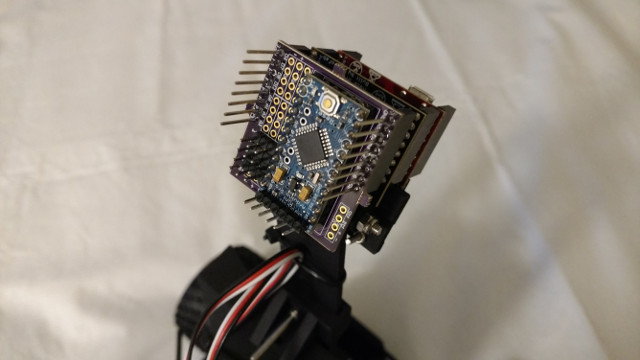
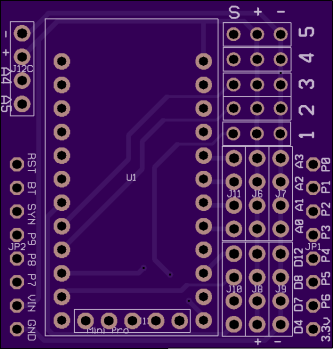
kwagyeman has shared the servo controller board on OSH Park:

OpenMV Cam Servo Controller

6ec7d6712270e213752a2e7851c94c65.png

Order from OSH Park

Donkey Self-Driving Car

PIDDYBOT: DIY Arduino Balancing Robot

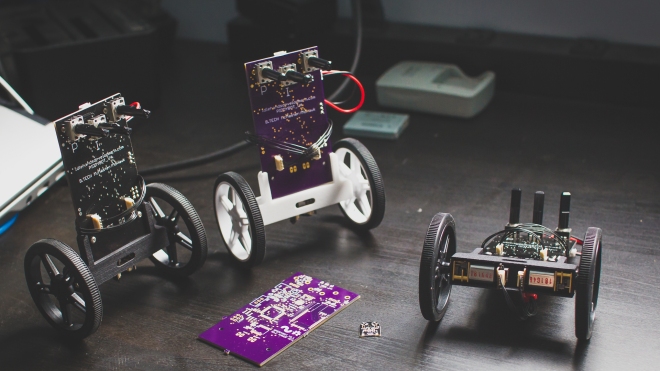
Sean Hodgins designed this open source balancing robot to help teach PID control:

tnKlDYQ (1)

The PIDDYBOT

The PIDDYBOT is currently using a Atmega32u4 microncontroller. It uses 3 potentiometers that allow you to manually tune the PID loop to get the robot balancing. This allows you to see how each term affects the performance of the system. It is a great teaching tool for the classroom and is currently being used by students at McMaster University.
The design files and source code is available on GitHub:

IdleHandsProject/thePIDDYBOT

PIDDYBOT: DIY Arduino Balancing Robot

Mr. Runner

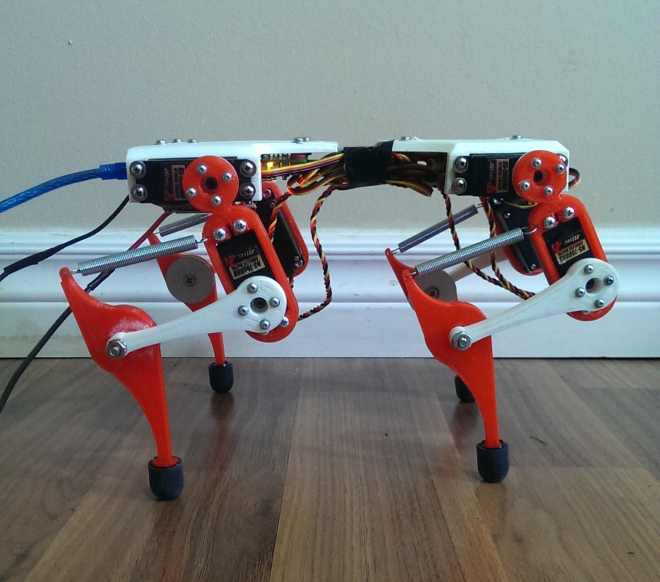
Alex Martin is creating a four legged robot with a running bound gait:

9754291472923566463.png

Mr. Runner

The aim of this project is to lower the barrier of entry into dynamic robotics. After seeing Boston Dynamic’s Wildcat I became interested in working on something similar, but was disappointed with what the hobbiest scene had to offer. They all used static locomotion. I wanted it to feel alive!

I hope that if people can see that this style of robotics is reproducible with basic development skills, it will attract a wider range of people to legged robots than just those who want to see a vaguely spider looking device re-implement the same kinematic equations over and over again.

371011500859268418.jpg

The approach is based on the work of Fumiya Iida and Rolf Pfiefer at the University of Zurich in the mid 2000’s. Dr. Pfeifer is well known in the field of embodied cognitive science, and these experiments were an attempt to generate movement in quadruped robots based on those principles.

Mr. Runner

DIY 6-Axis Micro Manipulator

[David Brown]’s entry for The Hackaday Prize is a design for a tool that normally exists only as an expensive piece of industrial equipment; out of the reach of normal experimenters, in other words. That tool is a 6-axis micro manipulator and is essentially a small robotic actuator that is capable of very small, very precise movements.…

via Hackaday Prize Entry: DIY 6-Axis Micro Manipulator — Hackaday

DIY 6-Axis Micro Manipulator

Robotic Arts: Noodle is Gettin’ Bean Feet

Sarah Petkus posts an update on her Robotic Arts blog about her NoodleFeet robot:

Noodle is Gettin’ Bean Feet!

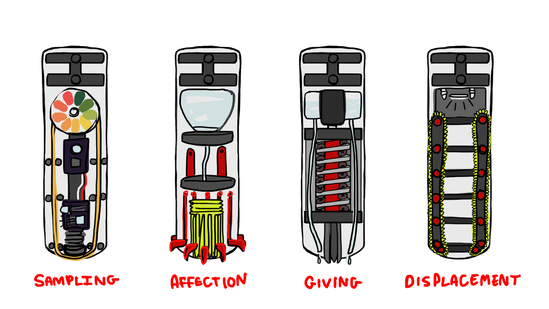
This summer, I am once again diving into designing mechanical personality quirks. I’ll be investigating new and exciting ways for my robot, NoodleFeet to interact with the world. This time, my focus is the wet, tingly and preferential aspect of TASTE.

moduledrawings

From now until the end of August, my goal is to produce four different tasting modules that each demonstrate some aspect of sampling or preference. You could think of them as the “four tasters of the apocalypse”

If you’re unfamiliar with Sarah and NoodleFeet, then check out here great talk from Hackaday Super Con:

Robotic Arts: Noodle is Gettin’ Bean Feet

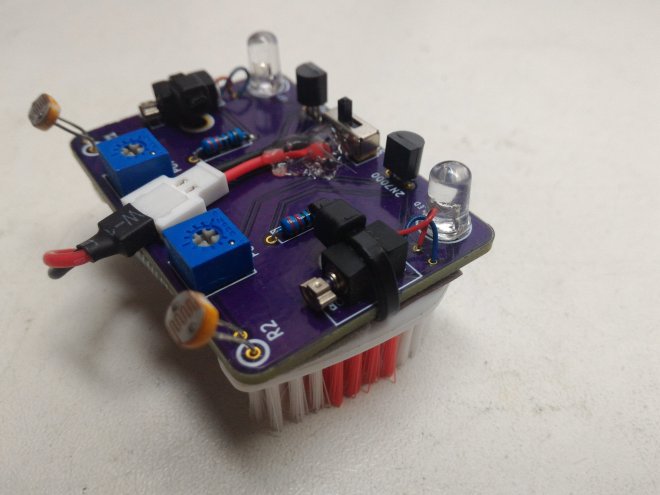
Bristlebot with LDRs Becomes Light-Following Bristlebot

Bristlebot with LDRs Becomes Light-Following Bristlebot

Bristlebots are great because no coding is required – they’re completely analog circuits that just go! But if you wanted them to go in a specific direction, how would you do that? Facelesstech has released their design for a light-following bristlebot that uses two LDRs to drive either side of the bristlebot (so you could turn it, somewhat – see video below for demo!). It’s pretty simple and pretty clever.

img_20160815_165948 (2).jpg

The KiCad design files are available on GitHub:


Bristlebot with LDRs Becomes Light-Following Bristlebot

Simula Robotic Organisms

screenshot-at-2016-11-16-19-45-13

Chicago Robotics Corp is exploring 3D Printed Robotics with Simula:

simulated life-forms for use in research and entertainment

The robot is programmed with Arduino IDE:

Programming Simula

You might choose to program Simula by yourself from scratch, modify our existing software, or just keep up with our latest simulations.

Arduino Library for the Simula Boards and Modules is on GitHub:

images1 ChicagoRobotics/CRC_Simula_Library


Video of two Simula units cruising around:


Simula Robotic Organisms

BoosterBot for TI LaunchPad

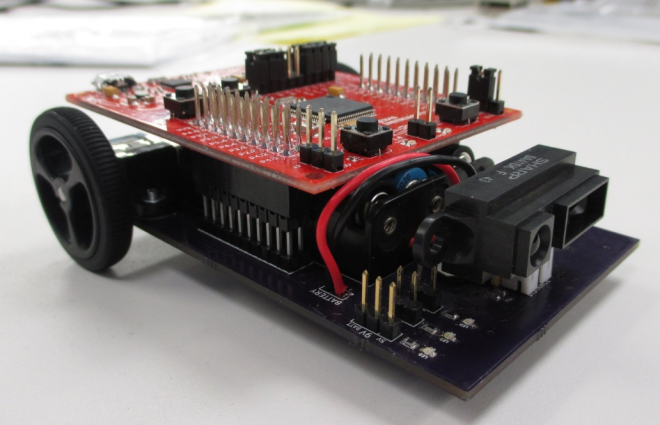
BoosterBot turns a TI Launchpad into a fully functional robot:

Screenshot at 2016-10-27 00-26-48.png

Perfect for anyone who wants to get started with MSP430 and robotics, or just wants an easy to use robotics platform to build off of.

The board features:

  • Micro Metal Gearmotors from Pololu
  • Powered by 3xAAA batteries
  • Five QRE1113 Reflectance sensors for line following and maze solving
  • Header for a Sharp IR distance sensor
  • Header for a servo

The design files and source code are available on GitHub:

imagesHylian/BoosterBot


Here’s a video of the BoosterBot in action:

BoosterBot for TI LaunchPad

Teensy to Arduino adapter board

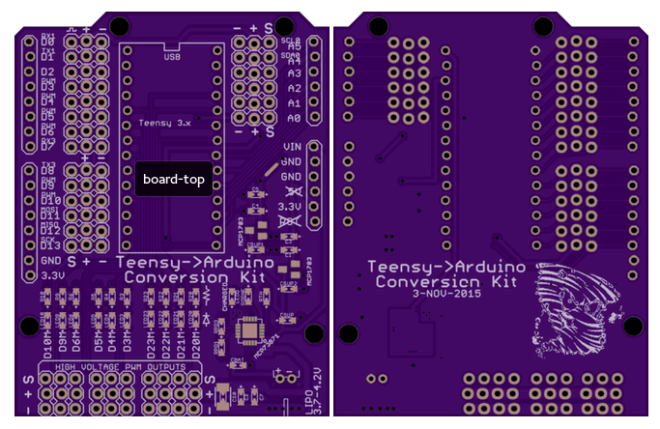
OSH Park engineer Dan Sheadel created this board to break out Teensy 3.x into a form factor suitable for small electronics prototyping:

Screenshot from 2016-09-29 02-24-20.png

  • Adapts Teensy pinout to Arduino shield, so existing shields can be fit to a Teensy
  • Adds LiPo battery monitoring and charging capability
  • Adds three wire pinouts for all pins
  • All PWM outputs have an LED
  • All PWM outputs connect to 3 wire servo headers that supply input or battery voltage for use with servos or motor controllers
  • Contains small Stormy logo on back since the Stormbots were the inspiration for this board’s existence
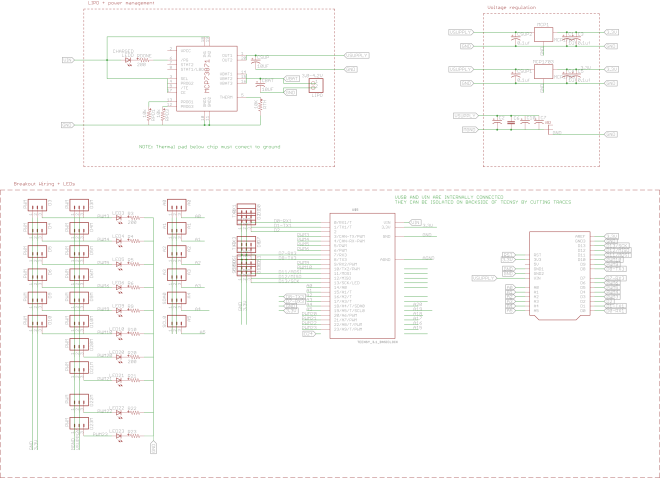
schematic

BOM

Due to the nature of the breakout, many components can be omitted depending on the needed sections.

Components

Part Quantity Description Part Number
Teensy 1 Teensy Microcontroller OSH Park or Adafruit or
PCB 1 Bare PCB OSH Park
LED 11 0603 or 0805 LED any
1uF cap 2 0603 or 0805 cap any
0.1uF cap 4 0603 or 0805 LED any
10uF cap 2 0603 or 0805 cap any
LiPO Battery 4 Any with JST connector Adafruit
JST Battery Connector 4 JST-PH-2-THM-RA
MCP73871 2 LiPO Battery Management IC MCP73871
MCP1703 2 3.3V voltage regulator MCP1703
Large (100uF+ cap) 2 0603 or larger any

Pin Connections

The various use cases may or may not require some or all of these pins. Here’s the most you can solder to the board in the simplest orientation

Most of these can be swapped, omitted, or assembled with small 1×3 connectors or whatever you have on hand. Otherwise, they can be purchased at Digikey or Adafruit

Part Quantity Description
Arduino Sockets 2 0.1″ 1×8 F socket
Arduino Sockets 2 0.1″ 1×6 F socket
3 wire output headers 2 0.1″ 3×8 M Angle Pins
3 wire output headers 1 0.1″ 3×6 M Angle Pins
Servo output headers 2 0.1″ 3×3 M 90 degree Pins
Servo output headers 1 0.1″ 3×4 M 90 degree Pins
Teensy to Arduino adapter board