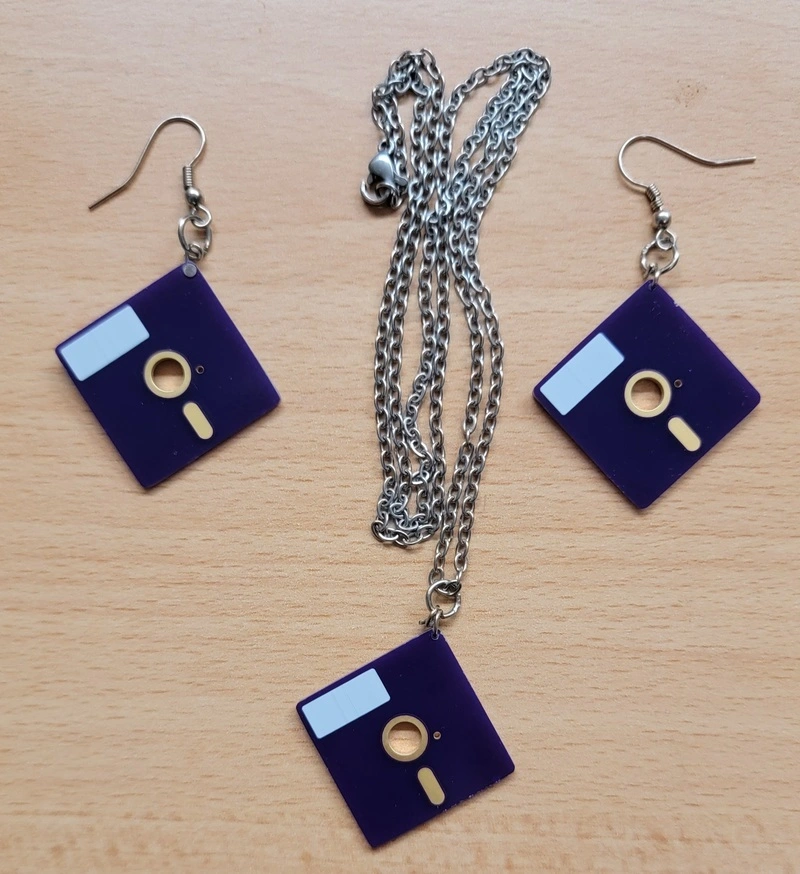
Art takes many forms. For some, seeing art on printed circuit boards (PCBs) has particular appeal, bridging the design and the geekiness of circuit boards.
While several folks have published methods of transferring their art to PCBs, some guides use software that is out of date or requires a high level of technical skill. This guide uses the latest versions of popular software, so hopefully it will get you started without too much of a learning curve!
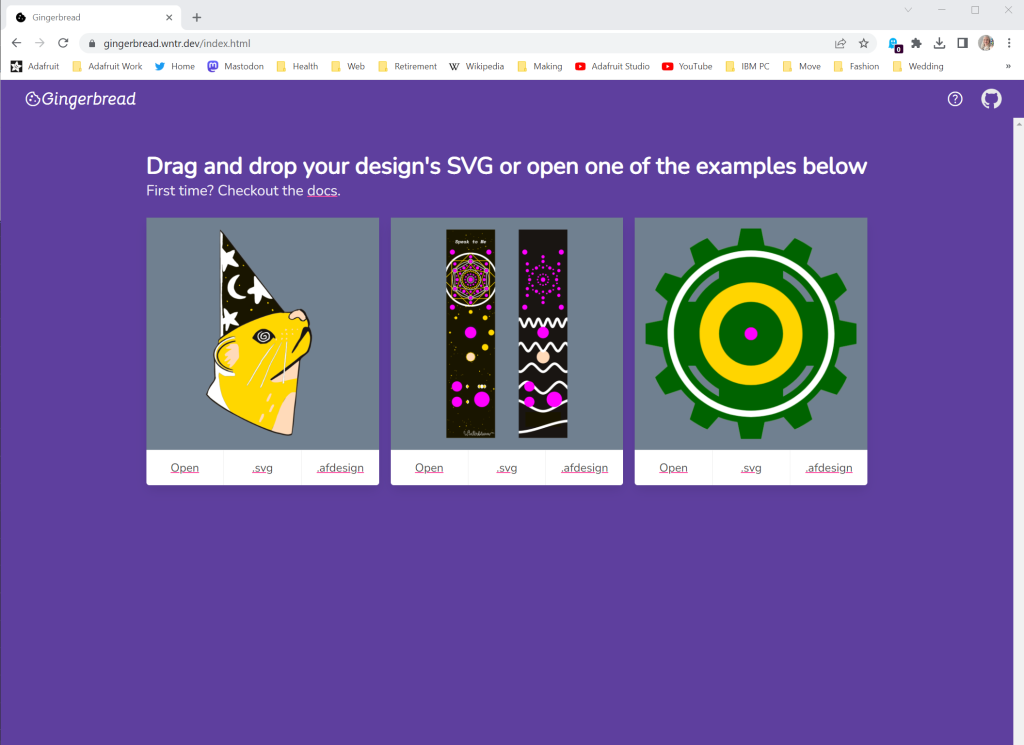
Gingerbread – a web-based tool hosted on Winterbloom by Thea Flowers. Taking a specially formatted vector file SVG, Gingerbread parses the file into the footprint layers. The results can be pasted into the KiCad footprint editor to make the art into a PCB.
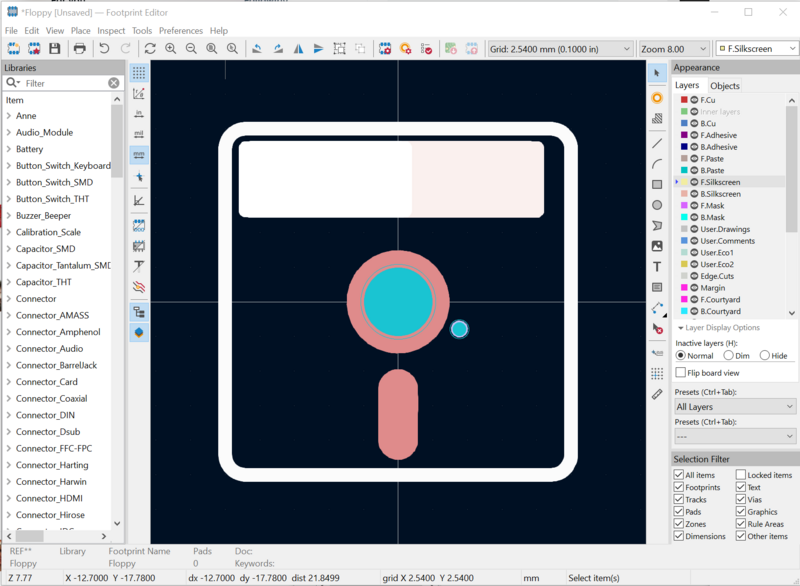
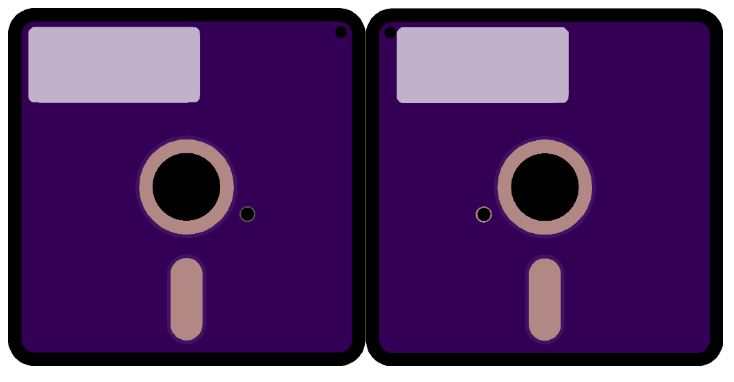
KiCad Version 7.x – KiCad 7 is the latest iteration of the venerable PCB design software. It came out in February, 2023, and so other tutorials using earlier versions are likely out of date as to the steps used to make art. For this tutorial, KiCad 7 is used to import art into a component footprint which is used to define the board files for the PCB manufacturer.
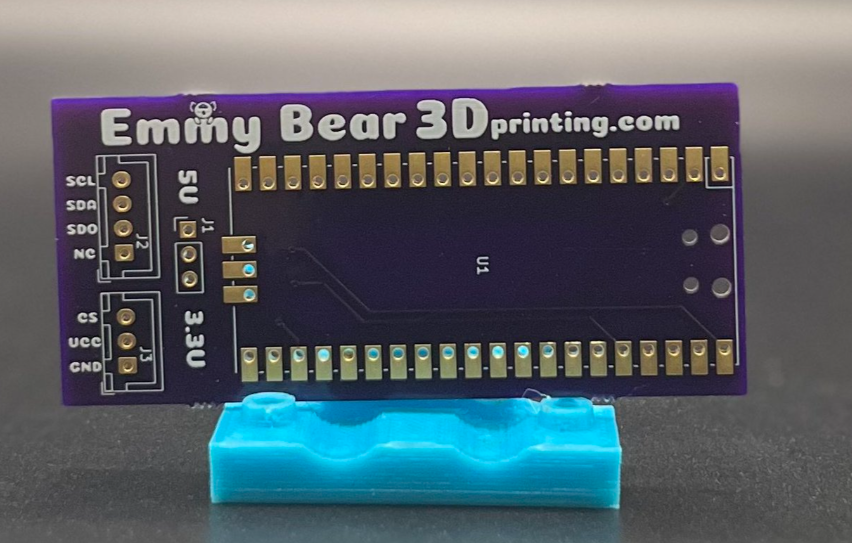
The ExADXL breakout board makes it simple to mount an ADXL module, or multiple ADXL, to a Raspberry Pi Pico. This is a popular approach to adding extra resonance measuring instruments to a Klipper-controlled 3D printer.
If the above is unfamiliar to you, Klipper is an open-source 3D printer firmware that is rapidly being adopted in the 3D printing community. It’s a very slick firmware with far too many options to dive into here but it’s well worth checking out and experimenting with. One aspect that enables some significant increases in printing speed and quality is that Klipper can measure resonances in your machine and tune the machine based on its readings. A popular route to enabling this is by adding a second MCU and an accelerometer. The MCU has to be reasonably capable and fast and as such the RP2040 powered Pico is a solid choice.
The ExADXL makes this really simple to set up with a mounting PCB for the Pico and numerous connectors for adding one or more ADXL modules, almost all possible options for which are available on the product page. You can start with just the bare board, or there are options for additional hardware. Optionally, you can have a complete unit with the Pico and the ADXL installed, flashed and tested.
If you’ve got a 3D printer that could use a breath of fresh air, then the Klipper firmware and the ExADXL breakout are definitely worth taking a look at!