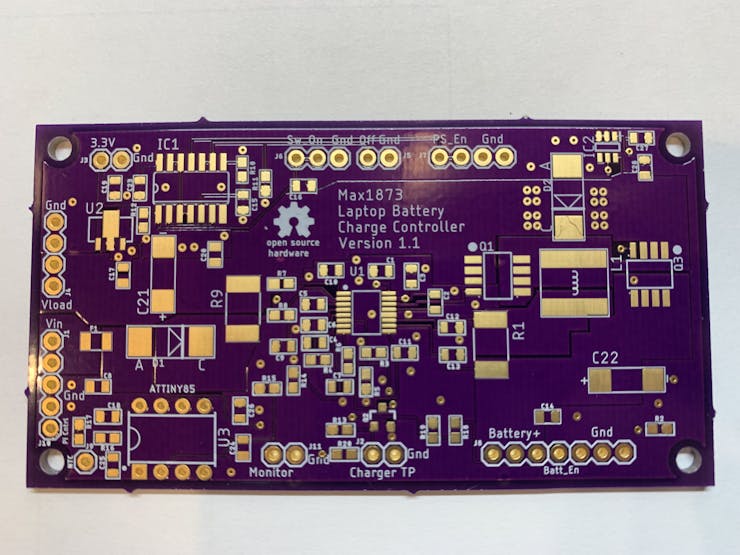
Frank Adams details this interesting project on Hackster:

Laptop Battery Charge Controller
his project is for those that want to turn an old laptop into a portable Raspberry Pi. My previous Hackster.io projects showed how to connect the keyboard and touchpad. The LCD is easy to convert to HDMI with a video card from EBay. The missing piece has been a way to charge the original lithium battery pack. To solve this problem, I designed a circuit board in Eagle that uses a Max1873 charge controller with an ATtiny85 as a supervisor. The board shown below was fabricated by OSH Park. The Eagle board and schematic files plus the ATtiny code can be downloaded below.

The Max1873 has been around a long time and needs a microcontroller to handle the tasks that a newer charger IC would have, built in. I have prior experience with this chip and found it to be fairly simple and easy to get working. The schematic below shows how the ATtiny85 is powered from the 5.4 volt regulator in the Max1873. This means the ATtiny is only operating if the wall supply is plugged in. The ATtiny outputs a logic signal that turns on an NFET which in turn disables the Max1873. This 5.4 volt logic signal is attenuated to a 3.3 volt level so it can be monitored by the Pi. If the ATtiny is not installed in it’s socket, the Max1873 will be enabled. The Pi could drive the “Charger_TP” signal to disable the charger if the battery values read over the SMBus show it’s necessary.
