Erik van Zijst writes about designing a DIY EEPROM Programmer:
To load data you need an EEPROM programmer and like the chips, these devices have become somewhat rare and expensive. Hence the project to build one ourselves.
The easiest approach is probably to use a microcontroller to bridge between the chip and a computer, run a bidirectional serial protocol between the microcontoller and the computer to send image data back and forth.
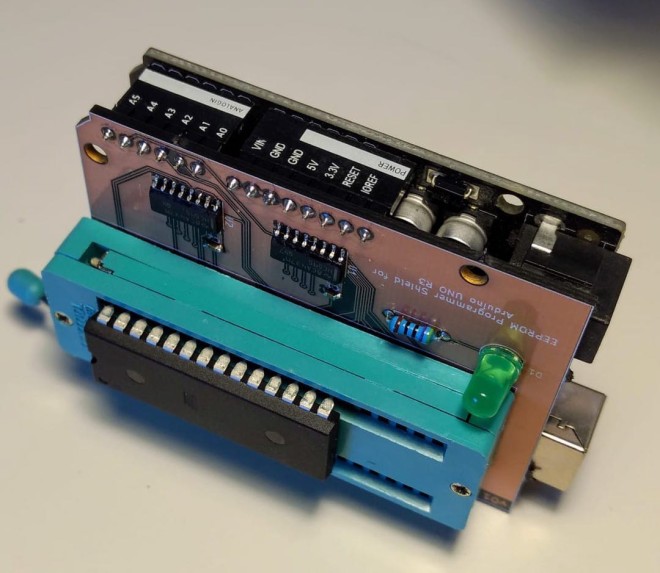
Since the AT28C256 requires 5v for writing, we can’t use a Raspberry Pi or Arduino Nano/Mini as their GPIO ports are all 3.3v. The regular old Arduino UNO is 5v though and so should work nicely.

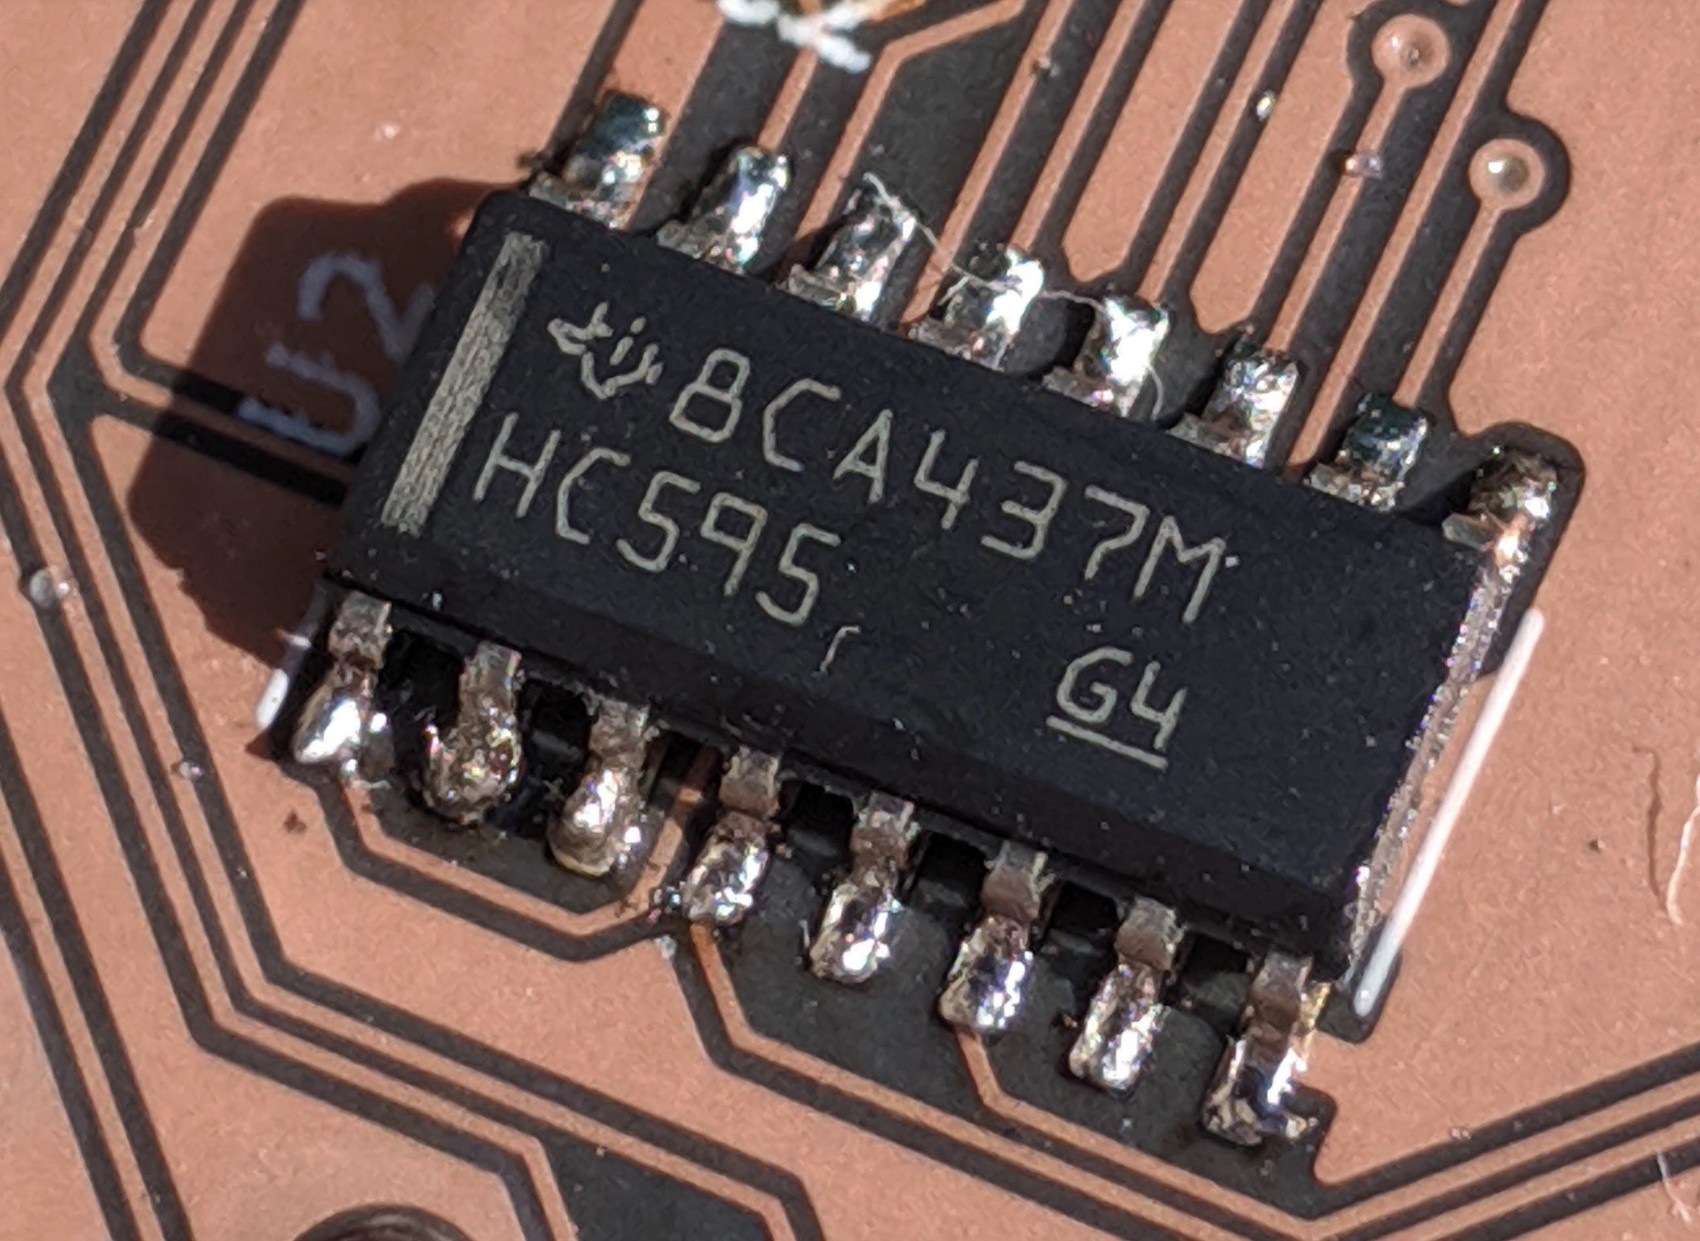
To gain some experience hand-soldering surface mount devices, I picked SMT packages for the shift registers and decoupling capacitors.
The ZIF socket is a 40 pin device I had lying around. Since the AT28C256 is a 28-DIP, I just left the 12 left-most pins unconnected. It’s a low budget project.
When I went to upload the Gerber files to OshPark for fabrication I noticed their “ After Dark “ option that uses a black FR4 substrate, with transparent soldermask that makes the copper traces pop against a black background.
The KiCad project as well as the serial protocol description and code for the Arduino and Python CLI can be found on on GitHub.

