From Kerry Scharfglass on Hackaday:

Lightsaber Uses Pogo Pins to Make Assembly a Breeze
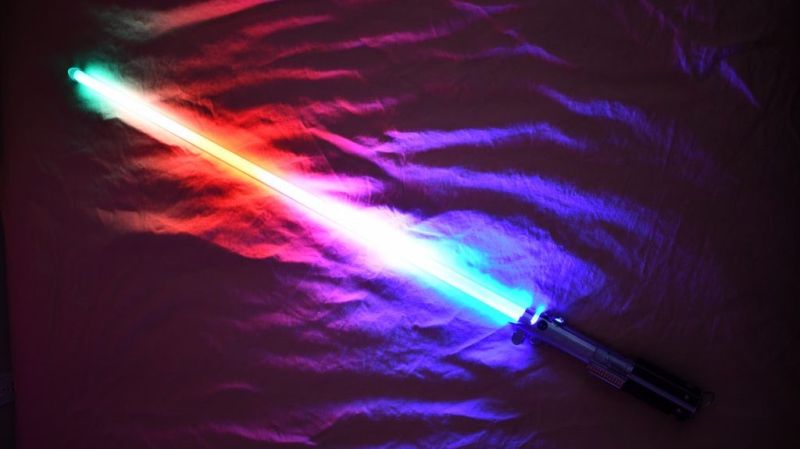
There was an endless supply of fantastic projects at Supercon this year, but one whose fit and finish really stood out was [Scott]’s lightsaber. If you were walking around and saw someone with a very bright RGB device with a chromed-out handle hanging off their belt it was probably this, though it may have been hard to look at directly. On the outside, the saber looks like a well-polished cosplay prop, and it is! But when Scott quickly broke down the device into component pieces it was apparent that extra care had been put into the assembly of the electronics.
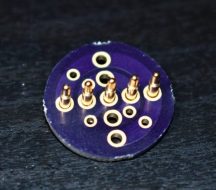
Like any good lightsaber replica the blade is lit, and wow is it bright. The construction is fairly simple, it’s a triplet of WS2812B LED strips back to back on a triangular core, mounted inside a translucent polycarbonate tube with a diffuser. Not especially unusual. But the blade can be popped off the hilt at a moments notice for easy transport and storage, so the strips can’t be soldered in. Connectors would have worked, but who wants flying wires when they’re disconnecting their lightsaber blade. The answer? Pogo pins! Scott runs the power, ground, and data lines out of the strips and into a small board with slip ring-style plated rings. On the hilt, there is a matching array of pogo pins to pass along power and data. The data lines from all the strips are tied together minimizing the number of connections to make, and the outer two power rings have more than one pin for better current-carrying capacity. A handy side effect is that there is nowhere on the blade where there aren’t LEDs; the strips go down to the very end of the blade where it meets the main board inside the hilt.
Scott is selling this as a product but also provides detailed instructions and parts lists for each component. Assembly instructions for the blade are here. The hilt is here. And pogo adapters are on OSH Park here. An overview of the firmware with links to GitHub is here. Check out a walkthrough of the handle assembly and blade attachment after the break!

