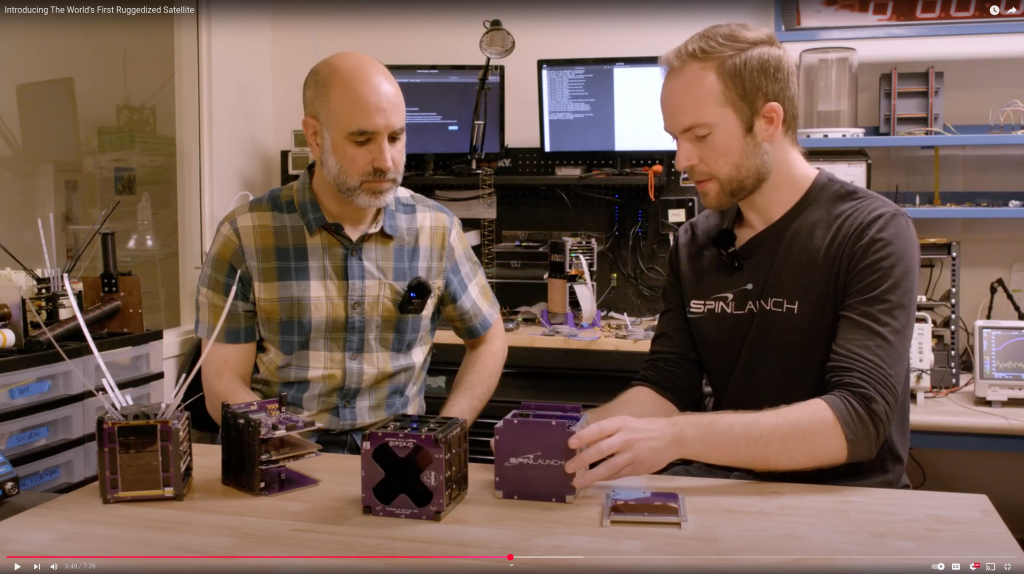
Think satellites are too fragile to survive high-g environments? Think again. We’re excited to unveil our latest ruggedization milestone: spinning a Portland State University satellite to 10,000Gs! Partnering with Portland State’s satellite program, OreSat, we demonstrate the feasibility and process of ruggedizing off-the-shelf spacecraft. Learn how strategic design tweaks and a shift of engineering intuition pushed an existing satellite over the finish line, ready to be launched with SpinLaunch’s revolutionary technology.
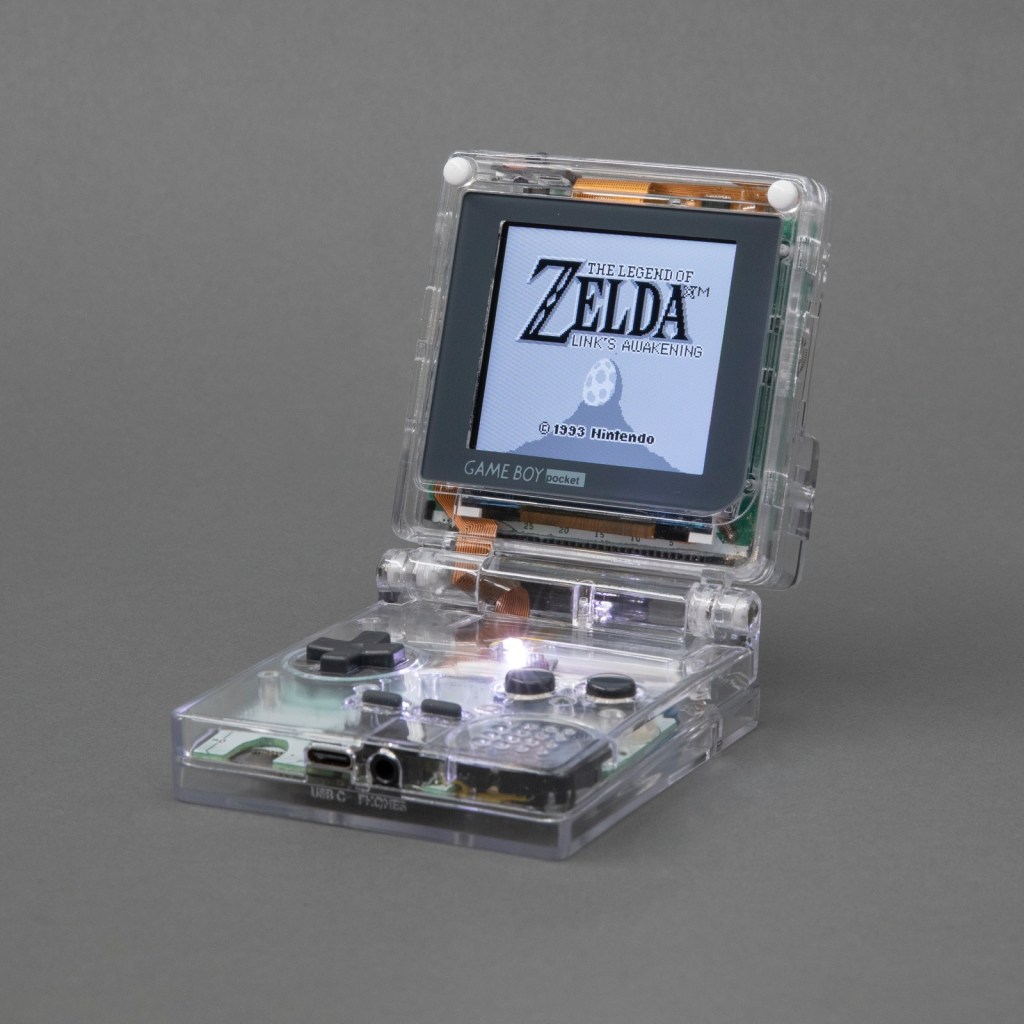
Over the summer I dug in deep with Game Boy modding and made this: the Game Boy Pocket SP. It’s a Game Boy Pocket motherboard that I cut in half and then put into a custom-designed shell with a hinge, a la the Game Boy Advance SP. The build has a pair of custom-designed flex PCBs to make routing signals between the two halves of the board easier. Along the way I taught myself CAD (with FreeCAD), PCB design (with KiCad) and 3D printing. The 3D models and PCB layouts for the Pocket SP are available on GitHub. In this post, I’m going to talk about why and how I made the Pocket SP, and how you can make your own.
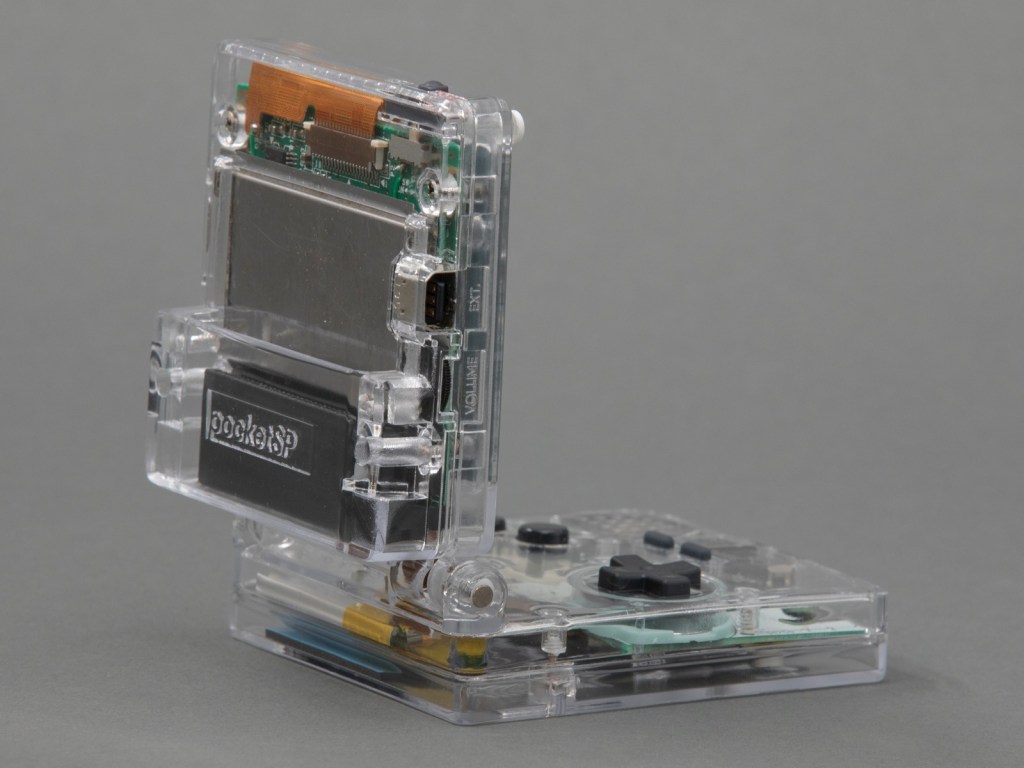
The design of a flexible PCB ribbon cable was key to the ability for the mod to fold up:
I designed a pair of flex PCBs that could be soldered directly to the board. One of the flex PCBs would end in a thin ribbon, which would go through the hinge assembly, and then connect to the other PCB with an FPC connector. This would make it easy to assemble and disassemble the unit, and would also make soldering pretty easy.
I think the closest I’d ever come to designing my own PCB was in grad school, when I downloaded EAGLE and never opened it and then deleted it at the end of the semester. But I’ve always wanted to design and fabricate my own PCB! I decided to use KiCad, because it’s free and open source and also the tool of choice for many modders in the community that I respect.
As with FreeCAD, the tutorial material for KiCad is pretty great. I spent an afternoon following along with the Getting Started guide and felt confident enough afterwards to actually start making my board. My schematic is pretty simple, since all I’m doing is connecting pads to headers and connectors.