All the talks from the 2021 Open Hardware Summit are now available as a YouTube playlist including the chip design panel:
Resources:
All the talks from the 2021 Open Hardware Summit are now available as a YouTube playlist including the chip design panel:
Resources:

Some friends of mine are designing a new board around the STM32F103 microcontroller, the commodity ARM chip that you’ll find in numerous projects and on plenty of development boards. When the time came to order the parts for the prototype, they were surprised to find that the usual stockholders don’t have any of these chips in stock, and more surprisingly, even the Chinese pin-compatible clones couldn’t be found. The astute among you may by now have guessed that the culprit behind such a commodity part’s curious lack of availability lies in the global semiconductor shortage.
A perfect storm of political unintended consequences, climate-related crises throttling Taiwanese chip foundries and shutting down those in the USA, and faulty pandemic recovery planning, has left the chipmakers unable to keep up with the demand from industries on the rebound from their COVID-induced slump. Particularly mentioned in this context is the automotive industry, which has seen plants closing for lack of chips and even models ditching digital dashboards for their analogue predecessors.
Read more: Ask Hackaday: How Is The Chip Shortage Affecting You?

What to do when one ends up in the possession of a 4K studio camera, but without the requisite hardware and software to remotely control it? When [Glen Akins] ended up in this situation, he took the reasonable option here and developed his own knob-based remote control to adjust exposure and focus on the Blackmagic Designs Micro Studio Camera 4K. Without a remote control option, the only adjustment options are via fiddly small buttons on the camera itself, which wouldn’t have been a fun experience during the webcam usage that this camera would be used for.
This camera is normally controlled via the control channel on the SDI input which also handles the video output from the camera. For larger installations the proprietary ATEM software is commonly used, and there’s a $99 Arduino expansion board as well that’s apparently rarely stocked. With SDI not an option, the second option was LANC, which runs into pretty much the same issue with proprietary protocols and very expensive hardware.
I wrote a column about car hacking in a recent issue of Hackspace magazine:
Hacking a car in the movies looks easy: you poke around a bit with a screwdriver, you twist together some bare wires, and you’re good to go. Happily, the security systems on modern cars are a bit more sophisticated than that, but with the right skills and tools, hackers can exploit all sorts of weaknesses to gain unauthorized access to a car: on-board computers, key fobs, Bluetooth connections, and even the pressure sensors on your tires.
These weaknesses can be extremely dangerous, and car manufacturers can get very sloppy with their security. In just one example, a car hacker known as L&M realized that two GPS car tracking apps had given all customers the same default password (123456) on sign up, allowing anyone to gain access to thousands of accounts. As well as the flaws providing access to personal and financial details, L&M exposed an incredibly dangerous vulnerability: the ability to remotely stop the engine of some of the vehicles using these apps.
Finding and reporting vulnerabilities like this is central to the car hacking community. There has been a lively, Car Hacking Village at DEF CON since 2015, where car hackers educate security researchers about modern-day vehicle systems, experiment with technology, and play with all sorts of motorized vehicles, from upgrading mobility scooters to making a car escape room where you have to hack your way out of a locked SUV.
The best way to get started with car hacking is to get yourself a copy of The Car Hacker’s Handbook by Craig Smith of @OpenGarages and a car hacking board such as the CANtact, the M2 by Macchina, or the Carloop. These devices plug into the OBD-II diagnostics port, standard in all vehicles made in the last 25 years, and communicate over the CAN bus with the ECU (Engine Control Unit) and other sensors and actuators throughout the vehicle. Open-source programs exist to both interpret the messages on the CAN bus, like tachometer data, and send messages to control dashboard readouts and much more.
There are also lots of car hackers on Twitter that I follow to keep up with the latest news, including Robert Leale (@carfucar) and Kirsten Sireci Renner (@Krenner), who co-founded the DEF CON Car Hacking Village, and Ian Tabor (@mintynet), who runs the UK Car Hacking Village

We’re always interested in the latest from the world’s semiconductor industry here at Hackaday, but you might be forgiven for noticing something a little familiar about today’s offering from Espressif. The ESP32-WROOM-DA has more than a passing resemblance to the ESP32-WROOM dual-core-microcontroller-with-WiFi module that we’ve seen on so many projects over the last few years…
Read more New Part Day: ESP32-WROOM-DA — Hackaday
The BioAmp EXG Pill is coming soon to Crowd Supply:
Professional-grade analog front-end amplification for ECG, EMG, EOG, and EEG biosensing on one tiny board
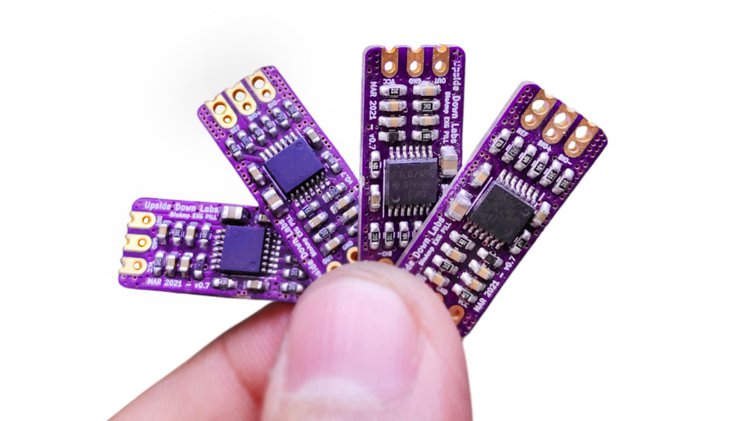
BioAmp EXG Pill is a small, powerful Analog Front End (AFE) biopotential signal acquisition board that can be paired with any 5 V Micro Controller Unit (MCU) with an ADC. It is capable of recording publication-quality biopotential signals like ECG, EMG, EOG, and EEG, without the inclusion of any dedicated hardware or software filters. It’s small size allows easy integration into mobile and space-constrained projects, and it’s powerful noise rejection makes it usable even when the device is close to the AC mains supply. Any 1.5 mm diameter wire can be used as a strain-relieving electrode cable, making BioAmp EXG Pill very cost-effective in comparison to other options.
IR Remote Controller for WS2812 (or analog) LED Strip by Vitaly (@dotcypress):
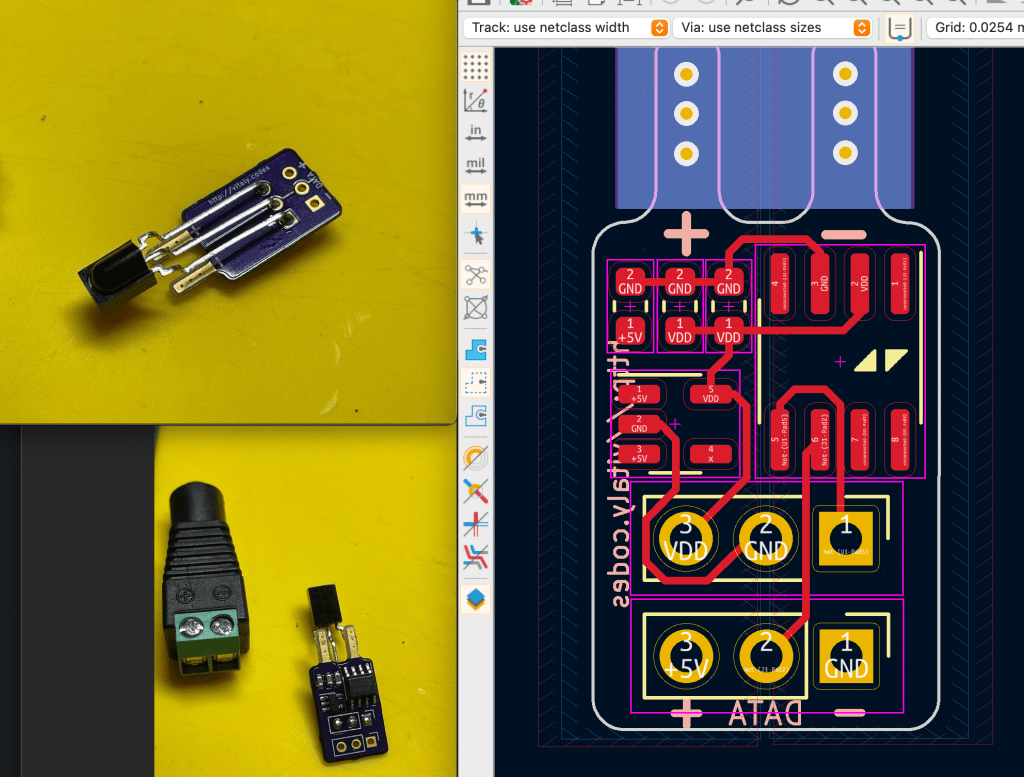
Yet another cool weekend project with @rustembedded 🦀
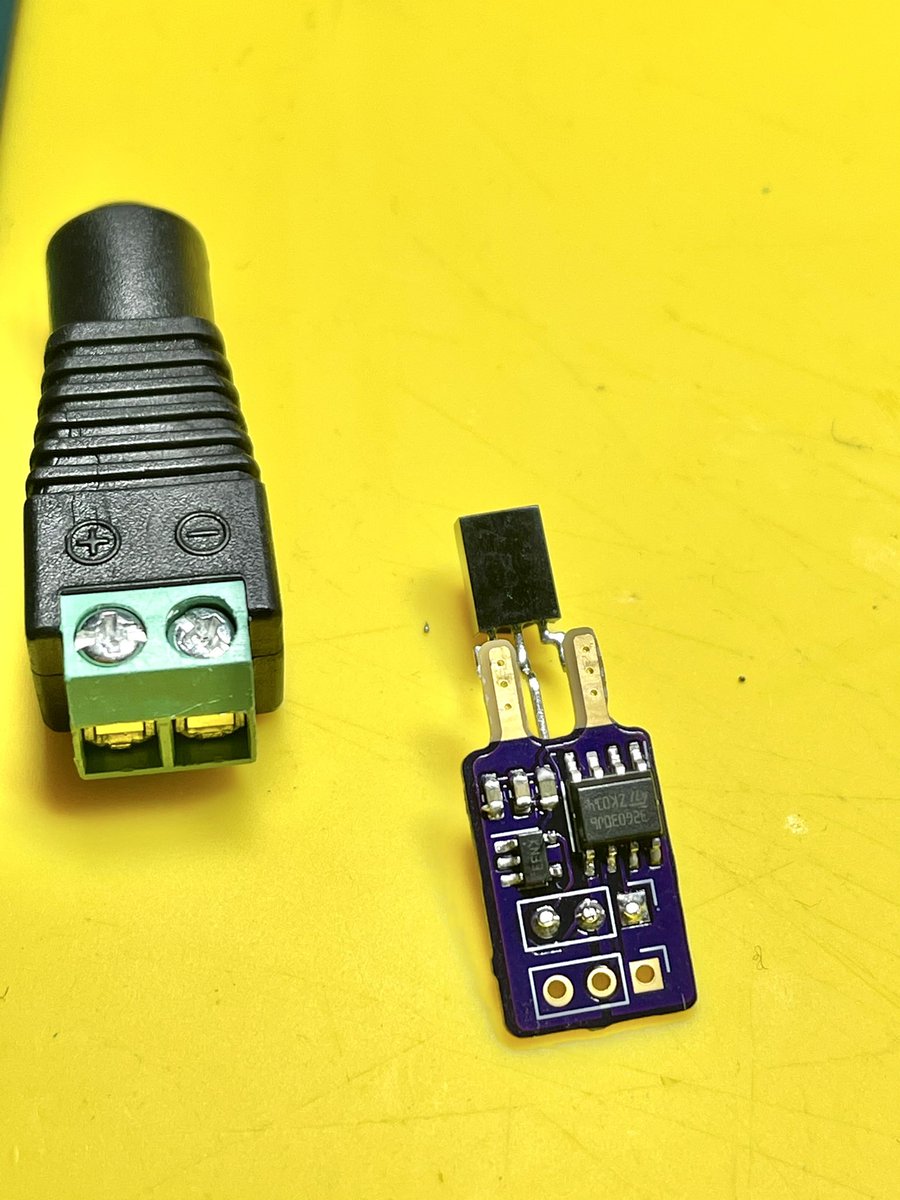
And as always: kudos to @oshpark 👌
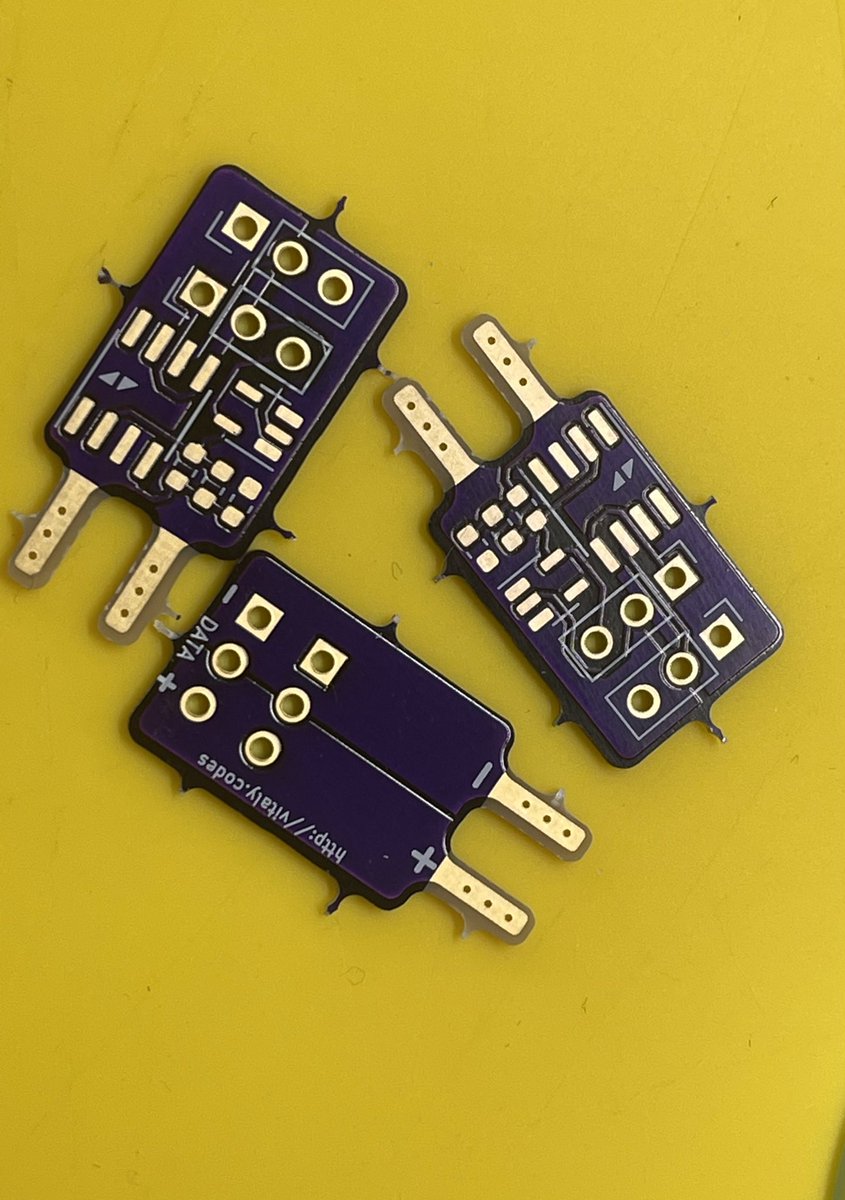
Originally tweeted by Vitaly (@dotcypress) on May 19, 2021.

Join us on Wednesday, May 19 at noon Pacific for the 2021 Hackaday Prize Hack Chat with Majenta Strongheart!
At this point last year, we probably all felt like we’d been put through a wringer, and that things would get back to normal any day now. Little did we know how much more was in store for us, and how many more challenges would be heaped on our plates. Everything that we thought would be temporary seems to be more or less permanent now, and we’ve all had to adapt to the new facts of life as best we can.
But we’re hackers, and adapting to new situations more often than not means making the world fit our vision. And that’s why the 2021 Hackaday Prize has adopted the theme of “Rethink, Refresh, Rebuild.” We want you to rethink and refresh familiar concepts across the hardware universe, and create the kind of innovation this community is famous for.
The 2021 Hackaday Prize will have it all. As in previous years, the Prize will have several specific challenges, where we set you to work on a creative problem. There will also be mentoring sessions available, $500 cash prizes for 50 finalists along the way, with $25,000 and a Supplyframe Design Lab residency awarded to the Grand Prize winner.
We know you’re going to want to step up to the challenge, so to help get you started, Majenta Strongheart, Head of Design and Partnerships at Supplyframe, will drop by the Hack Chat with all the details on the 2021 Hackaday Prize. Come prepared to pick her brain on how the Prize is going to work this year, find out about the mentoring opportunities, and learn everything there is to know about this year’s competition. It’s the Greatest Hardware Design Challenge on Earth, so make sure you get in on the action.
Read more: 2021 Hackaday Prize Hack Chat; Join Us Live On Wednesday
Great new project from Glen Akins:
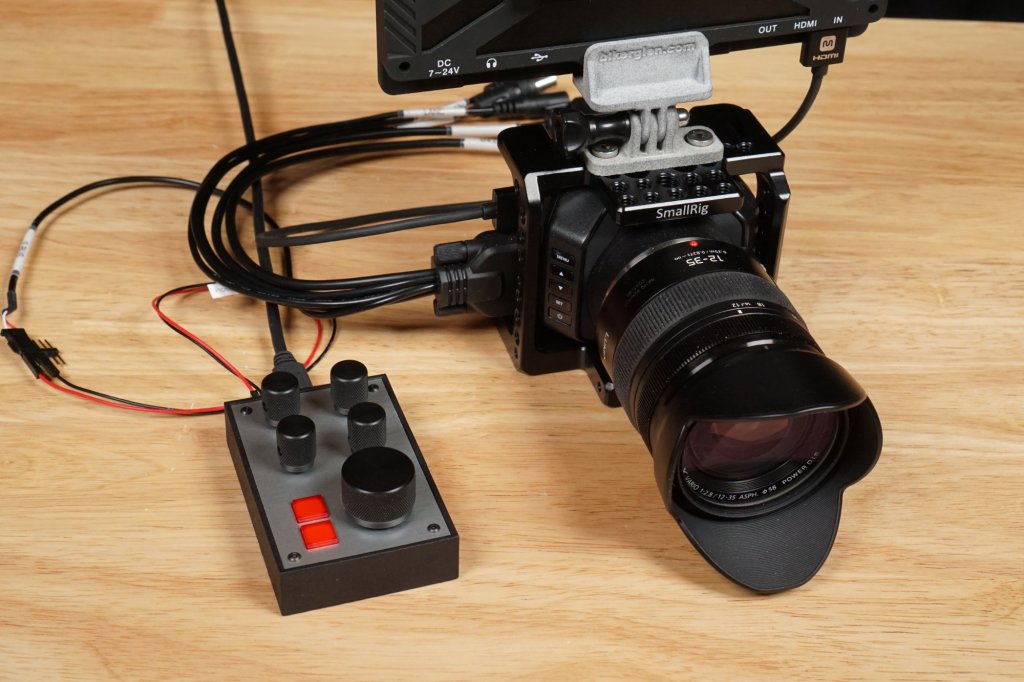
USB Knob Box Doubles as a Blackmagic Designs Camera Remote
I have a Blackmagic Designs Micro Studio Camera I wanted to use as a webcam for video conferences. Even with a 16mm sensor, it has better quality than any small sensor webcam. The only issue is all the exposure and focus controls are manual. When connected to one of their ATEM video switchers, this isn’t a problem as the ATEM provides control of all connected cameras using data sent back to the camera embedded in the HD-SDI return video feed.
If you want to use the camera without an ATEM swtich, however, there’s no way to control the exposure without using the small awkward buttons on the front of the camera and no way to control the focus without reaching up and turning the lens’s focus ring. Being an engineer, hacker, and maker, there had to be a better way! And there was. Read on to find out more about my solution for controlling the camera. Also, it’s 100% open source and licensed under the permissive MIT license if you want to build your own.
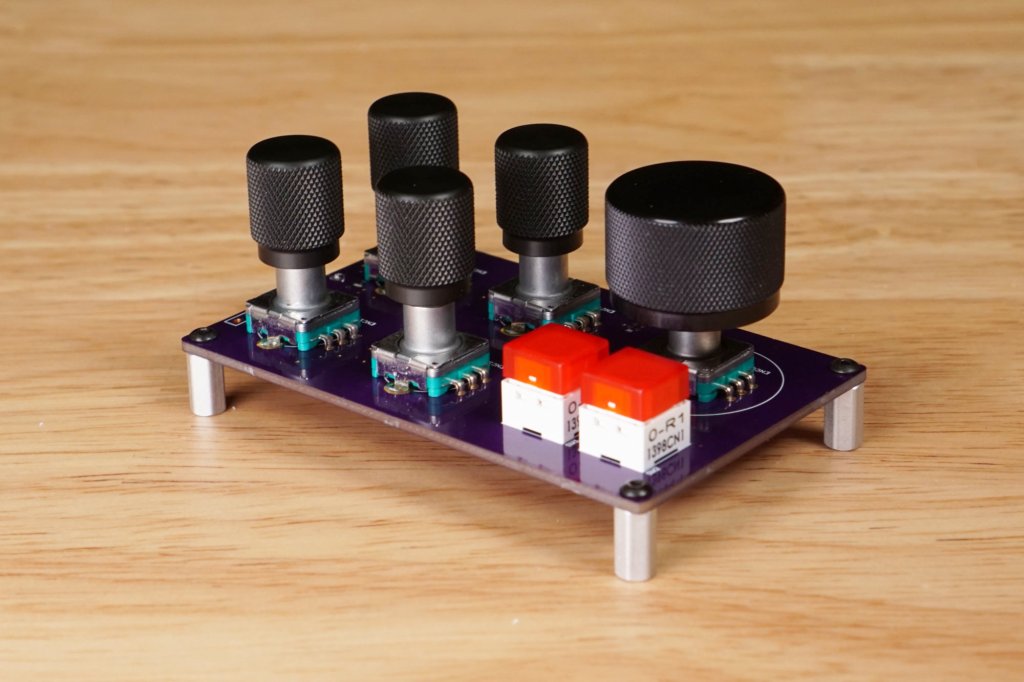
This was a fun project to build with a practical application. I built two versions of the project. The first version works and is based on a Silicon Labs EFM8UB2 microcontroller. Due to the chip shortage, the EFM8UB2 looks unavailable for at least the rest of the year.
The second version functions identically and is based on a Microchip PIC18F45K50 microcontroller. It’s availability at the time I wrote this was a little better than the Silicon Labs part. If you want to reproduce this project, you can use either part. Boards for both are available in Github repository for the project.

Being a bit shocked at the prices of articulating arm microscope mounts, not to mention the shipping fees to the UK, [CapTec] realized they looked substantially similar to your typical computer monitor arm mount. Thinking he could adapt a monitor arm for much less money, he fired up FreeCAD and started designing.
[CapTec] is using this to support his Amscope / Eakins camera-equipped trinocular microscope, but notes that the same mechanical bracket / focus rack interface is found on binocular ‘scopes as well. He observes that the mount is no more stable than your desk or lab bench, so keep that in mind.
Ultimately the monitor arm set him back less than $40, and all told he reckons the whole thing was under $55. Based on prices he’s been researching online, this represents a savings of well over $200. In his calculations, the shipping fee comprised quite a hefty percentage of the total cost. We wonder if they are artificially high due to coronavirus — if so, the make / buy price comparison might yield different results in the future.
