What goes good with chips? That’s right, dip!
Daughter boards (e.g. shields, capes, etc) for Next Thing Co’s C.H.I.P. are called DIPs. Kolja Windeler (JKW) has been prolific in creating Open Source Hardware DIPs including this board that adds 4 USB ports:
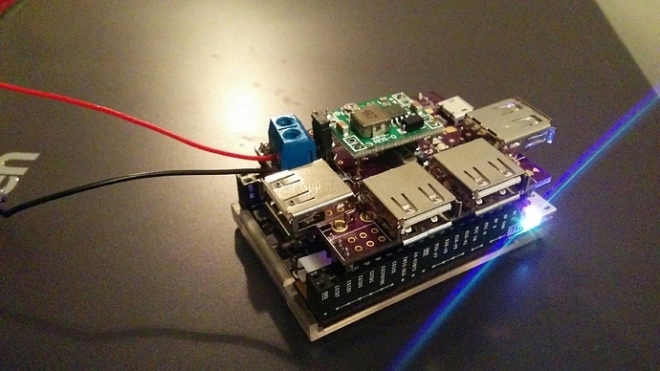
The C.H.I.P. is a great board, a tiny linux computer that fits on your palm. It has one USB outlet and requires a pretty stable 5V supply that can deliver up to 1.1A.
The QUESO attacks theses two drawbacks: It is a hyper active 4-port-USB-HUB. Instead of a passive hub or an active hub the Queso will be hyper-active and provide power TO the C.H.I.P.
Queso DIP offers these features:
- Sits on top of your C.H.I.P. with the same footprint
- Keeps all C.H.I.P. pins untouched
- Optional on-board regulator provides stable 5V with up to 3A current from 7-28V DC (e.g. run your C.H.I.P. on the 12V from your car)
Hardware design files are on Github:
Visit the Next Thing Co forum for more information:
Queso DIP – A hyper-active-USB-hub


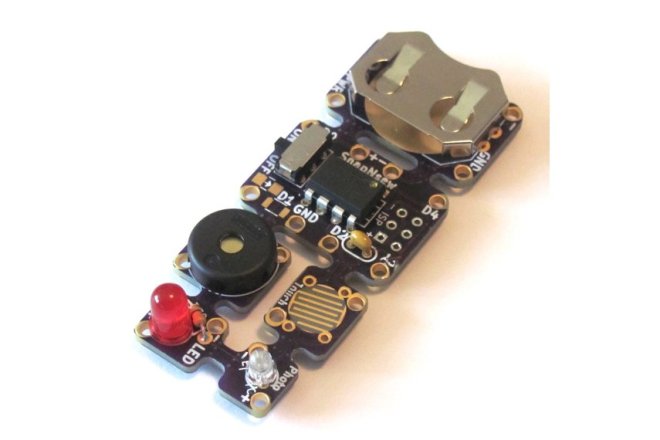
 Making Music


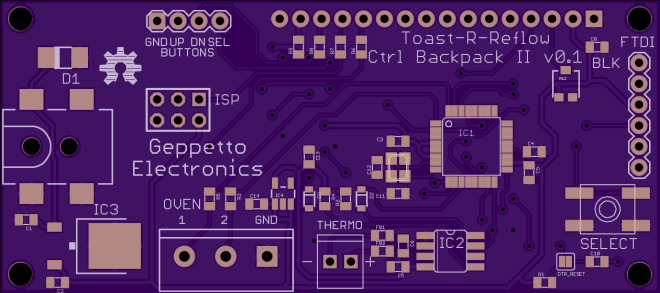
 nsayer/Toast-R-Reflow
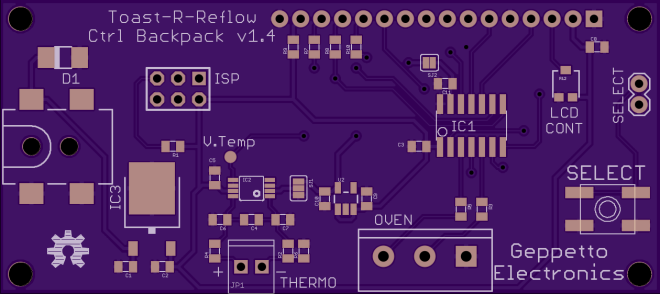


 KoljaWindeler

