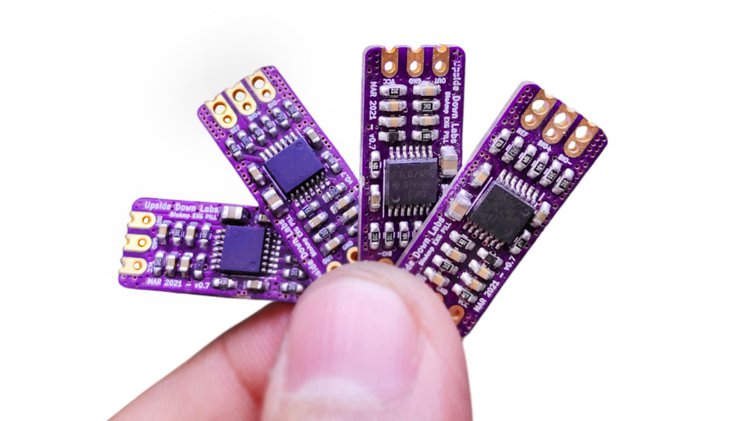
Professional-grade analog front-end amplification for ECG, EMG, EOG, and EEG biosensing on one tiny board
BioAmp EXG Pill is a small, powerful Analog Front End (AFE) biopotential signal acquisition board that can be paired with any 5 V Micro Controller Unit (MCU) with an ADC. It is capable of recording publication-quality biopotential signals like ECG, EMG, EOG, and EEG, without the inclusion of any dedicated hardware or software filters. It’s small size allows easy integration into mobile and space-constrained projects, and it’s powerful noise rejection makes it usable even when the device is close to the AC mains supply. Any 1.5 mm diameter wire can be used as a strain-relieving electrode cable, making BioAmp EXG Pill very cost-effective in comparison to other options.
At this point last year, we probably all felt like we’d been put through a wringer, and that things would get back to normal any day now. Little did we know how much more was in store for us, and how many more challenges would be heaped on our plates. Everything that we thought would be temporary seems to be more or less permanent now, and we’ve all had to adapt to the new facts of life as best we can.
But we’re hackers, and adapting to new situations more often than not means making the world fit our vision. And that’s why the 2021 Hackaday Prize has adopted the theme of “Rethink, Refresh, Rebuild.” We want you to rethink and refresh familiar concepts across the hardware universe, and create the kind of innovation this community is famous for.
The 2021 Hackaday Prize will have it all. As in previous years, the Prize will have several specific challenges, where we set you to work on a creative problem. There will also be mentoring sessions available, $500 cash prizes for 50 finalists along the way, with $25,000 and a Supplyframe Design Lab residency awarded to the Grand Prize winner.
We know you’re going to want to step up to the challenge, so to help get you started, Majenta Strongheart, Head of Design and Partnerships at Supplyframe, will drop by the Hack Chat with all the details on the 2021 Hackaday Prize. Come prepared to pick her brain on how the Prize is going to work this year, find out about the mentoring opportunities, and learn everything there is to know about this year’s competition. It’s the Greatest Hardware Design Challenge on Earth, so make sure you get in on the action.
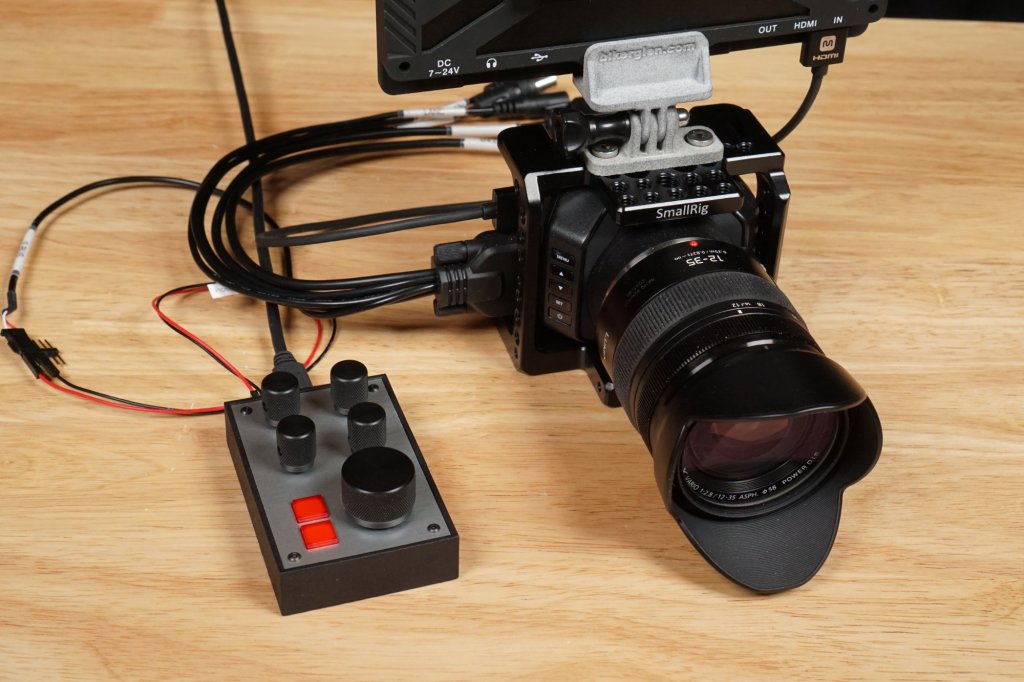
I have a Blackmagic Designs Micro Studio Camera I wanted to use as a webcam for video conferences. Even with a 16mm sensor, it has better quality than any small sensor webcam. The only issue is all the exposure and focus controls are manual. When connected to one of their ATEM video switchers, this isn’t a problem as the ATEM provides control of all connected cameras using data sent back to the camera embedded in the HD-SDI return video feed.
If you want to use the camera without an ATEM swtich, however, there’s no way to control the exposure without using the small awkward buttons on the front of the camera and no way to control the focus without reaching up and turning the lens’s focus ring. Being an engineer, hacker, and maker, there had to be a better way! And there was. Read on to find out more about my solution for controlling the camera. Also, it’s 100% open source and licensed under the permissive MIT license if you want to build your own.
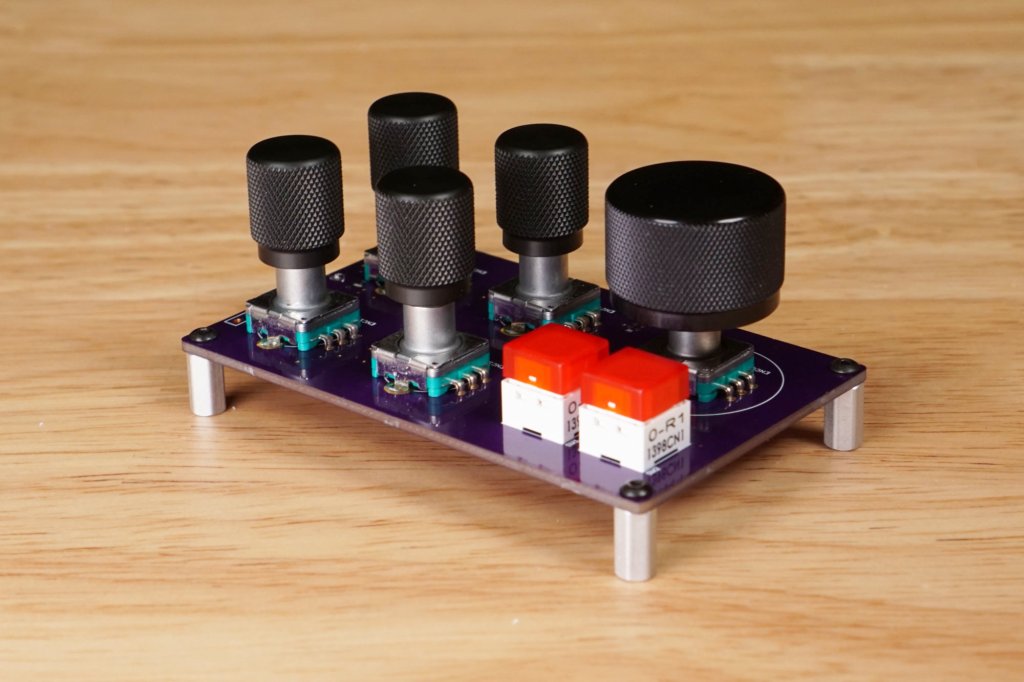
This was a fun project to build with a practical application. I built two versions of the project. The first version works and is based on a Silicon Labs EFM8UB2 microcontroller. Due to the chip shortage, the EFM8UB2 looks unavailable for at least the rest of the year.
The second version functions identically and is based on a Microchip PIC18F45K50 microcontroller. It’s availability at the time I wrote this was a little better than the Silicon Labs part. If you want to reproduce this project, you can use either part. Boards for both are available in Github repository for the project.
Being a bit shocked at the prices of articulating arm microscope mounts, not to mention the shipping fees to the UK, [CapTec] realized they looked substantially similar to your typical computer monitor arm mount. Thinking he could adapt a monitor arm for much less money, he fired up FreeCAD and started designing.
[CapTec] is using this to support his Amscope / Eakins camera-equipped trinocular microscope, but notes that the same mechanical bracket / focus rack interface is found on binocular ‘scopes as well. He observes that the mount is no more stable than your desk or lab bench, so keep that in mind.
Ultimately the monitor arm set him back less than $40, and all told he reckons the whole thing was under $55. Based on prices he’s been researching online, this represents a savings of well over $200. In his calculations, the shipping fee comprised quite a hefty percentage of the total cost. We wonder if they are artificially high due to coronavirus — if so, the make / buy price comparison might yield different results in the future.
New update for the Data Fitness Connector (DFC) on Crowd Supply which wirelessly connects your Peloton bike to third-party apps, fitness watches, and more:
At this point we’re about two thirds of of the way through the campaign, and we’re very excited to report that we’ve hit our funding goal! Thank you!
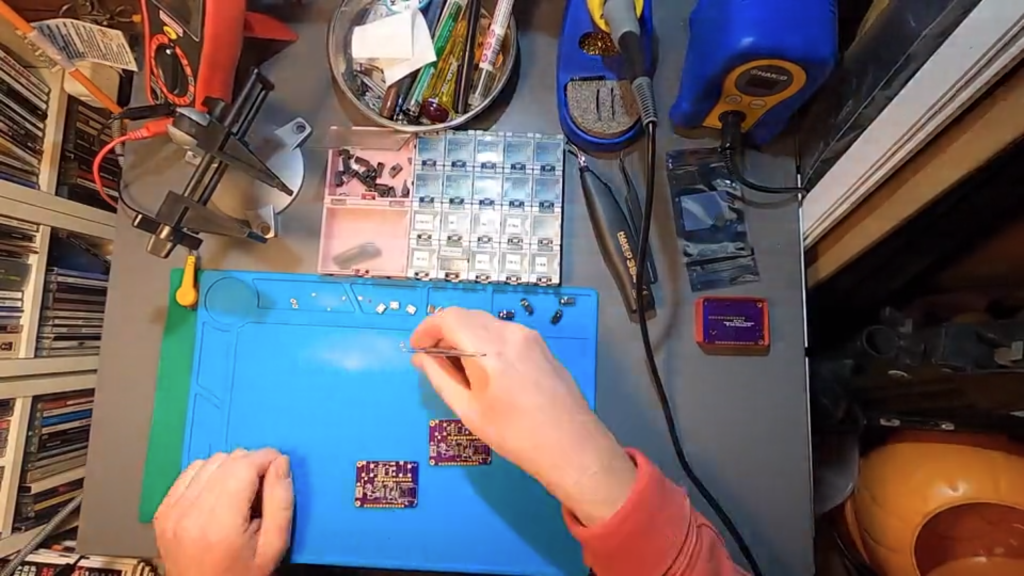
This week’s update is for the curious minds out there who like to see how things are made. We’re taking you behind the scenes for a look at how early prototypes were put together. The final version of DFC will be made by our manufacturing partner here in the US, but we needed to build a few ourselves so we could test them before ramping up production.
In the time-lapse video below, you can see how a prototype DFC circuit board was built, starting with the application of solder paste atop a stencil, followed by the careful placement of all those tiny little components that make it work. After that, the board was placed in a circuit oven (kind of like a fancy toaster oven), which melted the solder paste and secured everything in place.
Building circuits by hand in this way is an odd mix of calming concentration and frequent frustration, so we’re happy to hand this off to a robotic pick-and-place machine for mass production.
While I’ve written for Tindie for several years now, and at the same time I’ve helped host The Creativity Podcast: Where Art and Engineering collide. In our latest episode, we interview none other than head Tindarian, Jasmine Brackett.
She of course answers obligatory question of “What is Tindie?” for the audience, and talks about selling on the platform in general. Specifically, we delve down on the question of how do you keep things in stock without overbuying? Jasmine has a few ideas on the subject, though there’s definitely no one-size-fits-all answer. One important tip that she points out is that at some point items on the wait list get “cold.” In other words, people eventually move on to other ideas, especially if it’s been quite some time. So be sure to restock if you’re out!
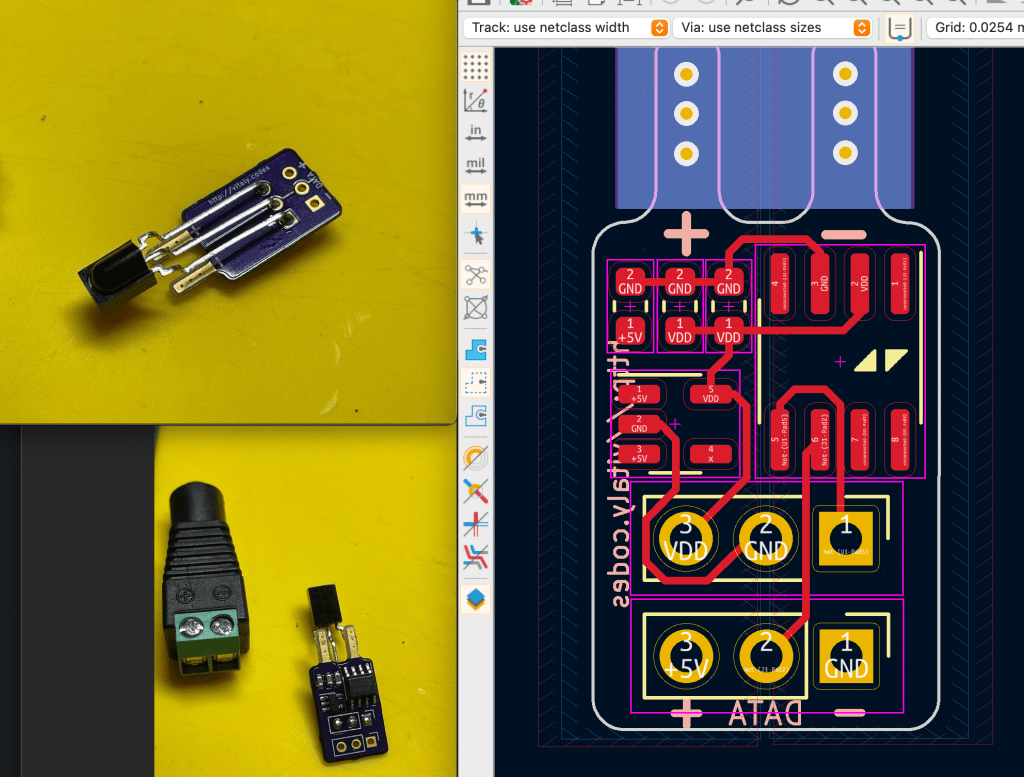
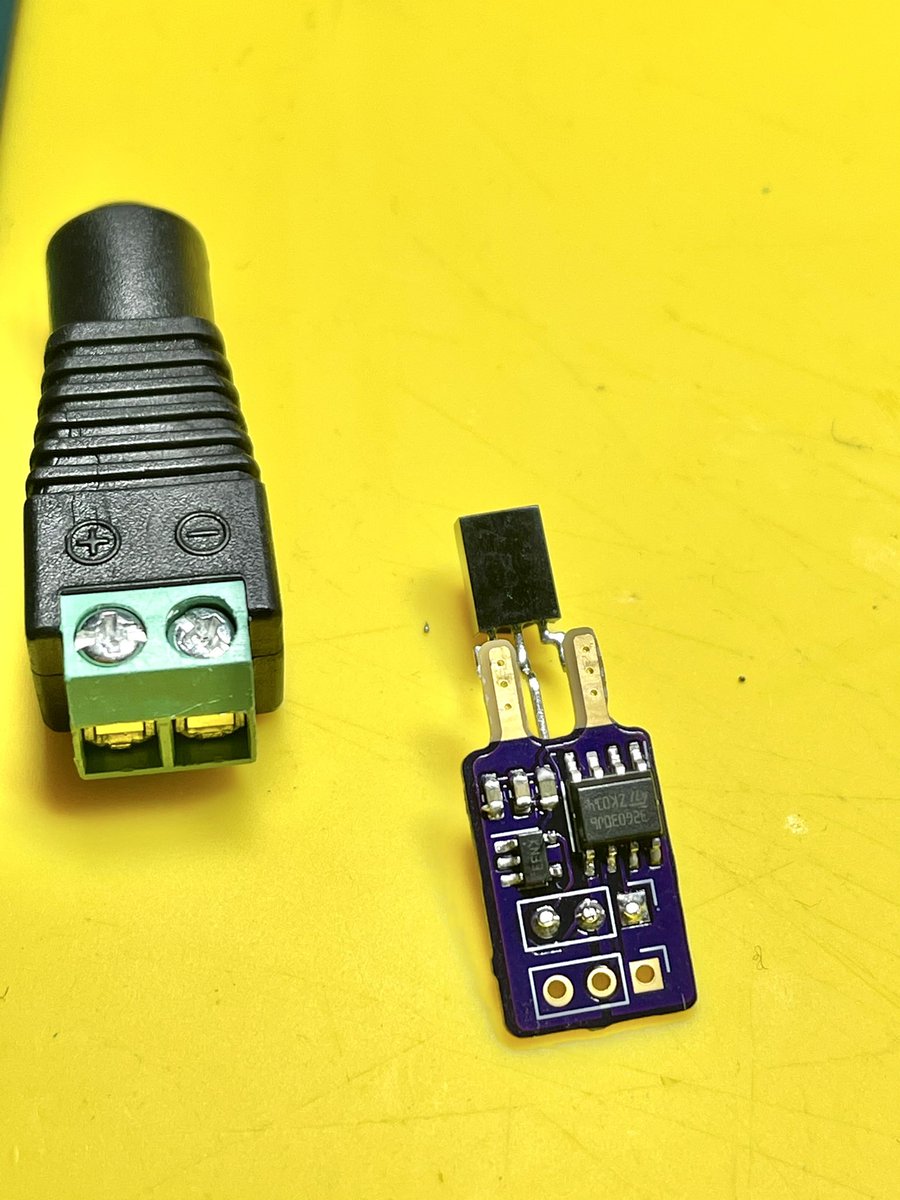
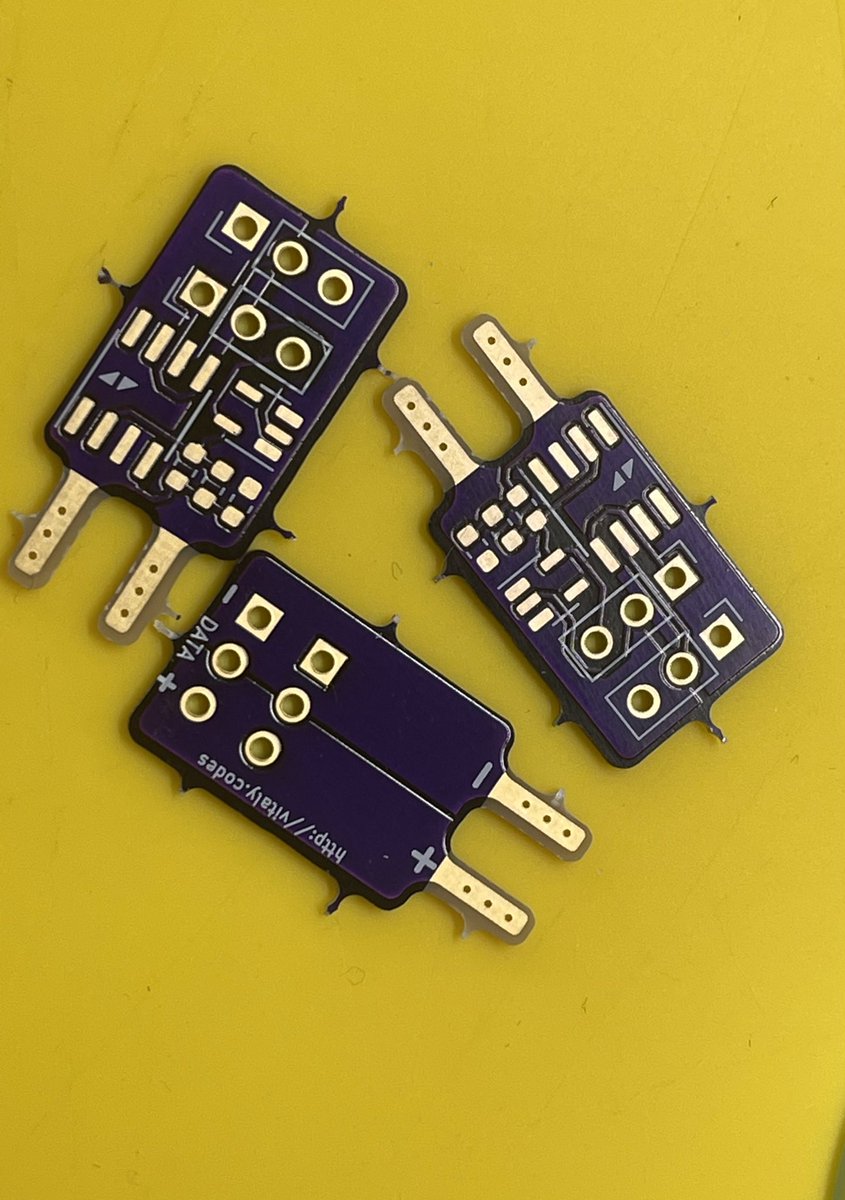
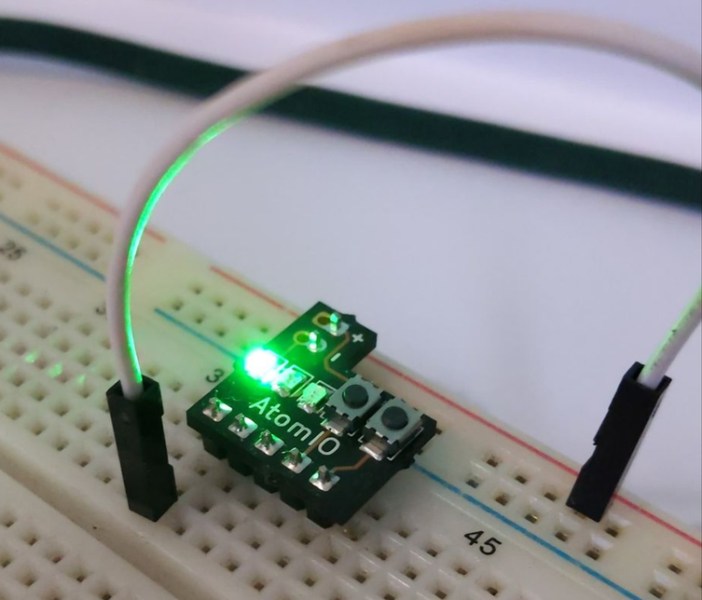
We’ve all been there, you hook things up to a breadboard, only to find that you need to figure out a simple LED indicator to see what’s going on, or have to use a wire or two as an input “button.” This is fine, but not really optimal. You can of course add actual buttons and switches, and perhaps cut down your LEDs to make them more presentable, but this takes up valuable space and time.
If you’d like a little shortcut to this problem, then the Atom IO may be just what you need. The device plugs in to the + and – rails of a breadboard, with 5 lines that connect to 3 LEDs, as well as 2 buttons. The LEDs are routed to the ground rail, so if you apply 2-ish volts, each will light up. The buttons are normally pulled low, but supply voltage from the positive rail when engaged.
Over at Tiny Transistor labs, [Robo] took it upon himself to reproduce the classic 555 timer in discrete transistor form. For bonus points, he also managed to put it in a package that’s the same basic size, pin compatible with, and a plug-in replacement for the original. The first task was deciding which 555 circuit to implement. He examined a handful of different implementations — and by examined, we mean dissected them and studied the die circuitry under a microscope. In the end, he went with Hans Camenzind’s original circuit, both as a tribute and because it used the fewest transistors — a point which helped manage the final size, which is only a little bit bigger than the IC!
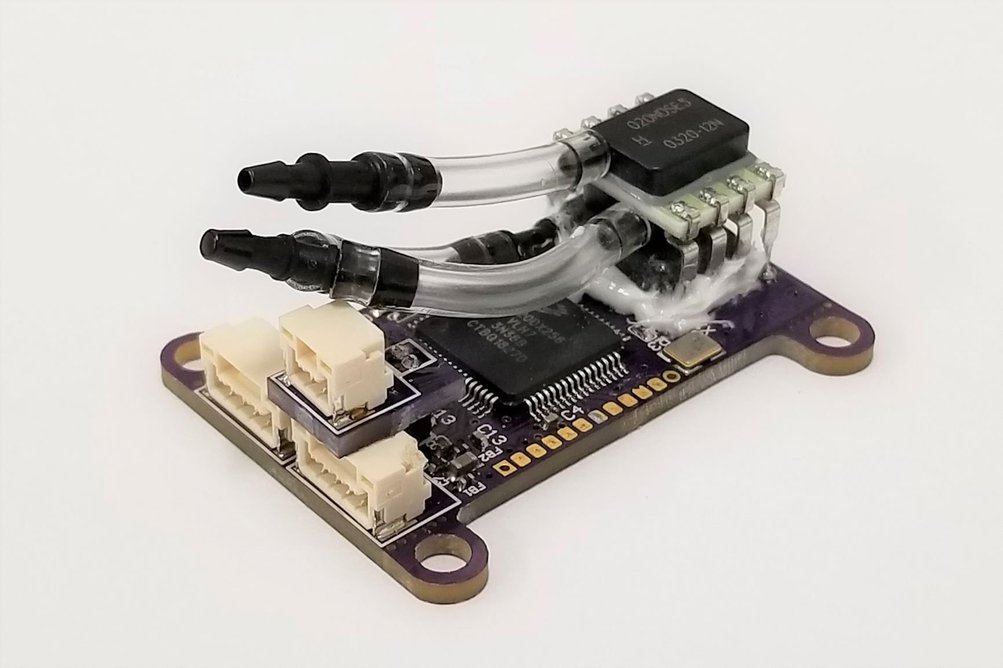
Airspeed, Altitude and Air Temperature sensing with UAVCAN interface for Pixhawk and other autopilots
A tiny, richly-featured Air Data Computer (ADC) for small unmanned airplanes. Includes an MS5611 barometric pressure sensor for 10cm-resolution altitude, a Honeywell RSC-series differential pressure transducer for extremely accurate airspeed, and a thermistor interface with high-resolution convertor for air temperature measurement with less than 1 degree precision. All of this interfaces to your autopilot via robust UAVCAN interface – no sketchy I2C wiring! Comes fully assembled, ready to use!