RF Frontend for the Supercon 2023 Vector Scope Badge

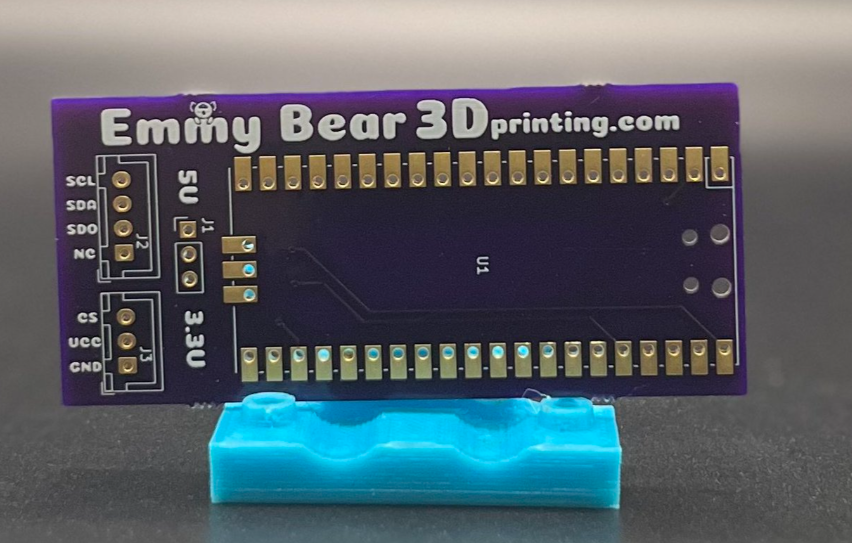
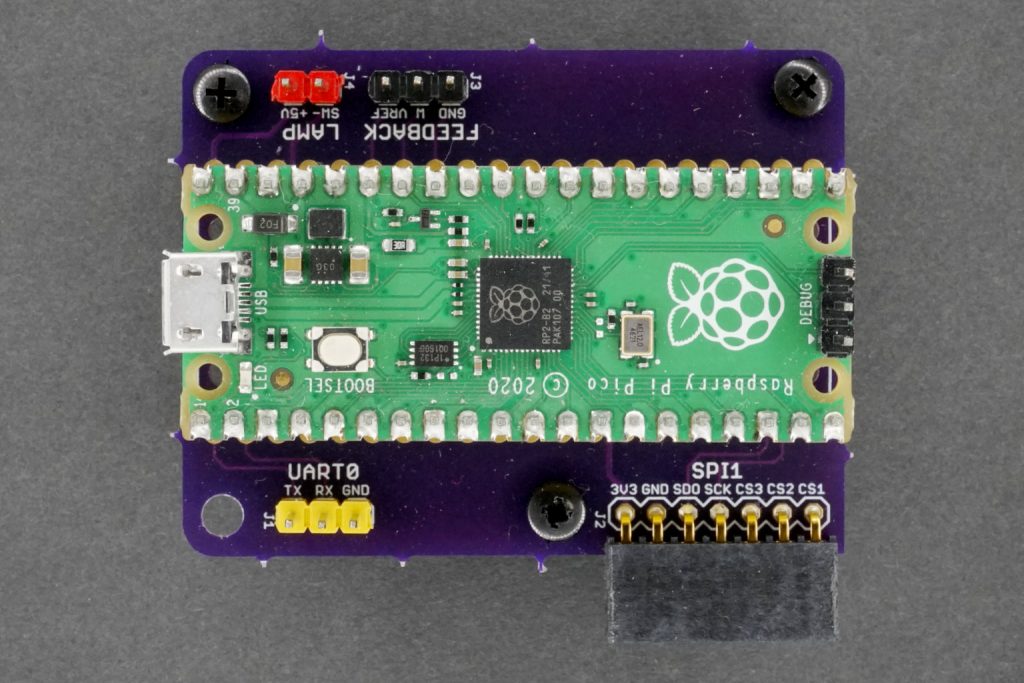
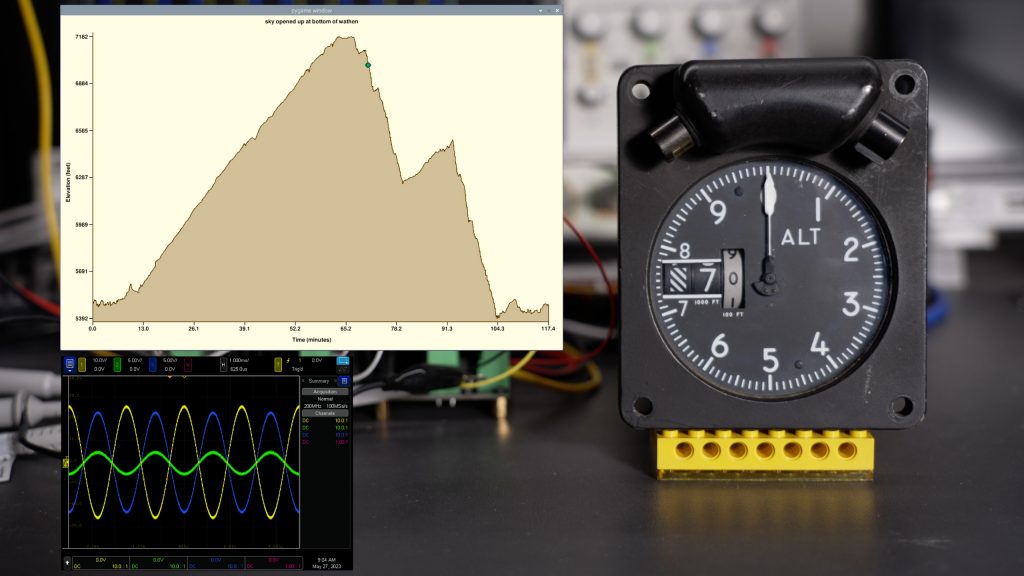
Tom writes on Tea and Tech Time about badge hacking for Hackaday Supercon 2023:

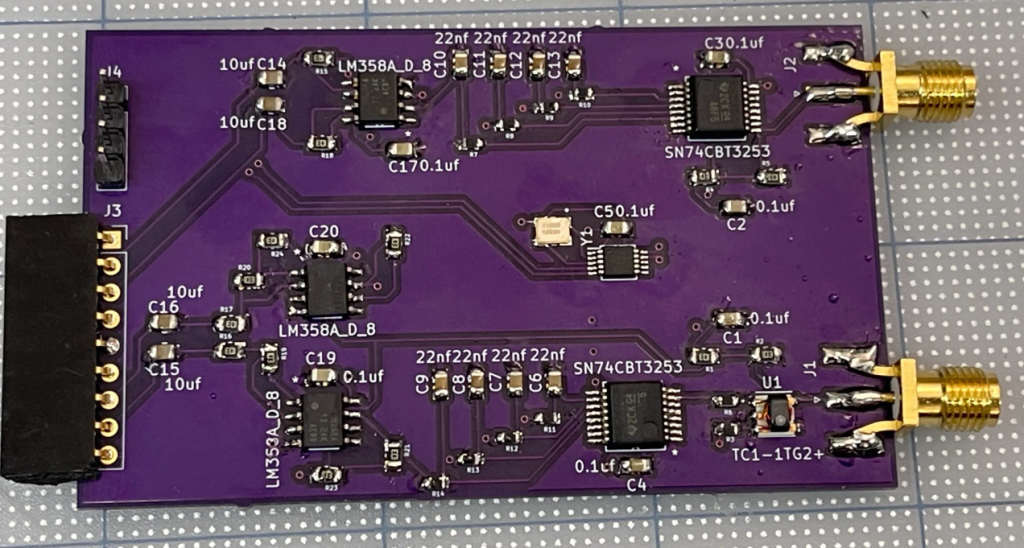
Tayloe Mixer Frontend for the Supercon 2023 Vector Scope Badge

The Hackaday Supercon conference is an amazing convergence of electronics, makers, engineers, designers, educators, and anyone else interested in making cool projects. Each year we descend on the town of Old Pasadena to Hack on things over the weekend in early November. The amazing thing about the conference is that every year they build a complex electronics badge that every attendee gets and they do a presentation at the end where people can show off the cool things they made!

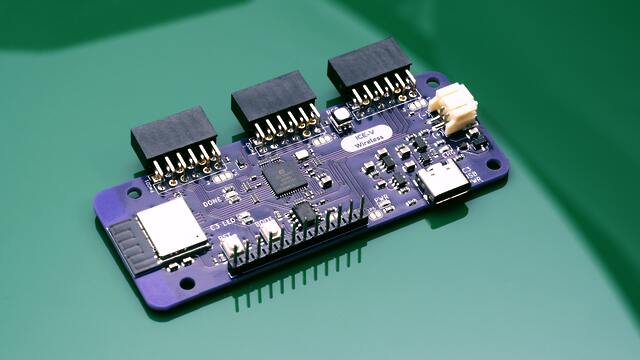
This year the badge emulates an old-school Vector Scope! It uses the Raspberry Pi Pico, an ADC and DAC chip, and a fancy circular screen to produce some mesmerizing green waveforms. Essentially it uses 2 DAC channels to generate arbitrary waveforms on the x and y axis, those outputs can then be looped back into the 2 ADC channels for x and y to plot on the screen! You can learn more on the Hackaday article below!

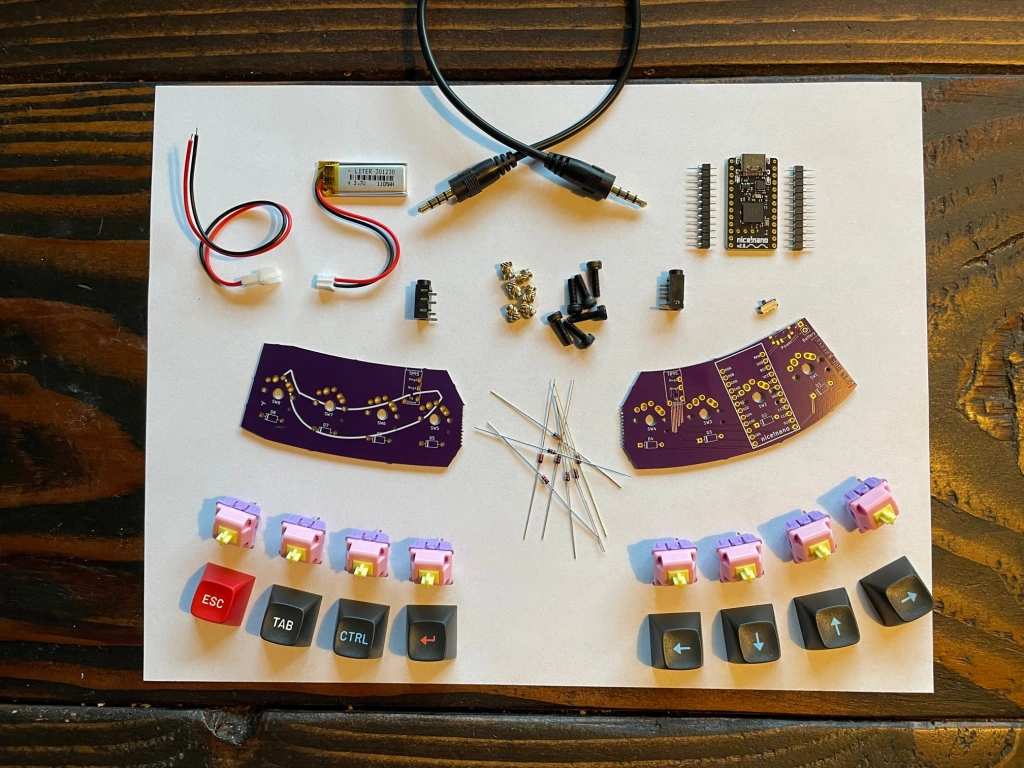
[..] I will be adding this design to my GitHub soon since I need to fix a few things before I release this design. So you may need to wait a while if you want to make your own. This project was done in a compressed timeline so it was more of a learning project and just something to do at Supercon that I hadn’t done before. It was amazing to get to talk to everyone there and the project helped me connect to others and became a fun icebreaker.

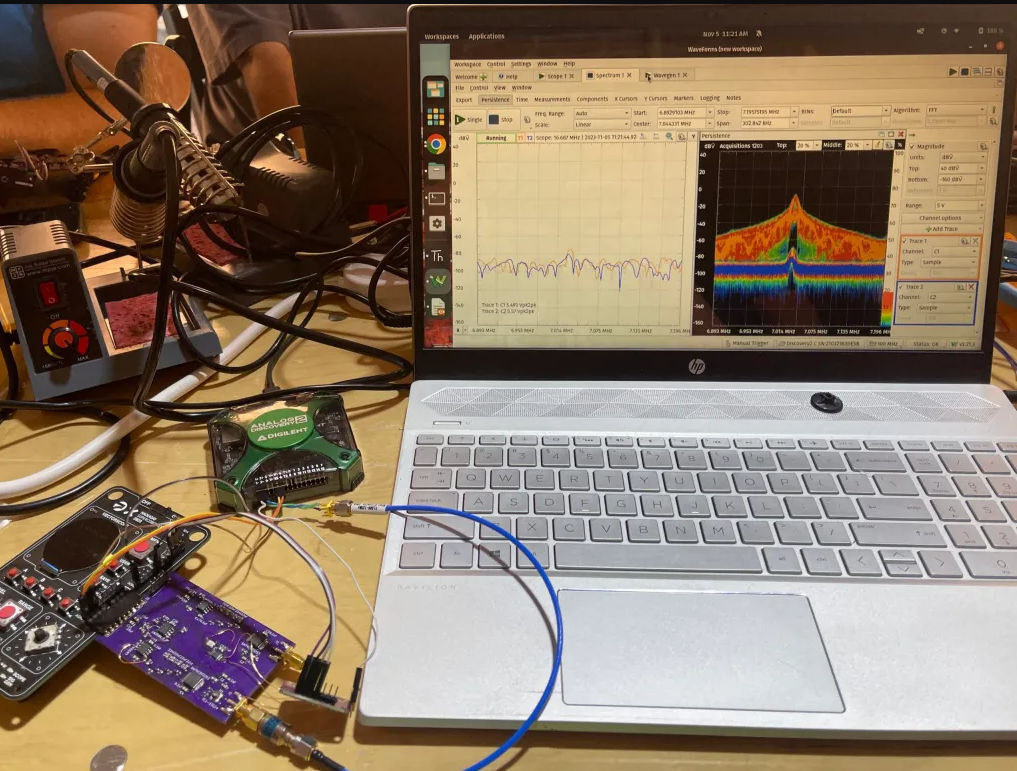
I am not an RF or hardware designer but this got me out of my shell and I am hoping to learn more in the future. If you have any suggestions or questions feel free to reach out especially if we met at supercon 2023 and want to chat more.

Read more…

RF Frontend for the Supercon 2023 Vector Scope Badge

Making PCB Jewelry & Art with Gingerbread and KiCad

Anne Barela has written a great Adafruit tutorial on how to make your designs into artistic printed circuit board art:

 Making PCB Jewelry & Art with Gingerbread and KiCad

Art takes many forms. For some, seeing art on printed circuit boards (PCBs) has particular appeal, bridging the design and the geekiness of circuit boards.

While several folks have published methods of transferring their art to PCBs, some guides use software that is out of date or requires a high level of technical skill. This guide uses the latest versions of popular software, so hopefully it will get you started without too much of a learning curve!

Gingerbread – a web-based tool hosted on Winterbloom by Thea Flowers. Taking a specially formatted vector file SVG, Gingerbread parses the file into the footprint layers. The results can be pasted into the KiCad footprint editor to make the art into a PCB. 

KiCad Version 7.x – KiCad 7 is the latest iteration of the venerable PCB design software. It came out in February, 2023, and so other tutorials using earlier versions are likely out of date as to the steps used to make art. For this tutorial, KiCad 7 is used to import art into a component footprint which is used to define the board files for the PCB manufacturer.

Making PCB Jewelry & Art with Gingerbread and KiCad

EzADXL: Add Pico and ADXL Resonance Measuring to Klipper

Jo Hinchliffe writes on the Tindie blog:

EzADXL: Add Pico and ADXL Resonance Measuring to Klipper

The ExADXL breakout board makes it simple to mount an ADXL module, or multiple ADXL, to a Raspberry Pi Pico. This is a popular approach to adding extra resonance measuring instruments to a Klipper-controlled 3D printer.

If the above is unfamiliar to you, Klipper is an open-source 3D printer firmware that is rapidly being adopted in the 3D printing community. It’s a very slick firmware with far too many options to dive into here but it’s well worth checking out and experimenting with. One aspect that enables some significant increases in printing speed and quality is that Klipper can measure resonances in your machine and tune the machine based on its readings. A popular route to enabling this is by adding a second MCU and an accelerometer. The MCU has to be reasonably capable and fast and as such the RP2040 powered Pico is a solid choice.

The ExADXL makes this really simple to set up with a mounting PCB for the Pico and numerous connectors for adding one or more ADXL modules, almost all possible options for which are available on the product page. You can start with just the bare board, or there are options for additional hardware. Optionally, you can have a complete unit with the Pico and the ADXL installed, flashed and tested.

If you’ve got a 3D printer that could use a breath of fresh air, then the Klipper firmware and the ExADXL breakout are definitely worth taking a look at!

EzADXL: Add Pico and ADXL Resonance Measuring to Klipper

Relive Mountain Bike Descents on an Altitude Indicator

Glen Akins (@bikerglen) writes about this clever vintage indicator project on the Photons, Electrons, and Dirt blog:

Relive Your Best Mountain Bike Descents on a Vintage Aircraft Altitude Indicator

In this project, I use a Python script and an updated version of my digital-to-synchro project to replay my mountain bike climbs and descents at 60x real time speed on a vintage aircraft altitude indicator. The updated D2S converter fits on a single board and uses three Microchip MCP4802 DACs and three TI OPA548 power operational amplifiers to produce high-power 400 Hz AC waveforms to power and control the servo loop in the altitude indicator.

Image of the altitude indicator
Relive Mountain Bike Descents on an Altitude Indicator

ICE-V Wireless round 3

Another round of ICE-V Wireless boards by Michael Welling of QWERTY Embedded is now being offered on GroupGets. The design combines the ICE40UP5K FPGA with a wireless interface driven by ESP32-C3.

Photo of an assembled ICE-V Wireless board

Featured in Make: Magazine’s 2022 Guide to Boards!

ICE-V Wireless is an ICE40UP5K+ESP32-C3 development board, allowing Wi-Fi and Bluetooth control of the the FPGA by combining an Espressif ESP32C3HN4 SoC with a Lattice iCE40 FPGA. Additionally, several ESP32C3 GPIO pins are available for additional interfaces, such as serial, ADC, or I2C.

Features:

ESP32-C3-MINI
ICE40UP5K
PMOD x3
RGB
LiPo power / charger
USB-C
PSRAM

Pinout diagram

ICE-V Wireless round 3

Teardown returns to Portland in June 2023

The OSH Park team had a great time at Teardown in 2018 and 2019. This conference for hacking, discovering, and sharing hardware finally returns this June!

Teardown is about the practice of hardware: prototyping, manufacturing, testing, disassembling, and circumventing, all while having fun. Leave the marketing glitz and talk of venture capital at the door and come prepared to learn and teach. See the full schedule of the previous Teardown held in 2019 or watch the recap video

Just the Facts
Who?Anyone interested in hardware: engineers, designers, artists, students, teachers…
What?A three-day line up of talks, workshops, demos, installations, and puzzles
When?Friday – Sunday, June 23 – 25, 2023
Where?Beautiful Portland, Oregon on the campus of Portland State University
Why?Shipping great hardware to you is rewarding, but we miss seeing you in person
How?With lots of help from our friends, including our partner, CETI

Head over to Crowd Supply to find out more…

Teardown returns to Portland in June 2023

Vintage aircraft instrument becomes an USB peripheral

Glen Akins converted a WW2-era engine cowl flaps indicator into a USB peripheral using a microcontroller and four digital potentiometers:

This project is reminiscent of my USB analog panel meters project but the drive circuitry is significantly less complex. This post starts with a look at the engine cowl indicator, it’s theory of operation, and some ideas to control it using modern electronics. The post then covers the design of the board, the software for the microcontroller, and a Visual Studio C# .NET Windows Forms app for controlling the indicators from a PC.”

“The completed and assembled board. The board features a USB 2.0 Type C connector, a PIC16F1459, four MCP41HV31 digital potentiometers, and a screw terminal strip to connect to power and the indicator.”

The video above is a quick demonstration of the indicator in use. The indicator is connected to the USB controller board and the USB controller board is connected to my Surface. The .NET Forms app is running and superimposed over the video. As I slide the sliders in the app, the corresponding dial moves on the indicator.”

Vintage aircraft instrument becomes an USB peripheral

The Pocket Integrator, explained

The Pocket Integrator is add-on board for Teenage Engineering’s Pocket Operators that lets you play your drum machine like a drum:

Synchronizing your electronic instruments with live music can be hard. Pocket Integrator makes it easy! It’s an add-on board for Teenage Engineering’s Pocket Operator series of hand-held drum machines, that lets you play them like a drum.

Just tap or shake to set the tempo and downbeat of your drum pattern. Keep tapping as long as you like. When you stop, it’ll hold the beat wherever you set it. It’s as easy as clapping your hands!

In the latest Crowd Supply campaign update, Mykle Hansen shares this video which demonstrates who the device works:

The Pocket Integrator, explained

Banana Split macropad

Cameron Coward writes on Hackster about a creative macropad project:

Banana Split Is the Potassium-Rich Macropad You’ve Been Craving

We see a lot of macropads around here and so we only feature those that stand out — usually those that incorporate interesting features or that contain unusual hardware. Aesthetics alone aren’t enough to warrant a full write-up unless the device is particularly polished. But the Banana Split, a banana-themed wireless split macropad, is just too delicious to pass up.

Banana Split macropad