Tom Fleet writes on Hackster about Greg Davill’s latest adventure:

Greg Davill Sinks His Teeth Into ShArc: A Geometric Technique for Multi-Bend/Shape Sensing.
The work of one such research project caught the eye of Greg Davill recently, when a paper written by Fereshteh Shahmiri and Paul H Dietz was published, after being submitted for the 2020 ACM Conference on Human Factors in Computing Systems (CHI 2020).
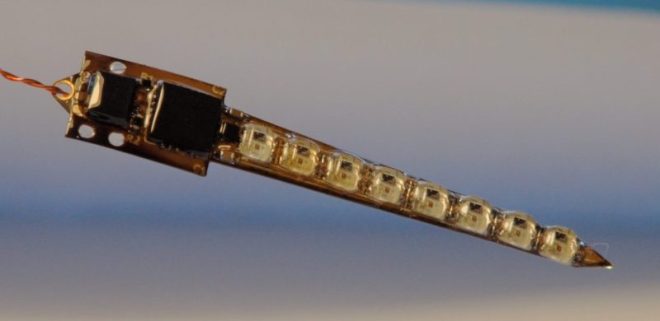
This paper goes by the title of “ShArc:A Geometric Technique for Multi-Bend/Shape Sensing,’ and proposes a novel contour sensor, comprised of a flexible, capacitive PCB sensor, a suitable capacitance-to-digital converter, and some subsequent signal processing, allowing a two-layer polyamide FPC circuit to cleverly capture the contours of the shape it is stuck to.
That’s the operation in a nutshell, so why are we covering all this here on Hackster? Well, it’s all about accessibility! This research isn’t relegated to labs where we’ll never see sight of it, until commercialized into a product. Far from it. Davill has shown just how easily we here at home can play along with this project, using the same tools and services that we’d normally look at for our own hobby projects!
He’s not only managed to recreate the capacitance to digital converter needed for this application, but perhaps more of note, he’s even turned his hand to having a go at the flexible sensor electrodes themselves, all fabricated by the one stop shop, whose services seem to keep on growing— our favorite board fab house, OSH Park!


")

