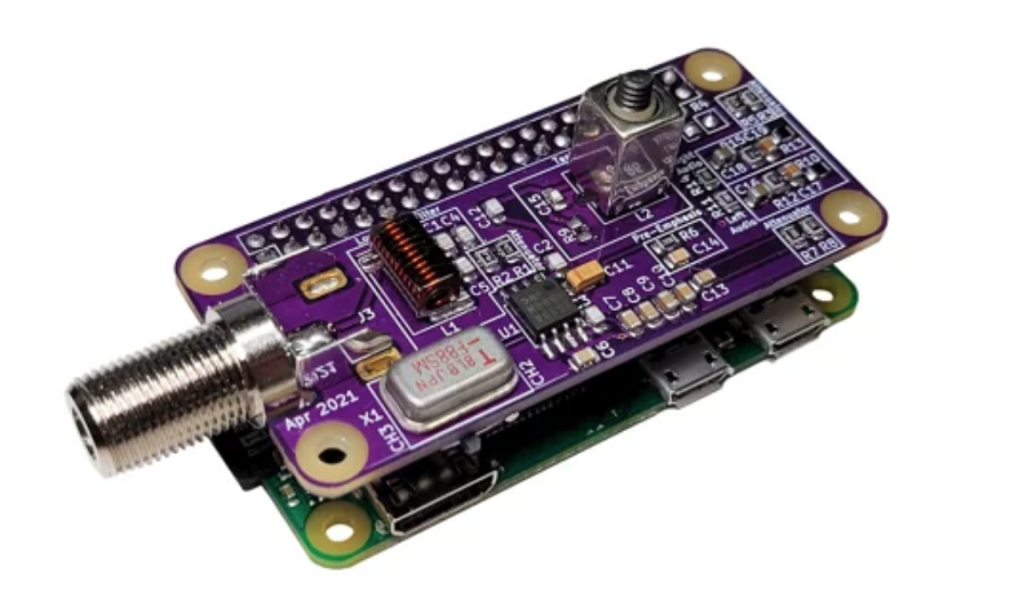
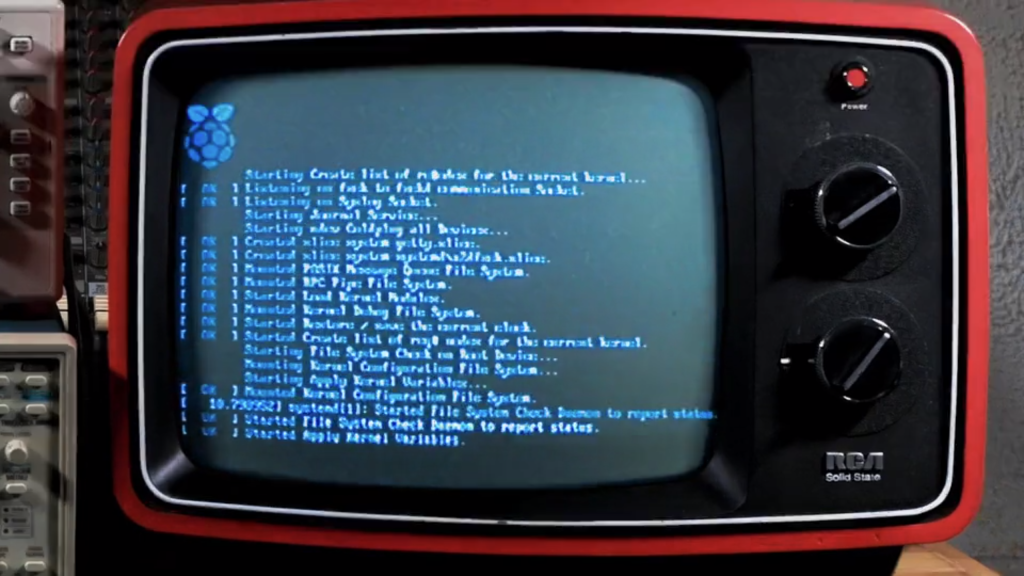
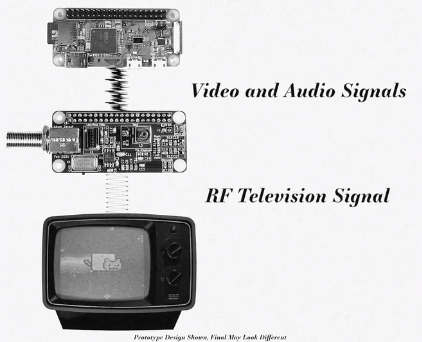
PiMod Zero brings old tech back to life by allowing a Raspberry Pi Zero to display color or B&W video – and play audio – on vintage televisions. It provides a super-compact way to watch old movies, play retro games, present digital art, or navigate your operating system using any television that receives standard NTSC broadcasts on VHF channels 2 and 3 (55.25 MHz and 61.25 MHz).
In the past, you would have needed a cumbersome RF modulator box to adapt the HDMI signal from a Pi Zero. Now, with this convenient HAT snapped on top of your Pi Zero, no additional dongles are required. In fact, once the Pi is powered up, the only other cable you need is a piece of coax to connect PiMod Zero to your TV.
Configuring the Raspberry Pi to output composite video and stereo audio to PiMod Zero is extremely simple. Handy scripts and thorough documentation will be available in our GitHub repo.
In the beginning, there was hot glue. Plus some tape, and a not inconsiderable amount of Bondo. In general, building custom portable game consoles a decade or so in the past was just a bit…messier than it is today. But with all the incredible tools and techniques the individual hardware hacker now has at their disposal, modern examples are pushing the boundaries of DIY.
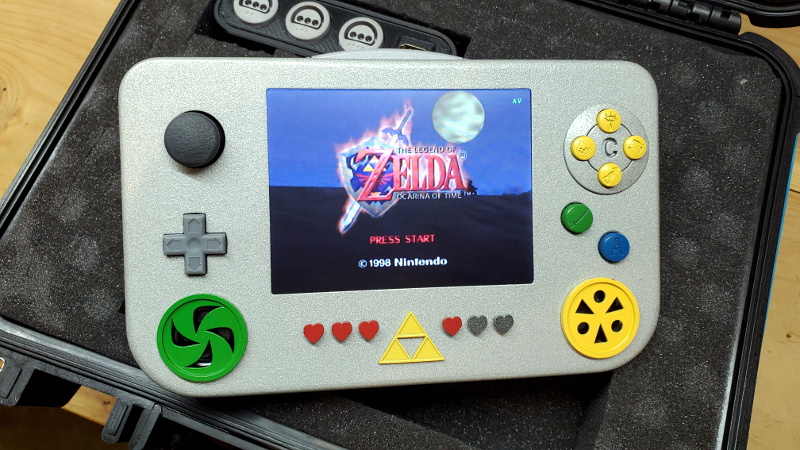
This Zelda: Ocarina of Time themed portable N64 by [Chris Downing] is a perfect example. While the device is using a legitimate N64 motherboard, nearly every other component has been designed and manufactured specifically for this application. The case has been FDM 3D printed on a Prusa i3, the highly-detailed buttons were printed in resin on a Form 3, and several support PCBs and interface components made the leap from digital designs to physical objects thanks to the services of OSH Park.
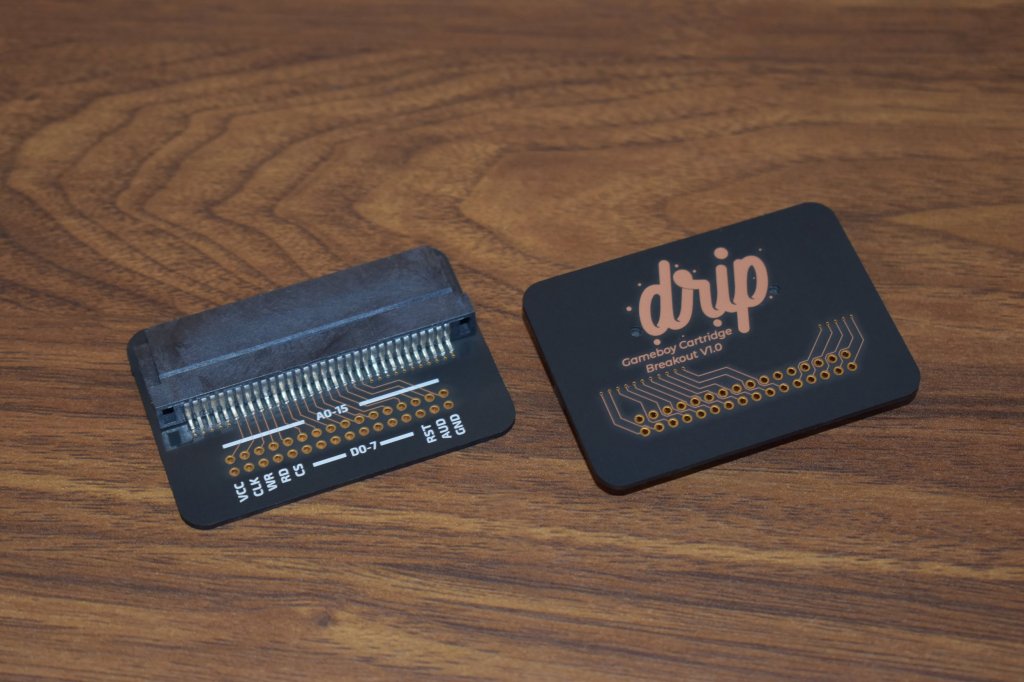
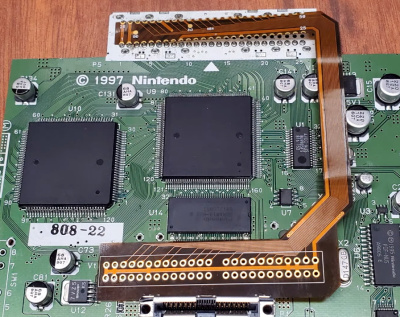
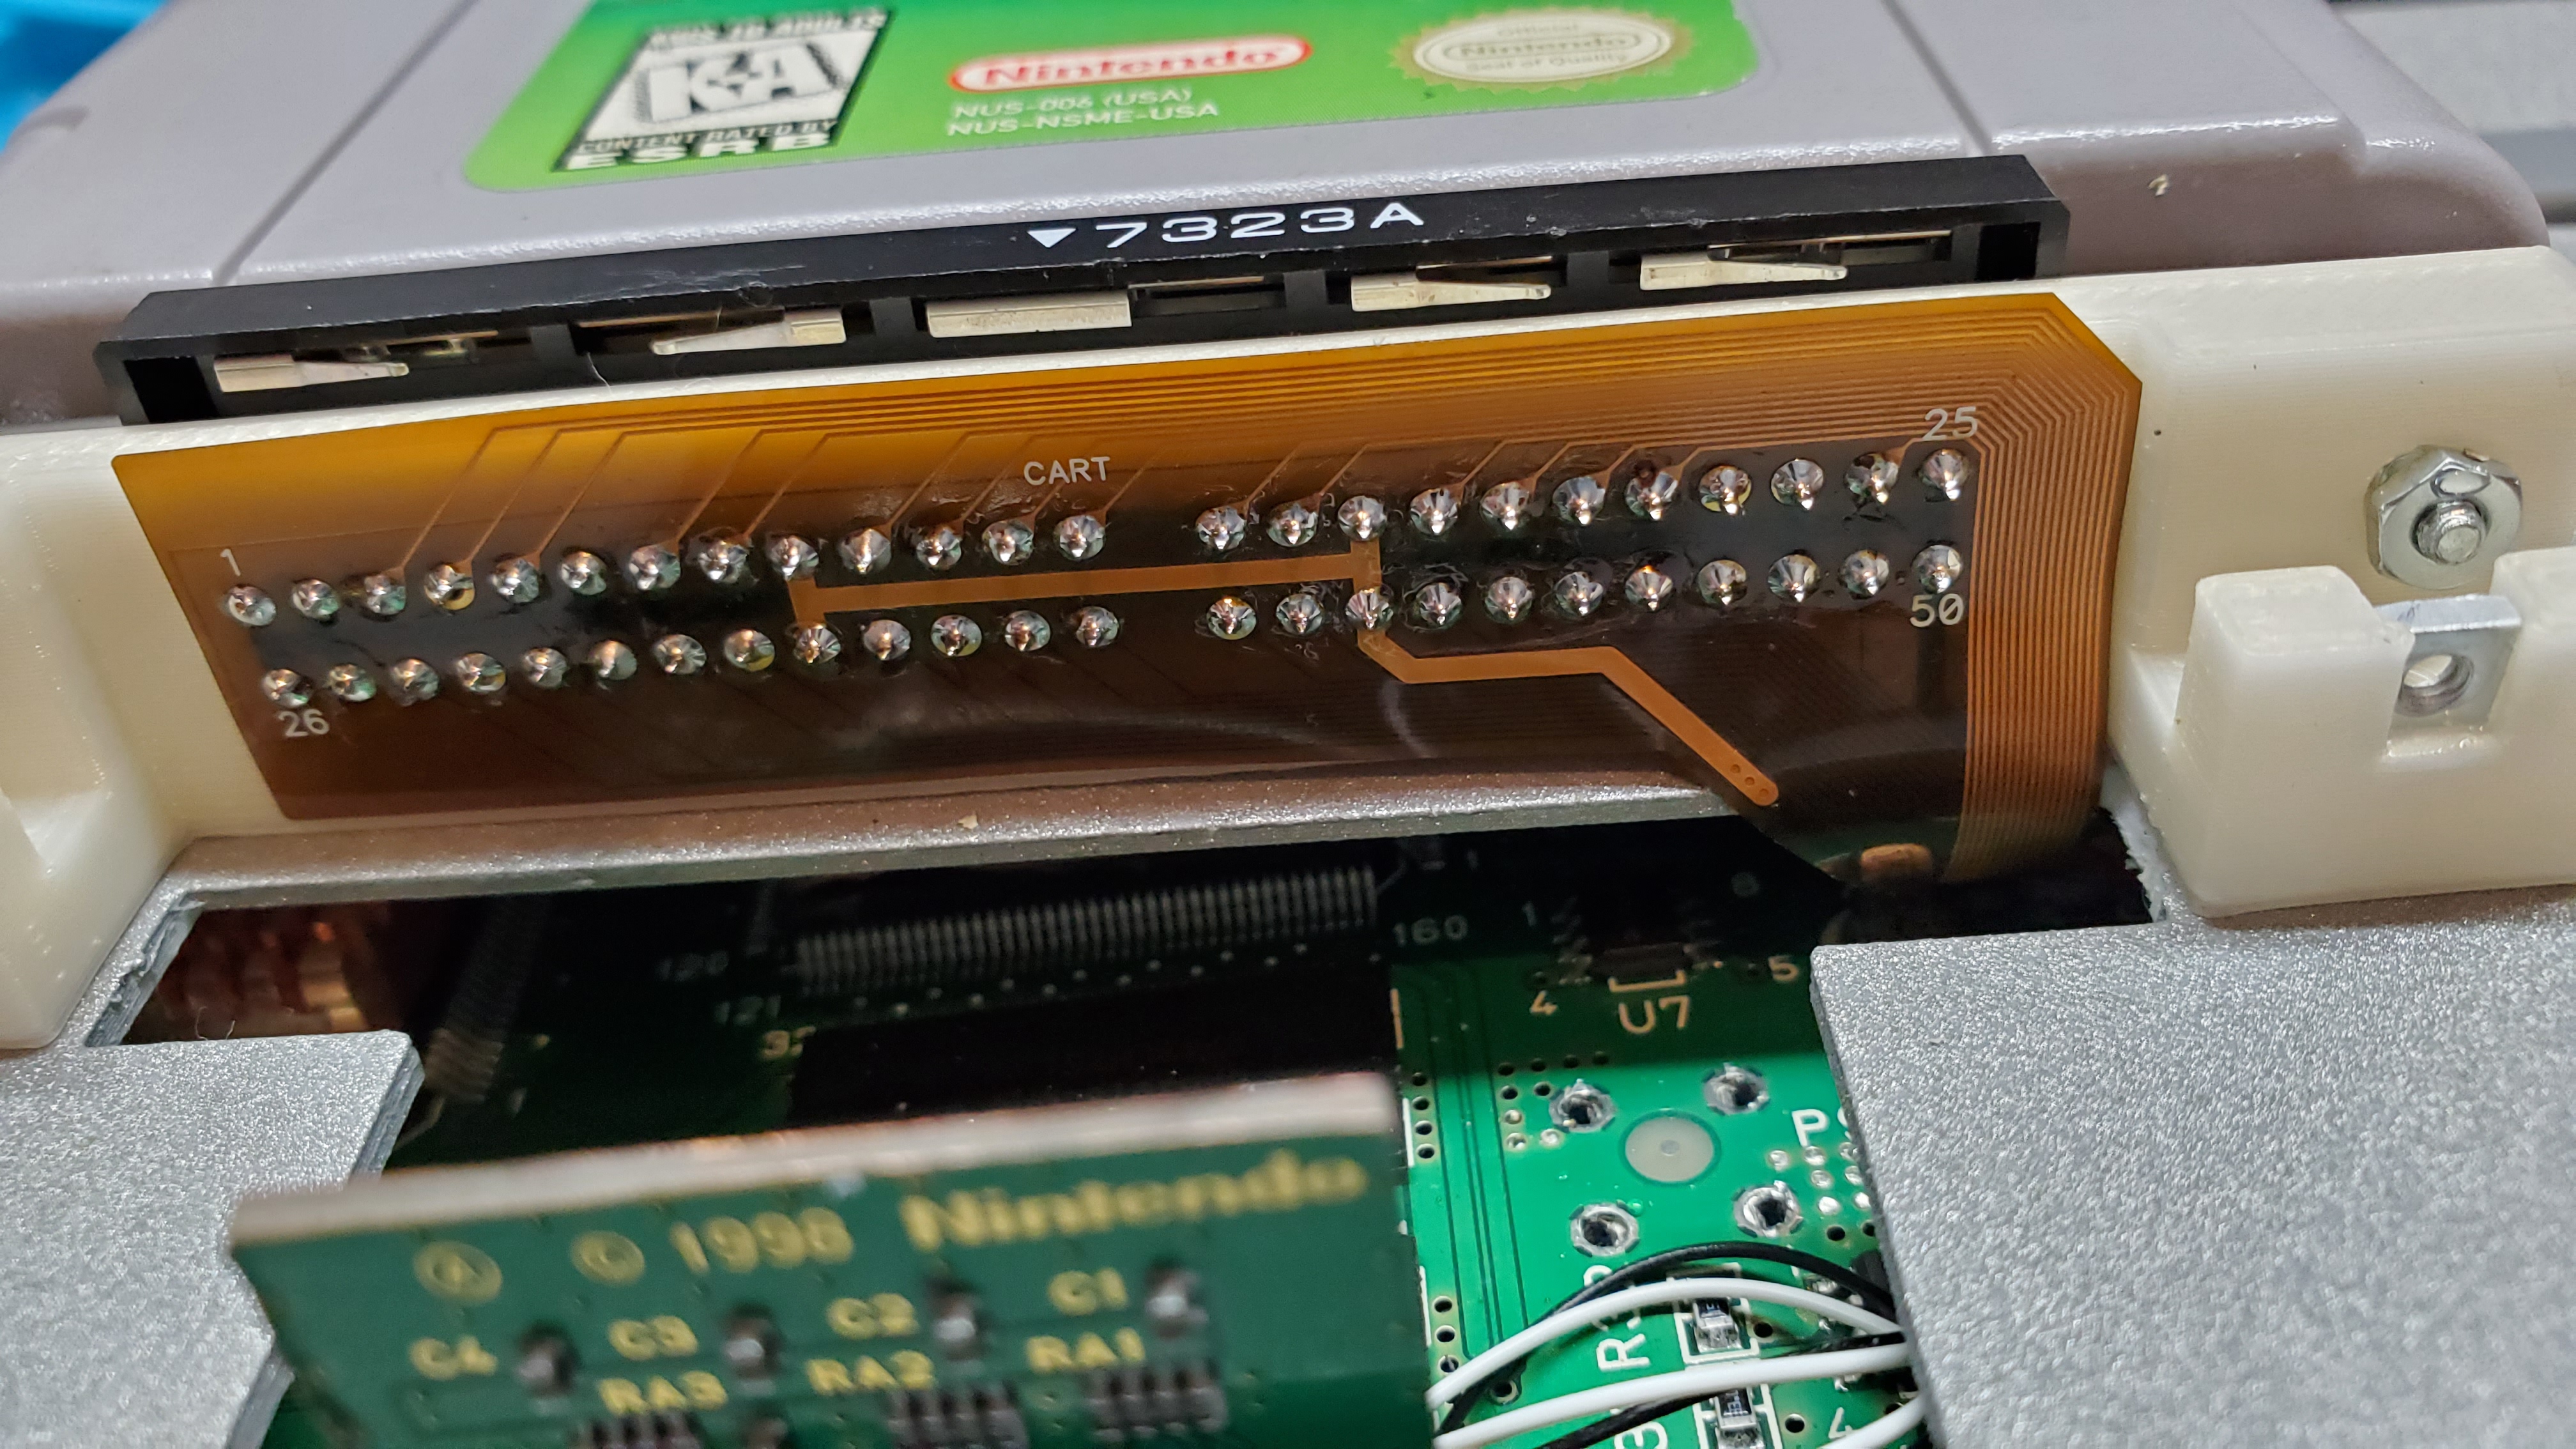
A custom made FFC to relocate the cartridge port.
Today, those details are becoming increasingly commonplace in the projects we see. But that’s sort of the point. In the video after the break, [Chris] breaks down the evolution of his portable consoles from hacked and glued together monstrosities (we mean that in the nicest way possible) to the sleek and professional examples like his latest N64 commission. But this isn’t a story of one maker’s personal journey through the ranks, it’s about the sort of techniques that have become available to the individual over the last decade.
Case in point, custom flexible flat cables (FFC). As [Chris] explains, when you wanted to relocate the cartridge slot on a portable console in the past, it usually involved tedious point-to-point wiring. Now, with the low-volume production capabilities offered by companies like OSH Park, you can have your own flexible cables made that are neater, faster to install, and far more reliable.
Projects like this one, along with other incredible creations from leaders in the community such as [GMan] are changing our perceptions of what a dedicated individual is capable of. There’s no way to be sure what the state-of-the-art will look like in another 5 or 10 years, but we’re certainly excited to find out.
I wish I could say that it hasn’t been two years since this project was commissioned…I also wish I could say this wasn’t the second time the job was completed…but if I didn’t have too, this beauty would have never existed. Kinda funny how that works.
But that said, after two years since the original agreement and a total remake of the original failure, Project 15 has come to light in the most beautiful portable console I’ve ever made. But not only has this been a technical achievement for me in many respects, but I’m very proud of the video I’ve made to accompany it.
You don’t have to scroll down very far in past posts to see what prompted this rebuild but at this point I can honestly say I’m glad it happened!
And on the subject of reliability, low volume FFC PCB’s have become available through services like OSH Park which have allowed some very time and space saving options that do wonders for the assembly.
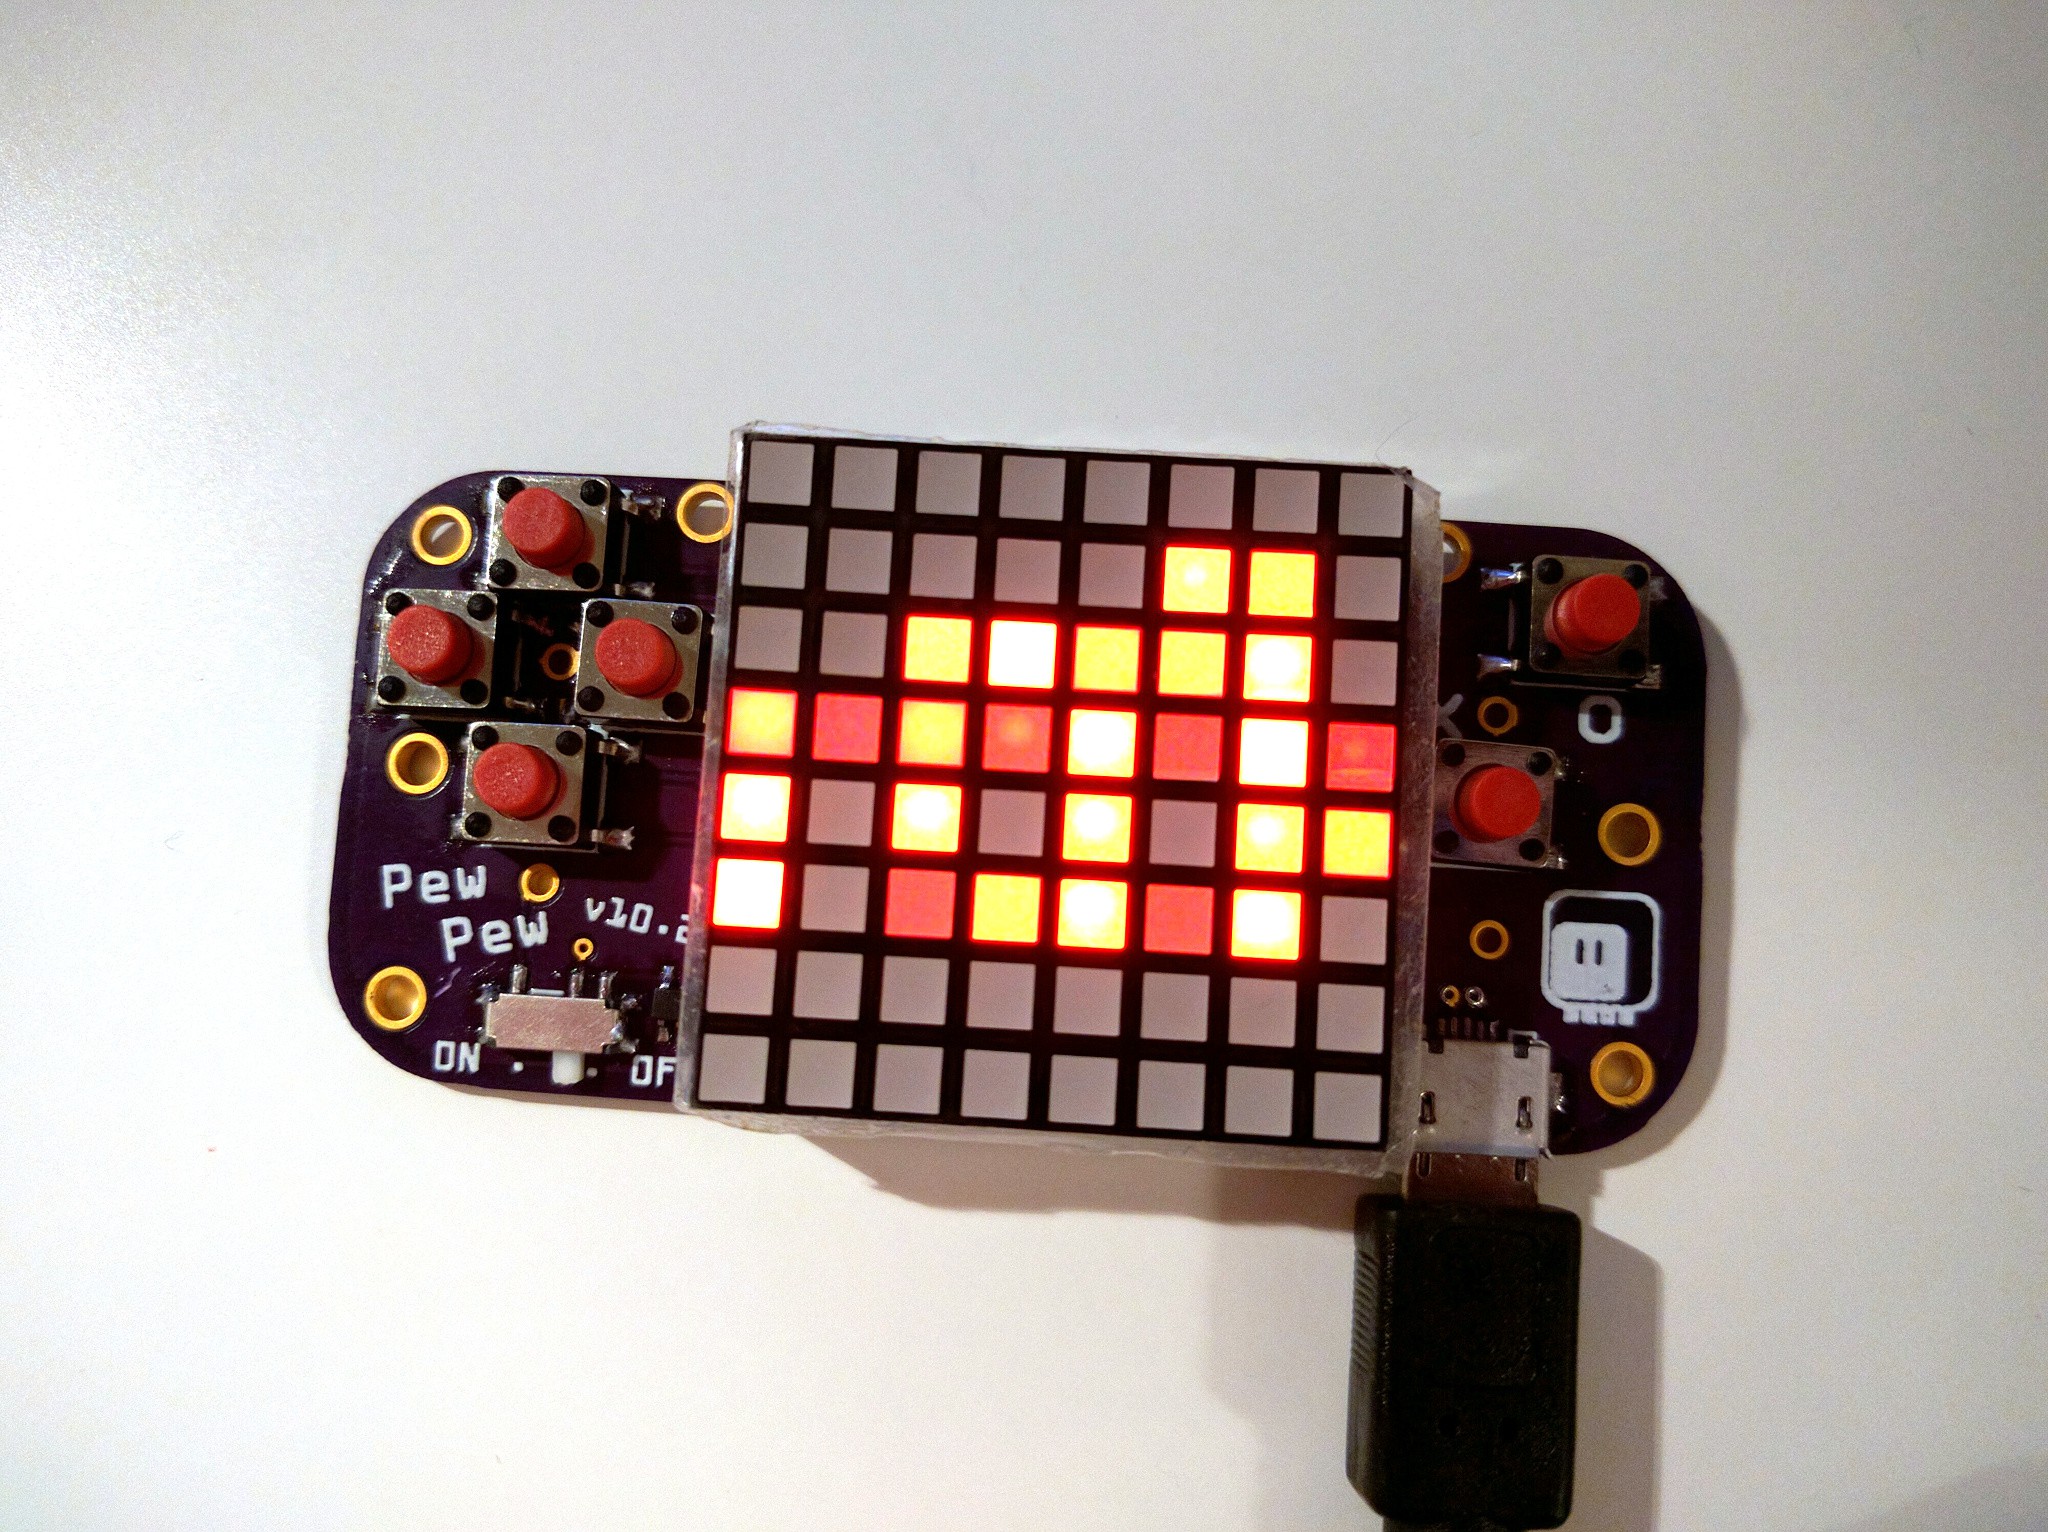
A Python-based micro game console, optimized for game development workshops.
I really like the #PewPew FeatherWing as a platform for teaching game development, but the cost of Feather boards needed to use it makes it difficult to organize workshops for larger groups of people. I have previously tried to work around that problem by merging the FeatherWing with the schematic stolen from a Trinket M0 (with an additional flash memory), but the resulting design was complex, difficult to make and still a bit expensive. Now after having designed a few more CircuitPython boards I think I can really cut the costs and make a standalone device with all the functionality of the original shield, but optimized for workshops.
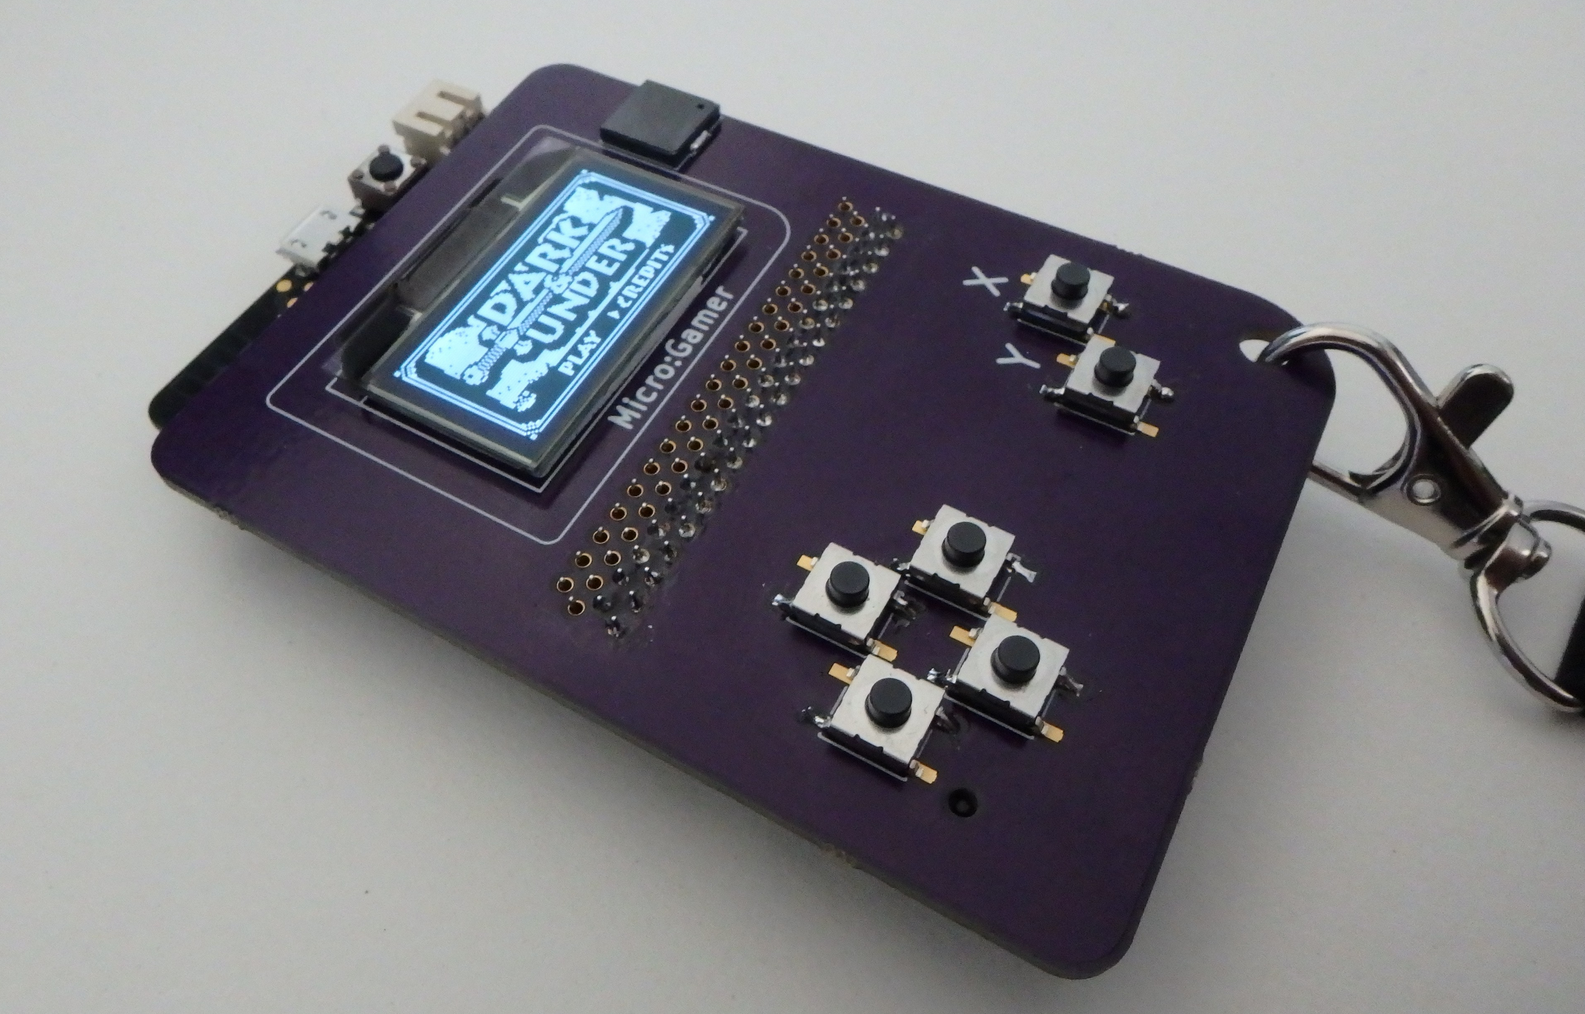
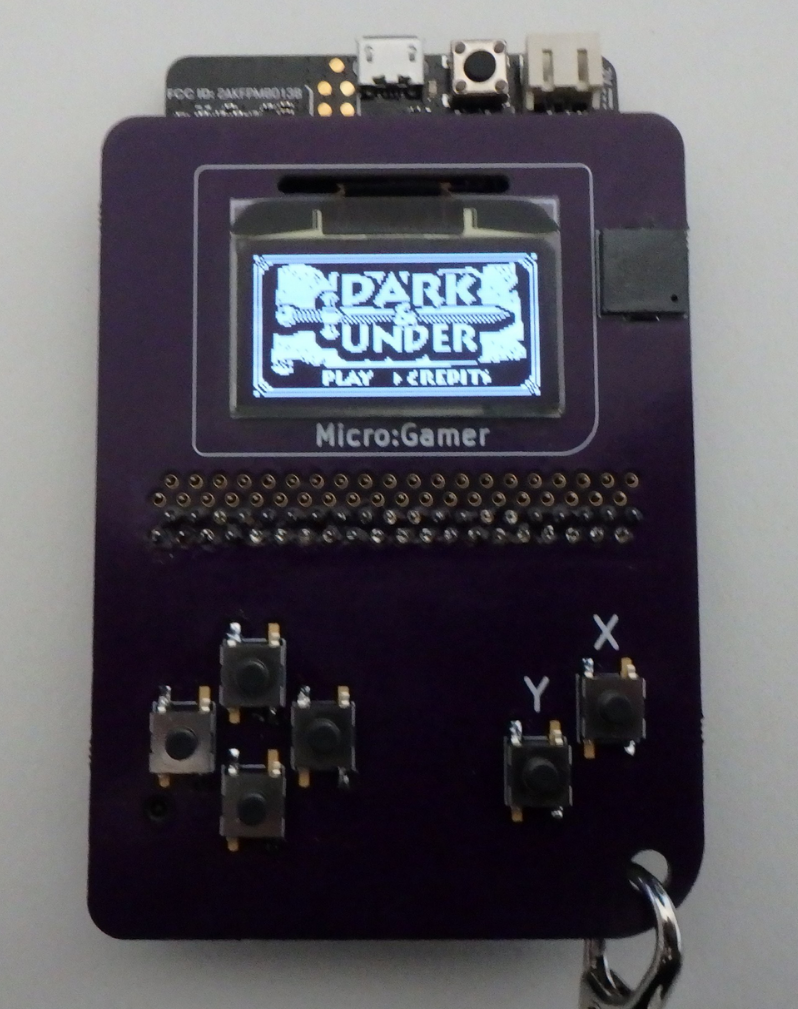
The BBC micro:bit single board ARM computer aimed at education does not feature as often as many of its competitors in these pages. It’s not the cheapest of boards, and interfacing to it in all but the most basic of ways calls for a slightly esoteric edge connector. We’re then very pleased to see that edge connector turned from a liability into a feature by [Fabien Chouteau] with his handheld console, he uses micro:bits preprogrammed with different games in the manner of game cartridges in commercial consoles.
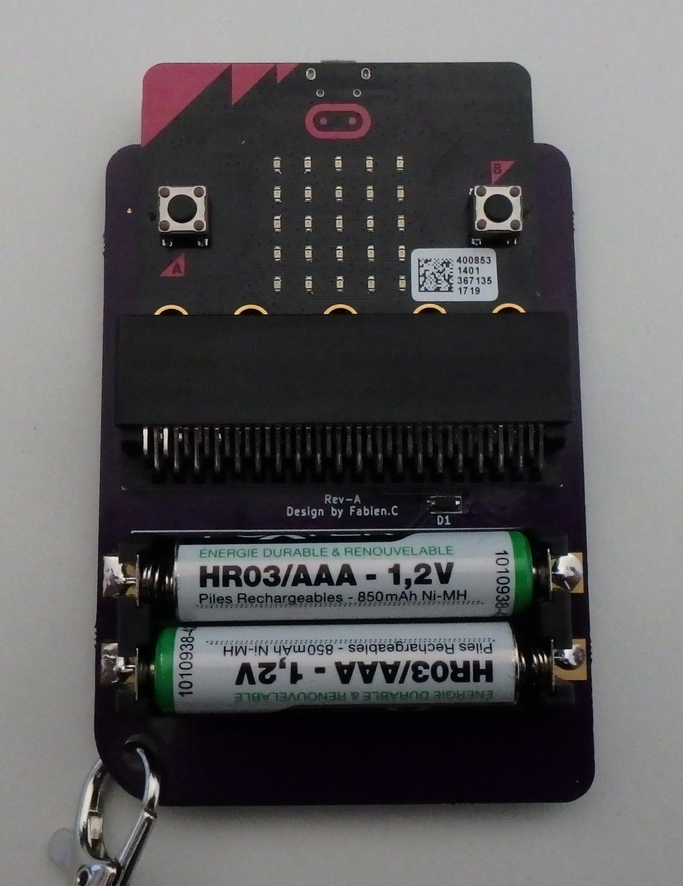
The micro:bit sits in its edge connector on the underside of a handheld PCB above a pair of AAA batteries, while on the other side are an OLED display and the usual set of pushbuttons. It’s a particularly simple board as the micro:bit contains all the circuitry required to support its peripherals.
He’s coded the games using the Arduino IDE with a modified version of the Arduboy2 library that allows him to easily port Arduboy games written for Arduino hardware. It’s a work in progress as there are a few more features to incorporate, but the idea of using micro:bits as cartridges is rather special. There is a video of the console in action, which we’ve placed below the break.
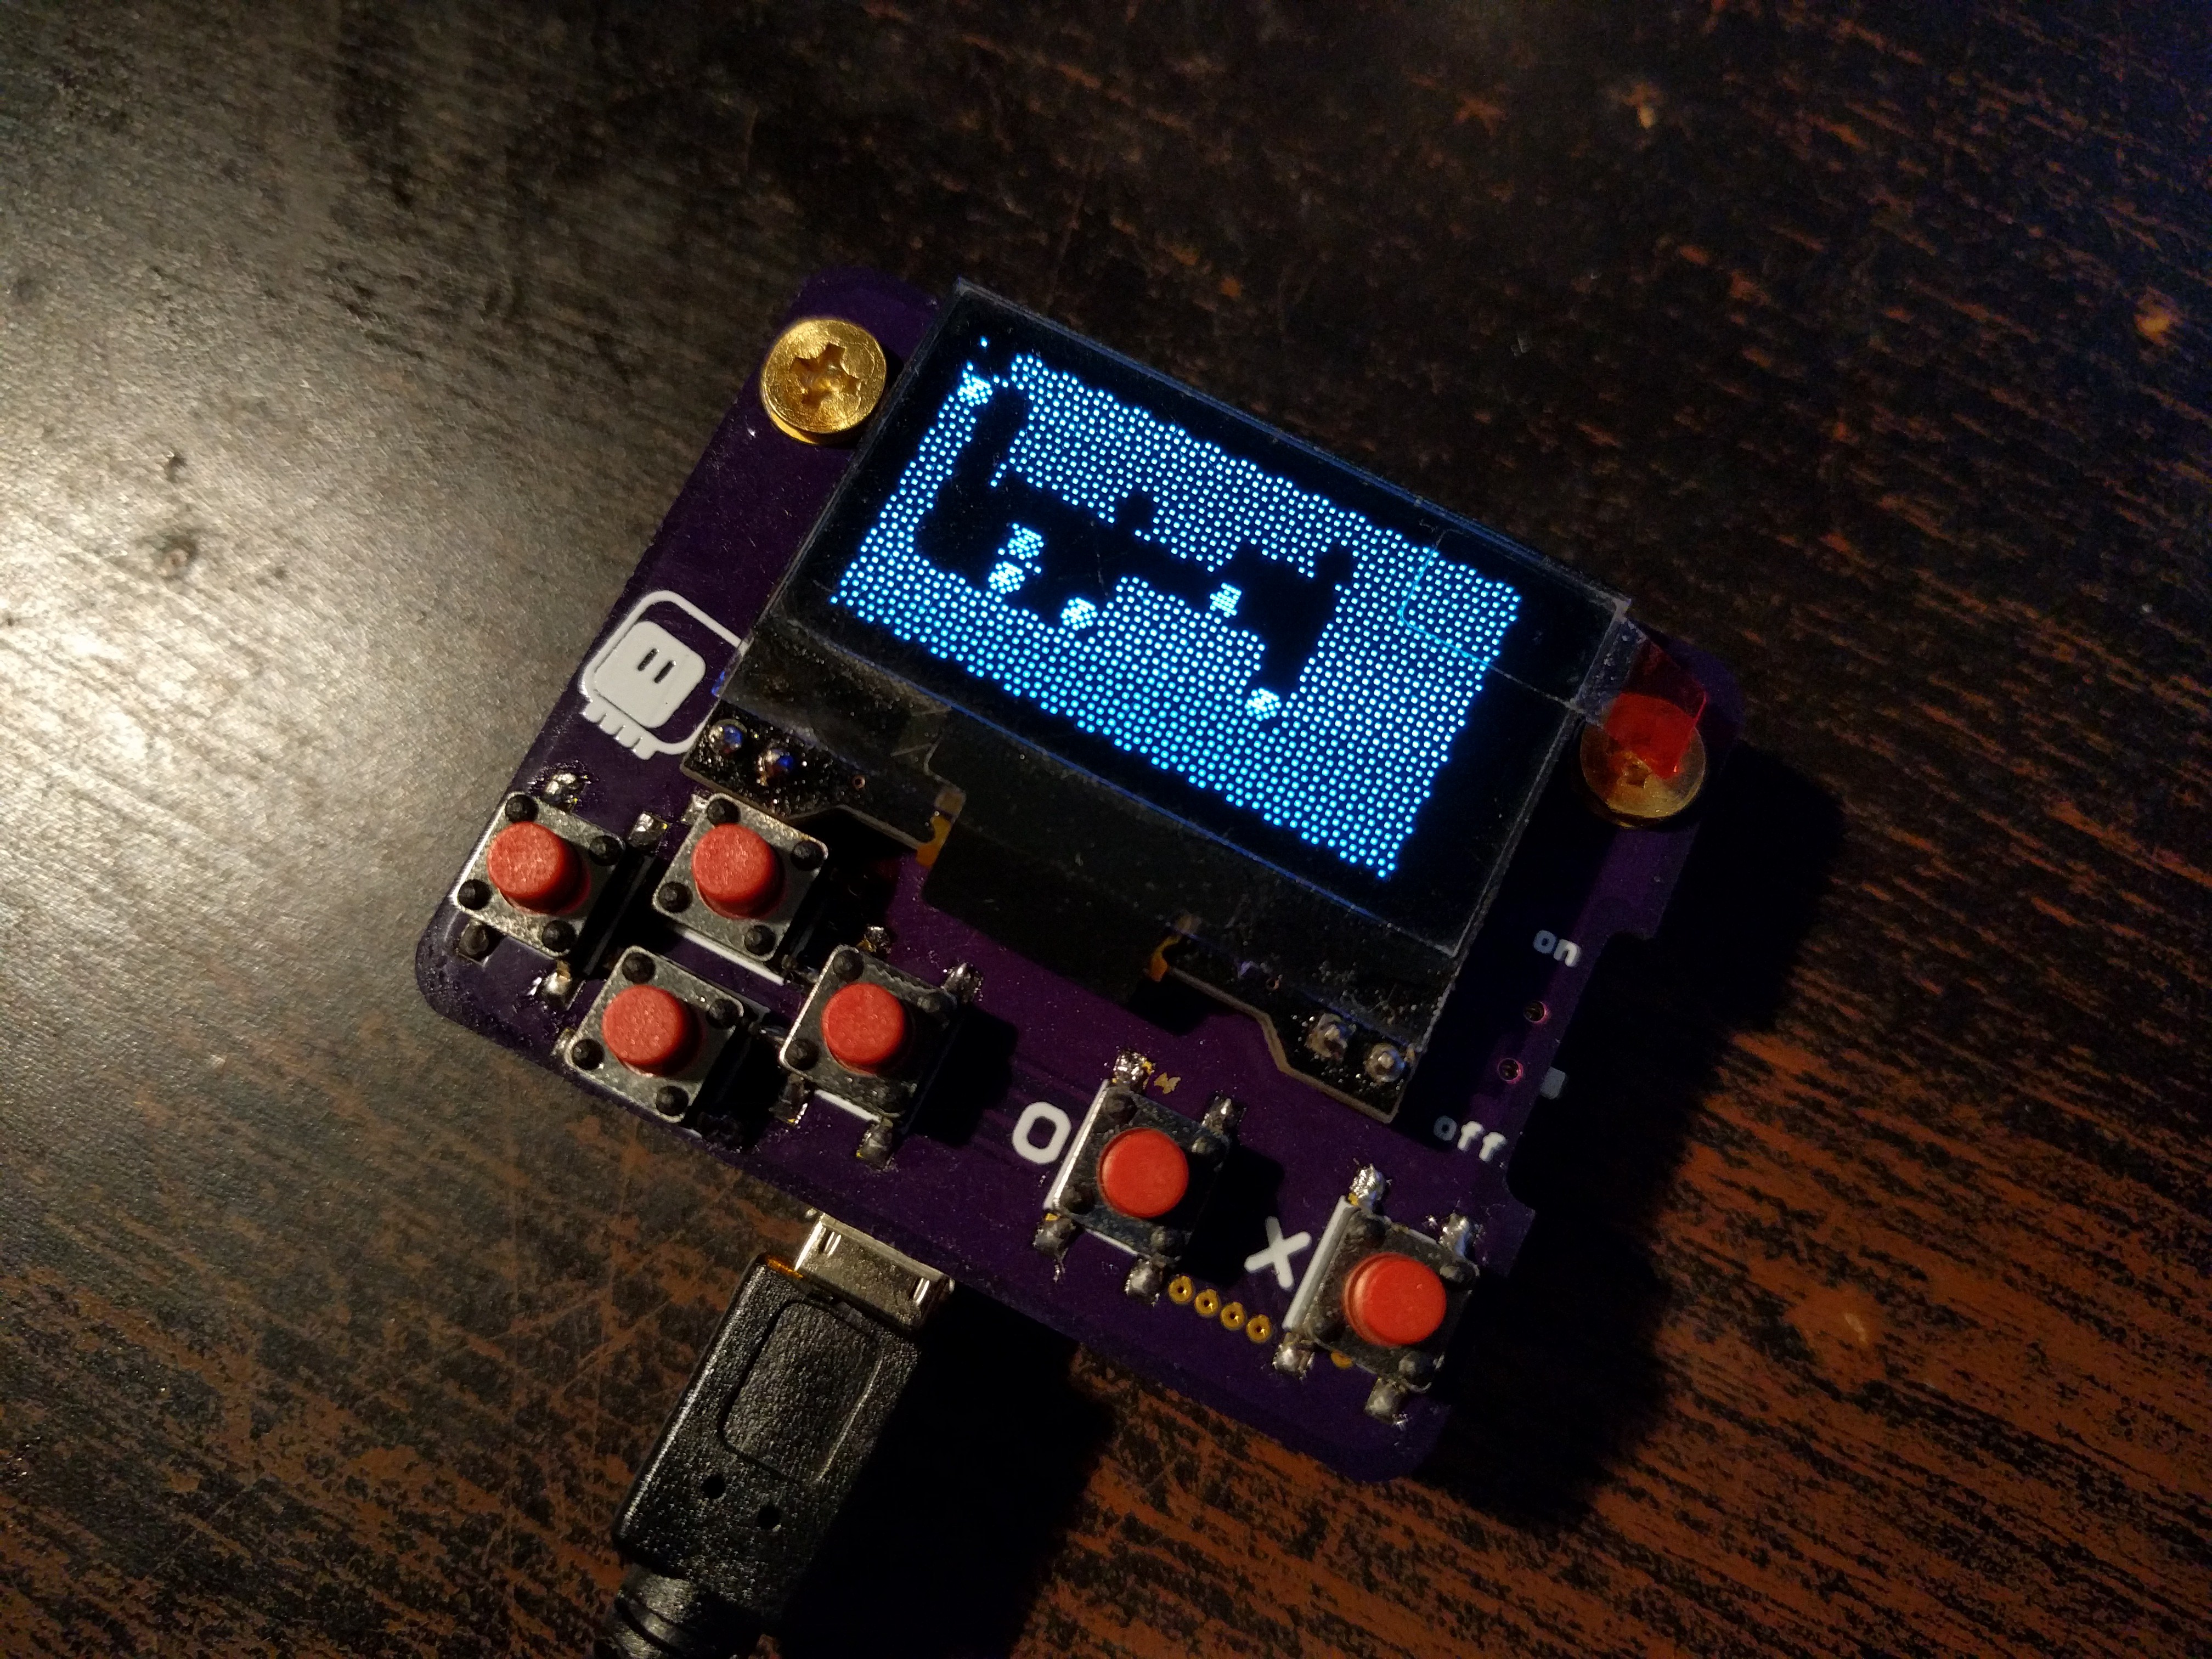
The Micro:bit is a pretty decent platform for teaching kids to program, but you can’t really make arcade-style games for it. You only have two buttons and a 5×5 display. Perhaps enough for a very small snake game, but that’s pretty much it. That’s why I started working on #PewPew FeatherWing as an alternative platform, but at some point I started wondering if it’s really impossible to do it on the micro:bit.
When the most recent version of micropython got the ability to use any pins for I2C, I realized that I can finally connect a display easily. I could use a HT16K33 and a 8×8 LED matrix like on the PewPew, but I decided to try something else — a monochrome OLED display, similar to the one used on many Arduino-based game consoles.
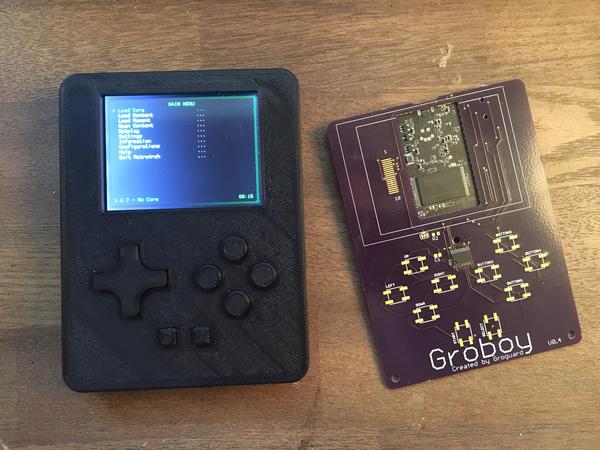
Groboy, created by Groguard, is a C.H.I.P. Pro-powered handheld system designed to run retro console emulators and games on the go.
It’s also a testament to the open source community, readily available data sheets and manufacturing houses, and the tenacity to teach yourself engineering. Groguard, like many of us, is self-taught and pursuing his passion for making through custom projects.
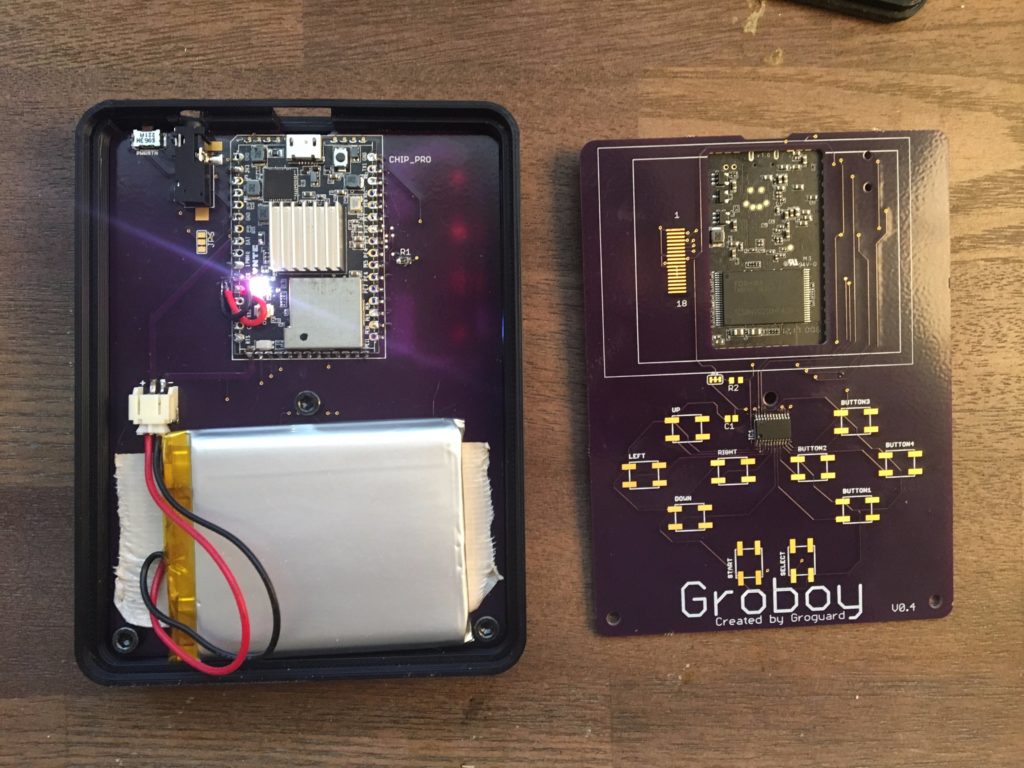
After 4 revisions of the board, Groguard had the design where he wanted it. The custom OSH Park PCB at the heart of Groboy routes signal lines from the 2.8″ TFT display, headphones jack, internal 2500mAh LiPo battery (he estimates 3-5 hours of battery life, though he’s not rigorously tested it), and the PCA9555 I2C GPIO expander, which manages inputs from the 11 onboard buttons, to the respective input and output pins on C.H.I.P. Pro.
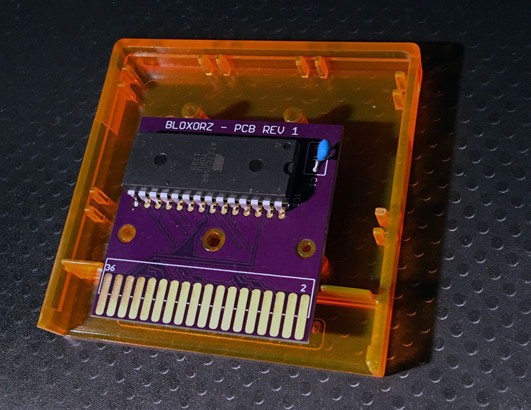
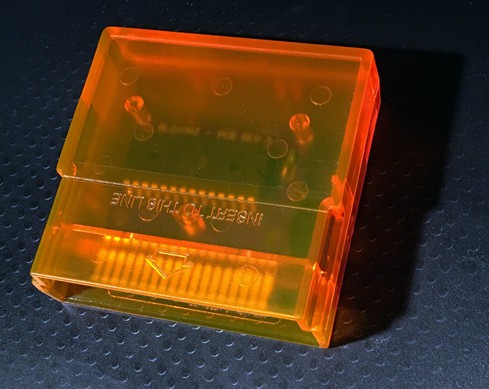
It fits in this 3D printed case from Thingiverse (you can order it here in my Shapeways shop), or in one of the nice new injection molded cartridge shells from Sean Kelly
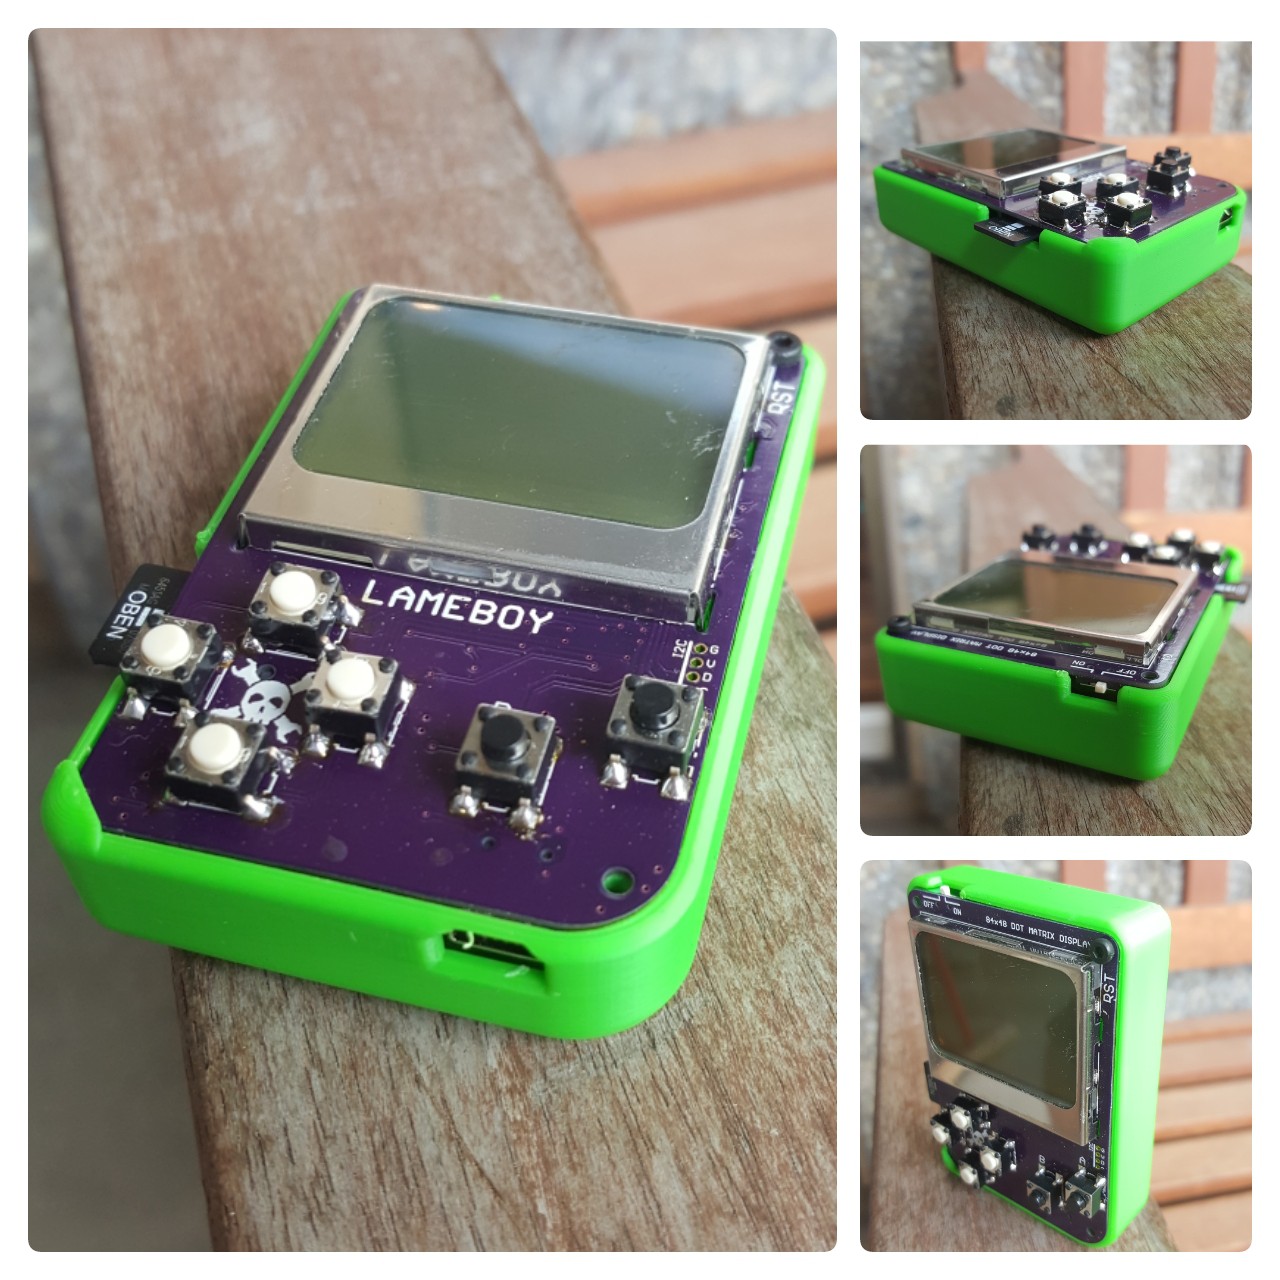
Ever since Nokia 3310 / 5110 display board I’ve wanted to slap on an ESP module and some buttons to make a nice little portable handheld. Now with some googling and checking out other projects how they get their stuff done and a bit time on hand while on vacation I’m using every spare minute to work on this PCB. There are some minor things I’m not sure about that need testing, but the general concept is clear.