We are proud to sponsor the beautiful B-Sides PDX 2019 badge that Maggie designed!
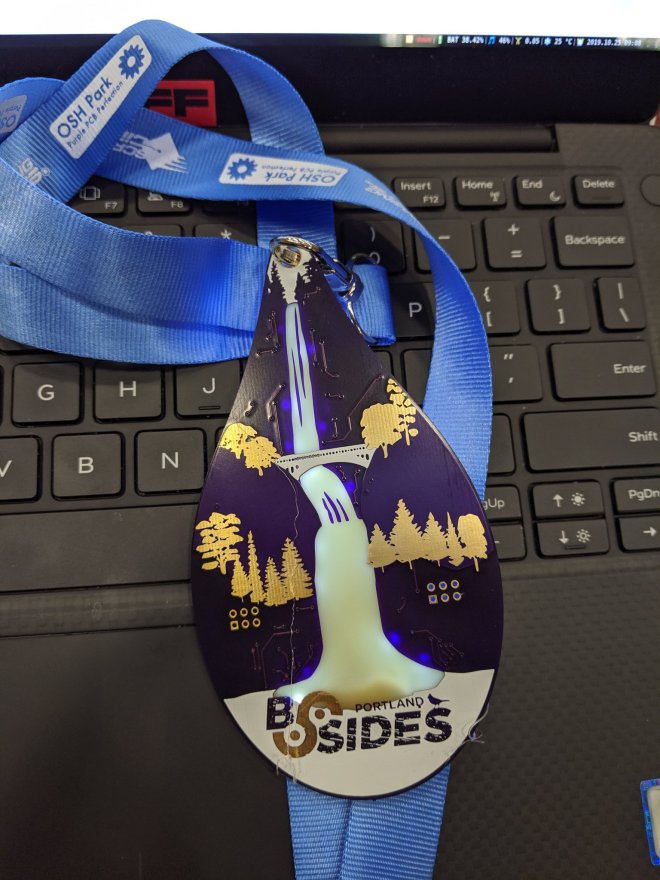
Check out the badge of Twitter:
We are proud to sponsor the beautiful B-Sides PDX 2019 badge that Maggie designed!
Check out the badge of Twitter:
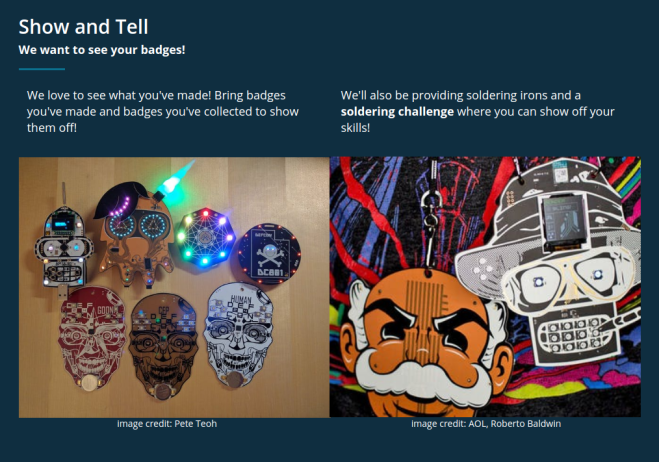
Have you ever created a badge? Are you currently working on a badge? You are invited as a guest of honor to Hackster’s BadgeLove! Meetup. We want to take an evening to appreciate the hardware heroes who do the often thankless and frequently futile task of creating PCB artwork, shitty add-ons, and PCB badges.
We are excited to toast the winners of last winter’s BadgeLove! contest on Hackster. Come in person, record a video or join via YouTube Live, and show us what you’ve built.


Reduce, Reuse, Recycle with this durable business card. Instead of filling landfills with dead trees, you can fill the bits in their contact folder by sharing your VCARD with a simple tap. The logo glows when the tag is read to acknowledge the transaction. There are also holes in the corners so that you can mount it, or wear it if you feel the need to join #badgelife.
https://www.instagram.com/p/Bngl2wlFATu/?utm_source=ig_embed_loading
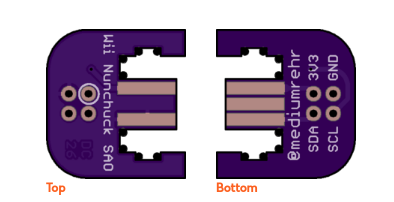
This design uses the ST25DV04 to share contact information through NFC. It takes advantage of the energy harvesting function to light up the logo when the tag is read. The logo is lit by reverse mounted LEDs shining through the board from the back side.
The easiest way to configure the part is with one of the mobile apps provided by ST on their website. See the instructions for more details on configuration.
The design is available at Upverter. All the parts are available from Mouser and you can find links in the bill of material at Octopart.
We are excited to announce this new contest with Hackster.io and Autodesk:
BadgeLove by Hackster: The Blinkiest Badge Challenge on Earth!
Win up to $5,000+ in prizes!
#BadgeLife is the new electronic graffiti. This form of art is in a league of its own, first popularized by DEFCON hackers, now boasts serious technical sophistication, a wicked artistic flair, peppered with political, cryptography, social, cultural and comical narratives, flashing LEDs and screens with add-ons galore.
You are invited to join our first, and certainly not last, BadgeLove challenge, sponsored by OSH Park, Autodesk EAGLE & Fusion 360, and Hackster.
Share your unique design with 700,000+ Hacksters and we will reward badge fanatics for their beautiful, weird, cool contributions.
")

")
")
Shared project by Rob Rehr (@mediumrehr) to connect Wii controllers to #badgelife add-on header:
![]()
Notes from the presentation by Drew Fustini (@pdp7) on the OHS18 badge at the Alternative Computing Club meeting in Chicago
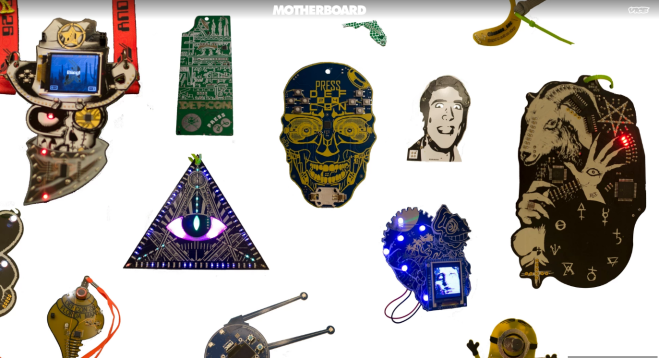
Motherboard article: “A History of Badgelife, Def Con’s Unlikely Obsession with Artistic Circuit Boards”
Badgelife documentary by Hackaday

Here is my brief overview of the badge on stage at the Summit:

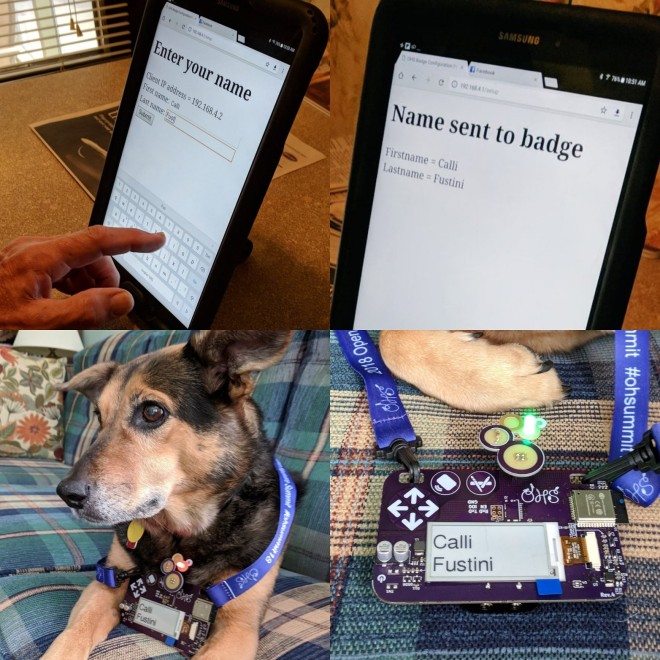
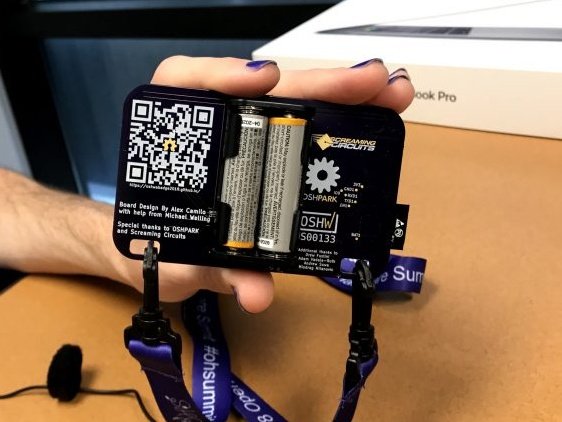
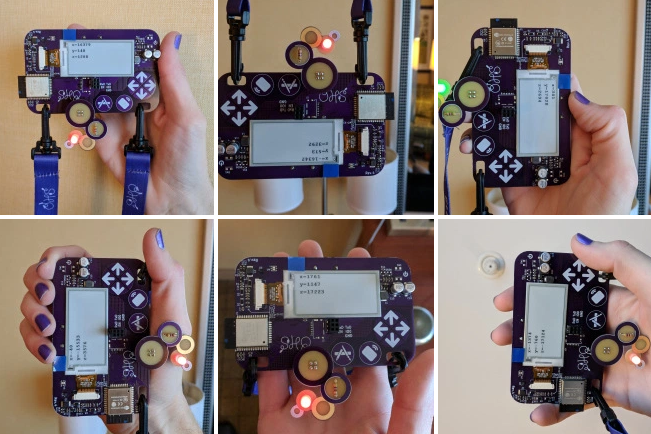
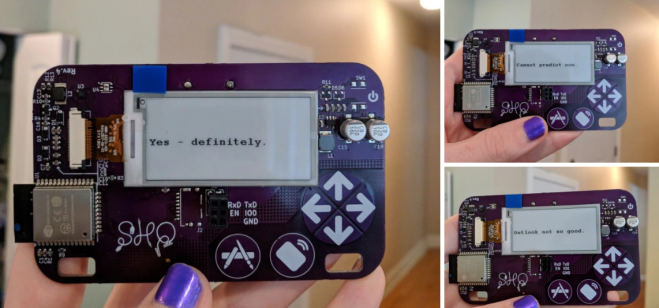
OSH Park and Screaming Circuits produced an electronic conference badges for the 2018 Open Hardware Summit. Hardware design by Alex Camilo based on concept from ESP trINKet by Mike Rankin. Features for the OHS18 badge: ESP32 microcontroller with built-in WiFi; E-Paper to display the badge wearer’s name; badge wearer can update the displayed text from phone, tablet or laptops. Powered by 2x AA batteries.

")


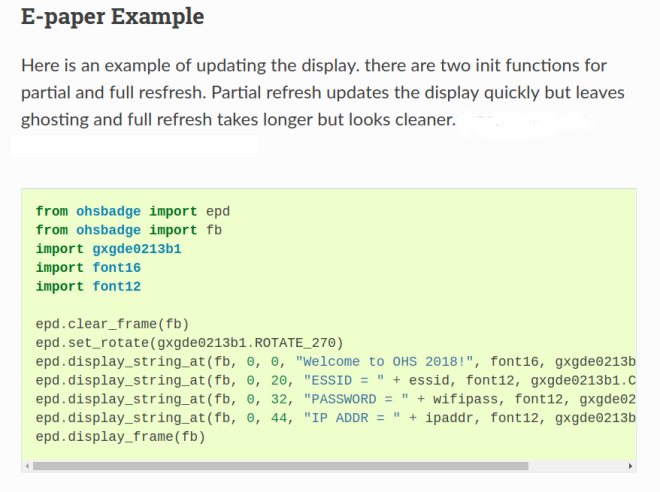
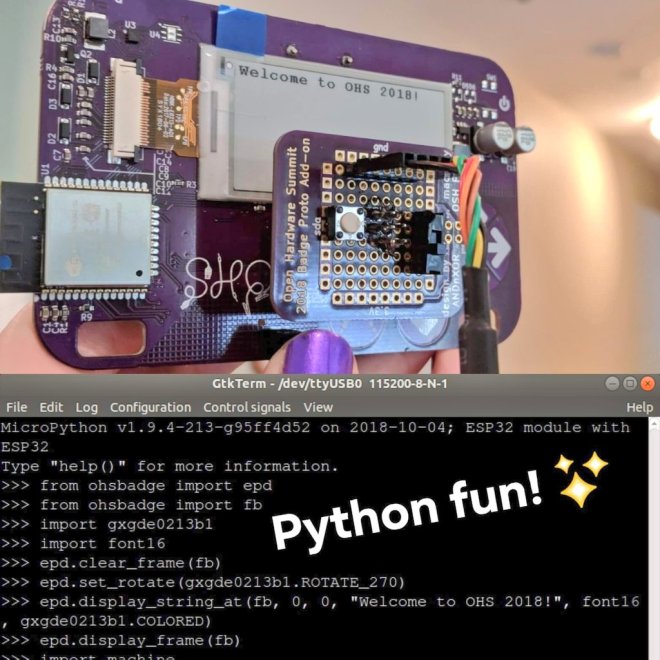
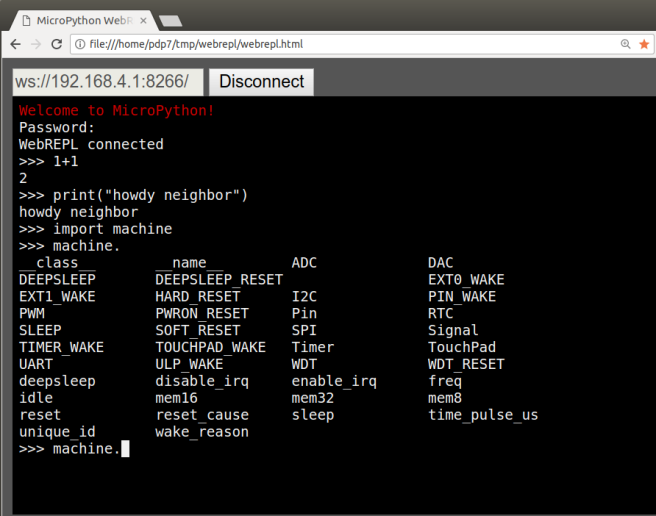
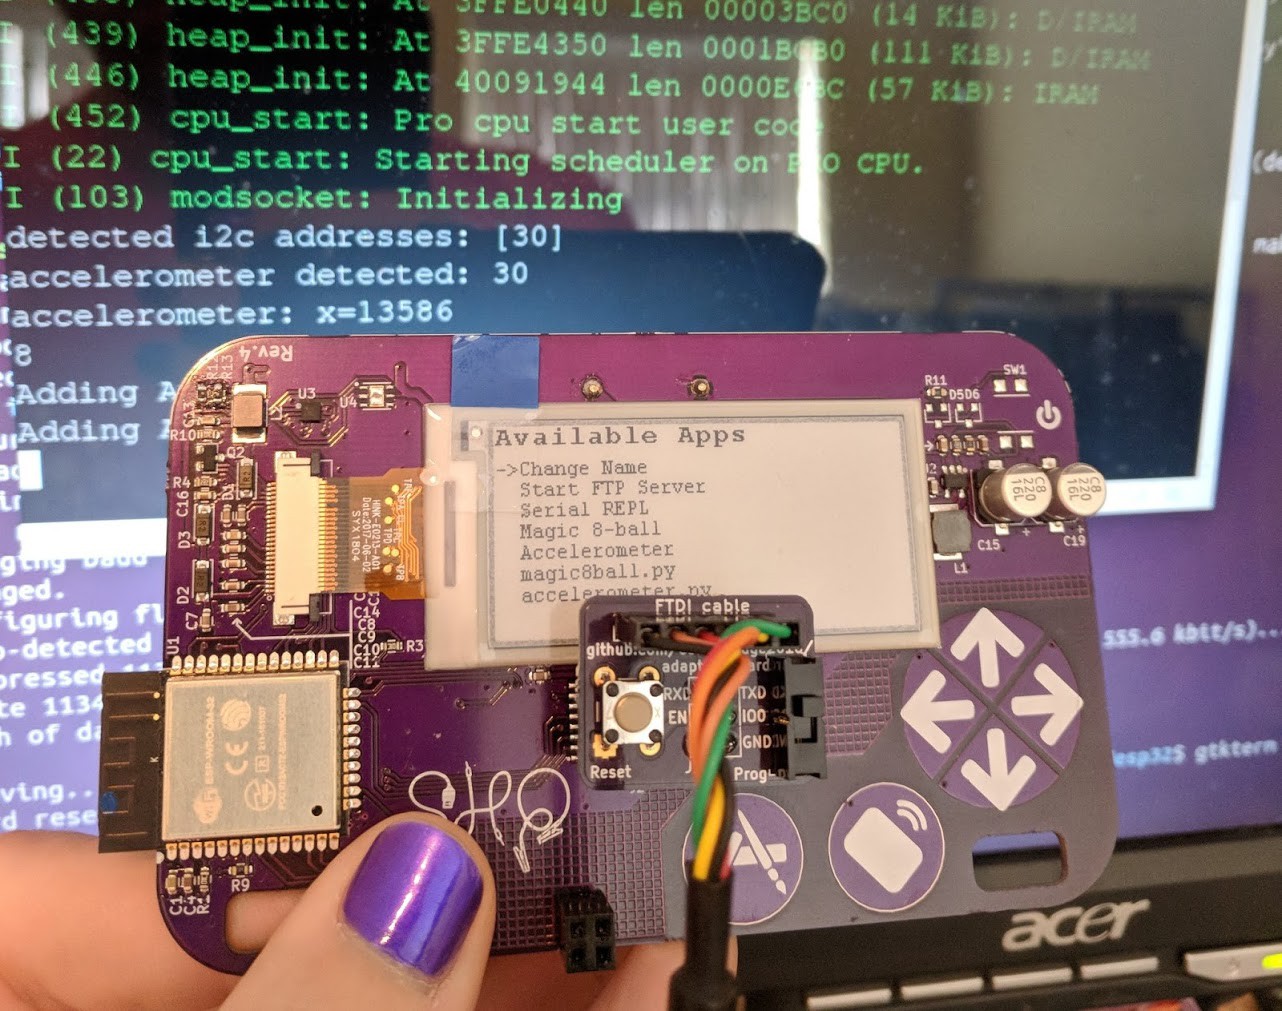
To use the interactive Python prompt (REPL), press the menu button on the badge and select Serial REPL from the Available Apps menu. The terminal emulator connected to the serial port should then display the interactive Python prompt (REPL). You can type in MicroPython code to experiment.
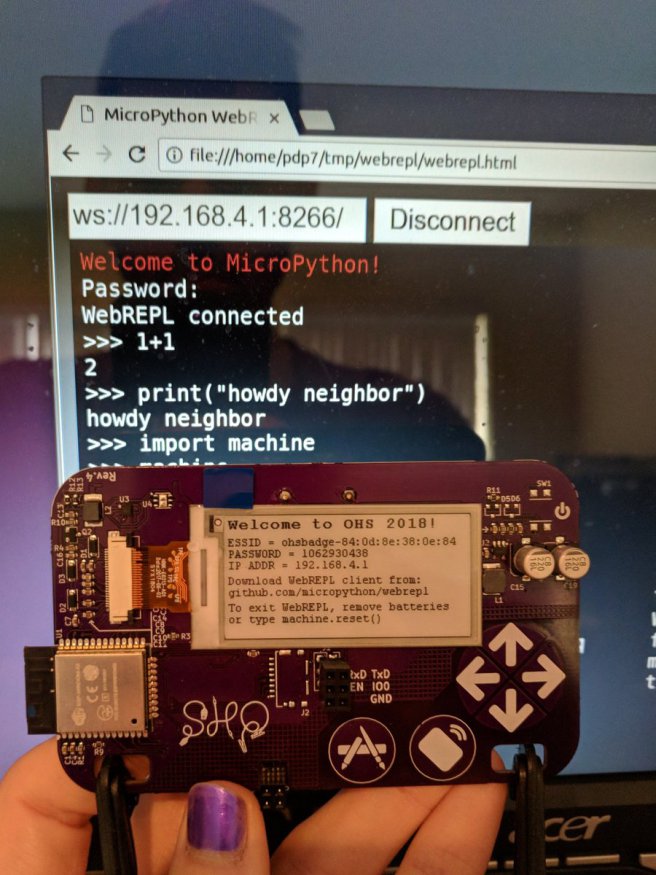
he 2018 Open Hardware Summit badge runs MicroPython firmware which allows for an interactive programming experience known as the REPL:
REPL stands for Read Evaluate Print Loop, and is the name given to the interactive MicroPython prompt that you can access on the ESP8266. Using the REPL is by far the easiest way to test out your code and run commands.
There is an USB-to-serial adapter board which be used to access the REPL on the badge via the serial port. However, a simpler option is to use the WebREPL:
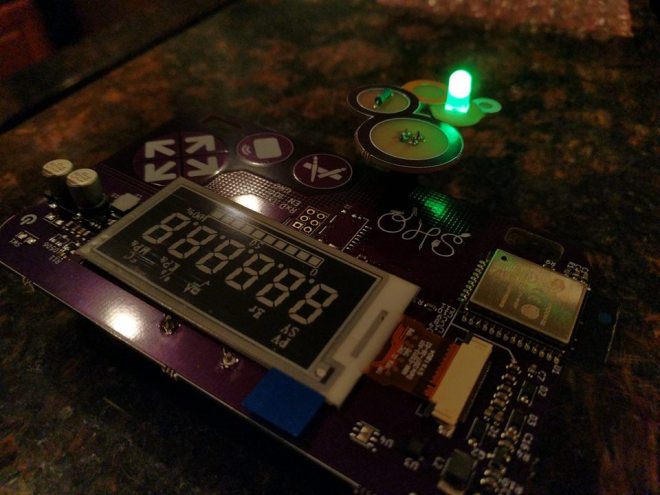
The OHS18 badge also features the DefCon 26 #badgelife add-on header. Andrew Sowa designed this OSHWA-themed Learn to Solder add-on board to connector the badge add-on header:


Alex Camilo created this wonderful programming jig! Drew was able to use it to program all 300 badges and provision the names of the 150 people that pre-registered in time. Thanks so much to Artisan’s Asylum makerspace near Boston for giving us a space to work on the badges before the Summit!
")

")
")
Brian Benchoff writes on Hackaday:
The boards were made through OSH Park, and Screaming Circuits took care of the assembly. Anyone who has ever built a badge will tell you it isn’t the assembly that gets you — it’s the programming and provisioning. This is especially true since the Open Hardware Summit badge is distributed with the attendee’s names already preloaded. That’s a few hundred badges, all with unique firmware. This is a nightmare by any definition.
However, there’s always a good solution to a problem, and [Drew] from OSH Park showed me the best programming jig I’ve ever seen during the Summit pre-game at Artisan’s Asylum.
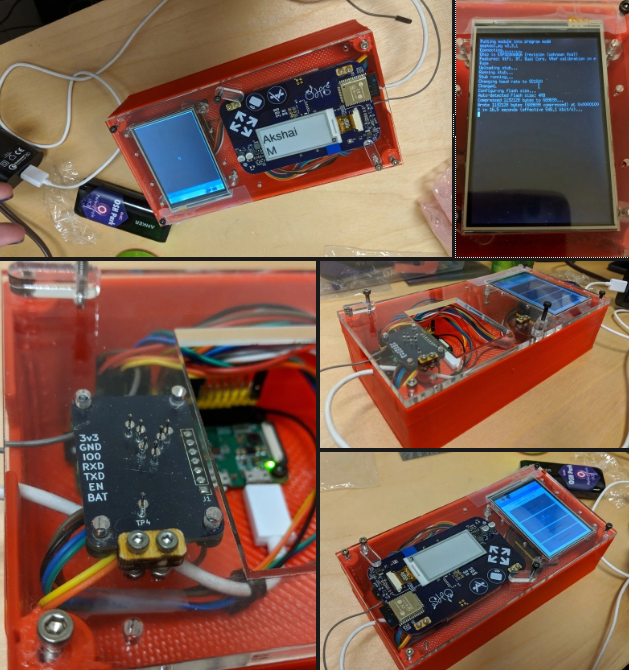
What you’re looking at is a 3D printed box loaded up with a touch-screen display, a Raspberry Pi Zero W, and a few pogo pins. This Raspberry Pi does all the heavy lifting by connecting to the Internet, pulling down the current version of the firmware, and loading that firmware onto the badge. There are a few more options thanks to the touch-screen interface, including provisioning all the badges with the names of the attendees — this can be done by reading a list of attendees and uploading the next one to the badge in the jig. All of this is wrapped up with a nice laser-cut cover that securely holds each badge exactly where it needs to be for the pogo pins to make contact.
This is, without question, the best programming jig I’ve seen. Any badge makers out there should take note: this is how you program a few hundred badges. The badge, itself, is great and just as this post is published there will be hundreds of eager hackers futzing about with this remarkable piece of hardware. If you want to check out the current progress of the badge hacking, check out the updates on Twitter
Tonight, November 16th, at DePaul’s IRL makerspace in Chicago, Drew Fustini be speaking about the Open Hardware Summit badge and Rudy will be speaking about the Thotcon badge:
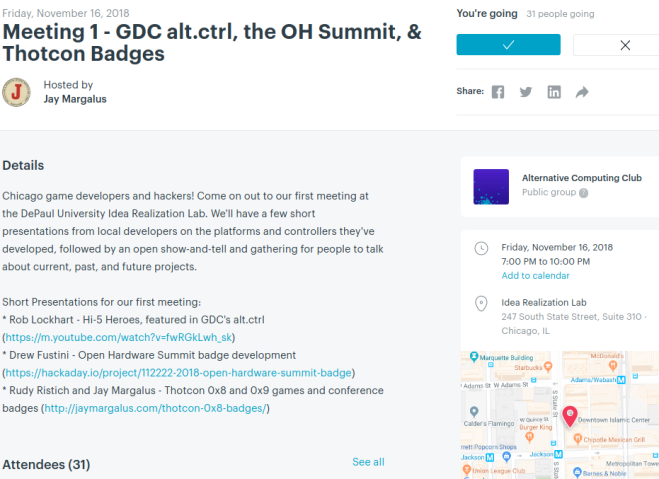
Chicago game developers and hackers! Come on out to our first meeting at the DePaul University Idea Realization Lab. We’ll have a few short presentations from local developers on the platforms and controllers they’ve developed, followed by an open show-and-tell and gathering for people to talk about current, past, and future projects.
Short Presentations for our first meeting:
Rob Lockhart – Hi-5 Heroes, featured in GDC’s alt.ctrl (https://m.youtube.com/watch?v=fwRGkLwh_sk)
Drew Fustini – Open Hardware Summit badge development (https://hackaday.io/project/112222-2018-open-hardware-summit-badge)
Rudy Ristich and Jay Margalus – Thotcon 0x8 and 0x9 games and conference badges (http://jaymargalus.com/thotcon-0x8-badges/)
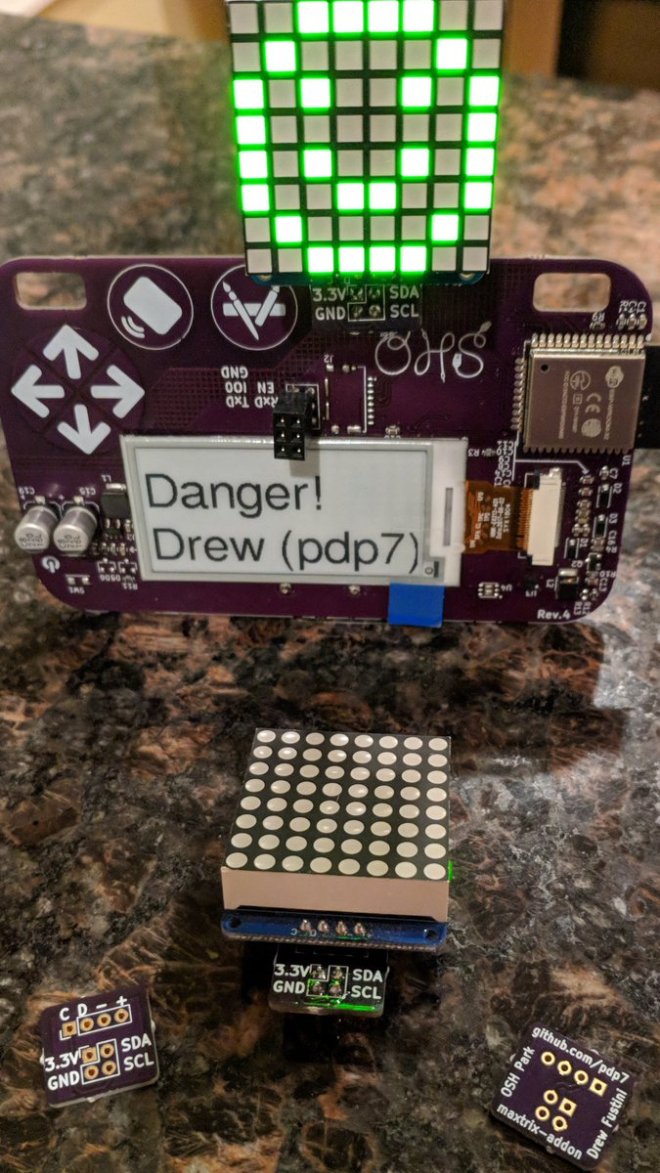
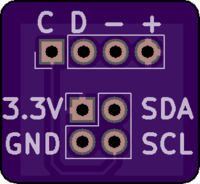
Adapter board to attach Adafruit 8×8 LED Matrix board as #badgelife add-on (using the DC26 SAO 2×2 pin header)
KiCad design files:
#badgelife add-on adapter for Adafruit 8×8 LED matrix
![]()
MicroPython support:

The 2018 Open Hardware Summit badge runs MicroPython firmware which allows for an interactive programming experience known as the REPL:
REPL stands for Read Evaluate Print Loop, and is the name given to the interactive MicroPython prompt that you can access on the ESP8266. Using the REPL is by far the easiest way to test out your code and run commands.
There is an USB-to-serial adapter board which be used to access the REPL on the badge via the serial port. However, a simpler option is to use the WebREPL:

WebREPL allows you to use the Python prompt over WiFi, connecting through a browser. The latest versions of Firefox and Chrome are supported.
For your convenience, WebREPL client is hosted at http://micropython.org/webrepl . Alternatively, you can install it locally from the the GitHub repository https://github.com/micropython/webrepl
Before connecting to WebREPL, you should set a password and enable it via a normal serial connection. Initial versions of MicroPython for ESP8266 came with WebREPL automatically enabled on the boot and with the ability to set a password via WiFi on the first connection, but as WebREPL was becoming more widely known and popular, the initial setup has switched to a wired connection for improved security:
import webrepl_setupFollow the on-screen instructions and prompts. To make any changes active, you will need to reboot your device.

The MicroPython firmware for the badge has been updated to add WebREPL in the list of available apps.
You can order this USB to serial adapter board for the badge and then follow the instructions to build and flash the new firmware. The WebREPL option will turn on WiFi and put the badge into AP mode. Connect to it from your device, such as a laptop, and then connect to the badge using the WebREPL browser-based client.

Resources:
Updates for the 2018 Open Hardware Summit badge project:

Want to use the KX122-1037 Accelerometer (datasheet) on the 2018 Open Hardware Summit badge?
This adapter board to connects a USB-to-serial cable to the 2018 Open Hardware Summit badge.
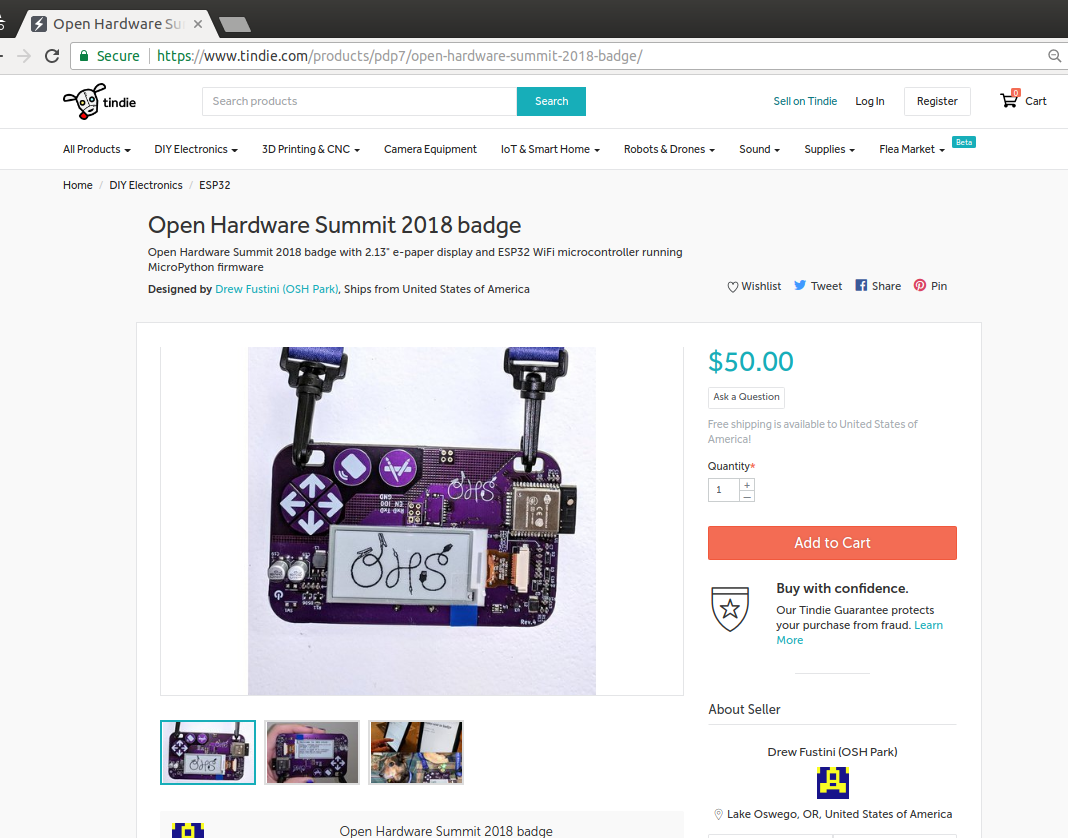
The extra badges from the Summit are being sold here on Tindie as a fundraiser for the Ada Lovelace Fellowship which provides travel assistance to the Open Hardware Summit. All sales revenue will be 100% donated to the Open Source Hardware Association (OSHWA) for this purpose.


")
")
