USB-to-serial adapter board for Open Hardware Summit badge

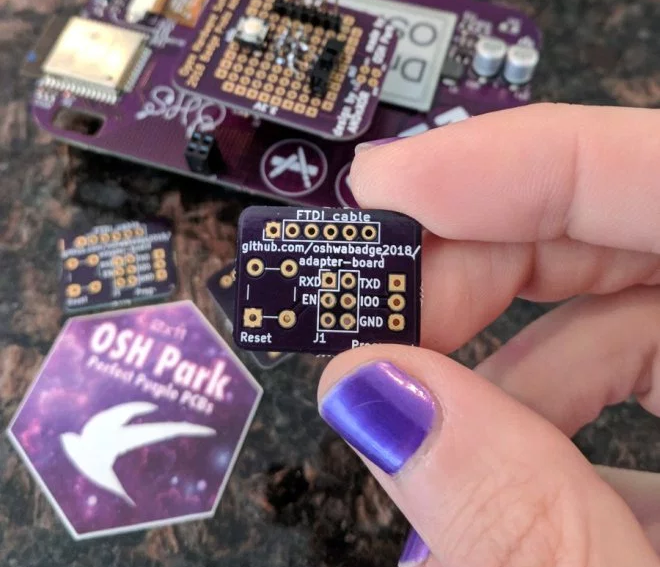
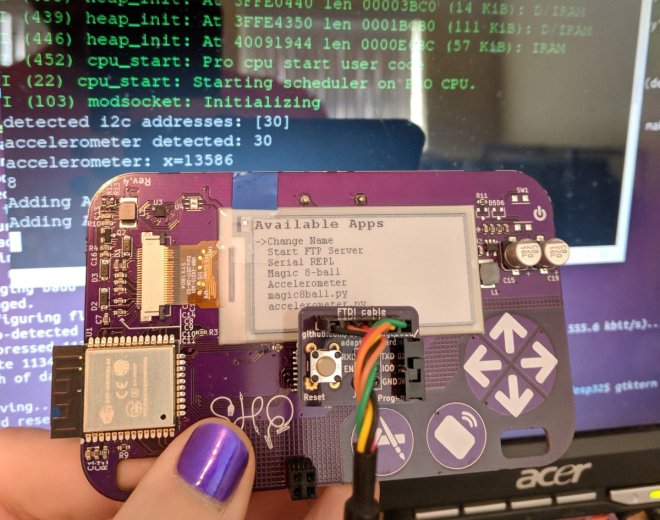
This adapter board to connects a USB-to-serial cable to the 2018 Open Hardware Summit badge.

DpulizcW0AABn7E

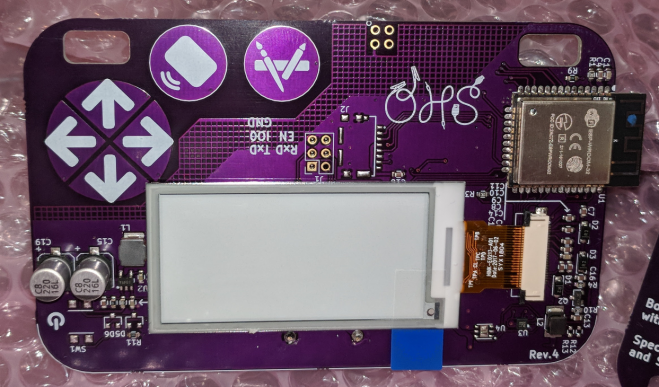
The badge features an ESP32 microcontroller running MicroPython firmware.  The firmware provides a Python interpreter prompt (REPL) on the serial port which allows interactive programming of the badge!

DpuljnbW0AAb7st

A previous blog post describes how to build and flash new MicroPython firmware to the badge:


The KiCad design files are shared on GitHub:

oshwabadge2018/adapter-board

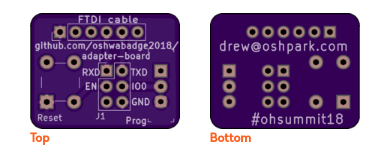
Screenshot from 2018-10-20 02-25-11.pngThe board has been shared on OSH Park:

OSH Park: adapter board for USB-to-serial cable

Screenshot from 2018-10-18 00-02-21

Order from OSH Park

Bill of Materials (BoM)

  • Switch for programming mode
    • E-Switch EG1218
    • Slide Switch SPDT
    • Digi-Key: EG1903-ND
  • Pushbutton for reset
    • Omron B3F-1000
    • Tactile Switch SPST-NO
    • Digi-Key: SW400-ND
  • Header for FTDI usb-to-serial cable
    • TE AMP 9-146282-0-06
    • 1×6 Pin Header 0.1″ pitch
    • Digi-Key: A34253-06-ND
  • Header to connect J1 socket on badge
    • Harwin M20-9720345
    • 2×3 Pin Header 0.1″ pitch
    • Digi-Key: 952-1921-ND
  • J1 header socket on the badge
    • Harwin 952-1781-ND
    • 2×3 Header Socket 0.1″ pitch
    • Digi-Key: M20-7830346

Digi-Key shopping cart

Screenshot from 2018-10-20 02-28-43

Resources:

USB-to-serial adapter board for Open Hardware Summit badge

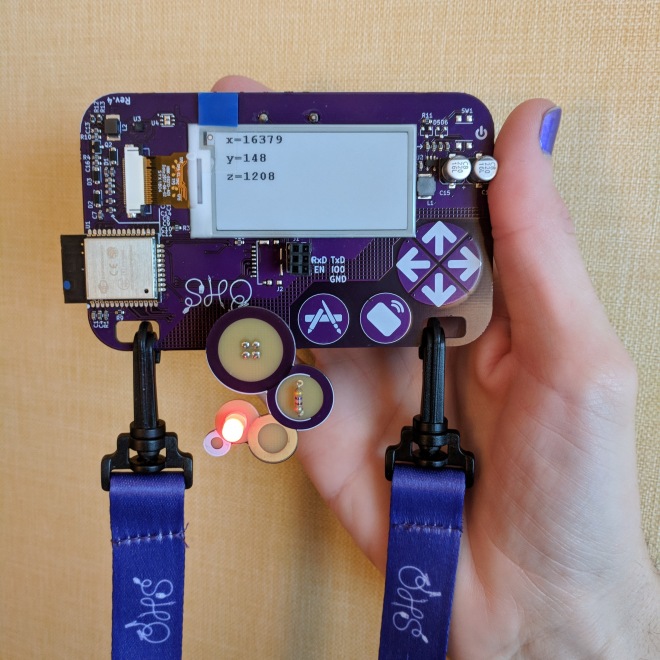
Open Hardware Summit badge: accelerometer demo

IMG_20181016_084030

Want to use the KX122-1037 Accelerometer (datasheet) on the 2018 Open Hardware Summit badge?

Step 1:

Make sure that R12 and R13 are populated.

IMG_20181004_202602 (1)

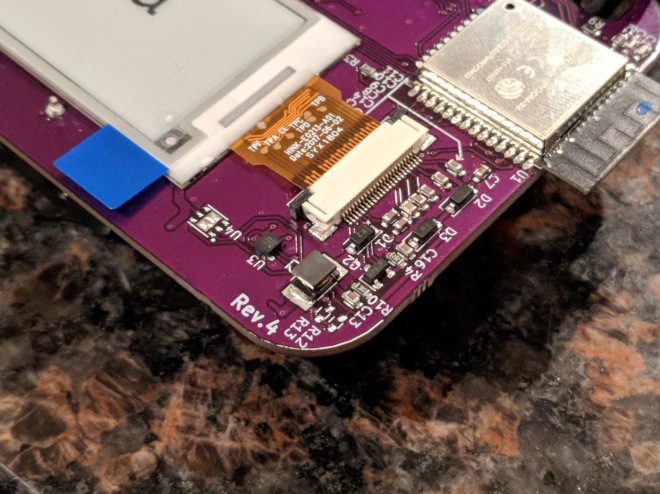
R12 and R13 are 2.2K Ohm resistors for the I2C bus.  This is needed for the accelerometer to work.  We mistakenly had DNP (do not place) on the BoM (Bill of Materials) for R12 and R13.

IMG_20181004_202414 (1)

Awesome people at Artisan’s Asylum makerspace helped to solder these resistors on the badges right before Open Hardware Summit! 💜✨

It is possible that some badges were not reworked.  Please email [email protected] if they are missing from your badge.

This photo shows what is will look like when R12 and R13 are missing:

IMG_20181004_213549

Step 2:

Download the Python file named accelerometer.py from the ohs18apps repository on GitHub:Screenshot from 2018-10-17 23-35-18.png

Start the FTP server and connect to the SSID listed on the badge:

Open your FTP client application and connect to 192.168.4.1:
Screenshot from 2018-10-03 23-58-59

After the transfer completes, power cycle the badge by removing the batteries and reinserting.

Press the left application button (with the paintbrush and pencil icons) to enter the menu.  accelerometer.py should then be listed under Available Apps menu.  Press the down cursor until accelerometer.py is selected and then press the application button again.

IMG_20181016_083924

Step 3:

The KX122-1037 Accelerometer datasheet describes the 3 different axis:

Screenshot from 2018-10-17 21-25-45

Here are examples of the X, Y and Z axis of the accelerometer for reference:

Resources:

Open Hardware Summit badge: accelerometer demo

Open Hardware Summit badge: adapter board for USB-to-serial cable

DosSfNPWwAE-ldB.jpg

UPDATE: this PCB design replaces the perf board version

The 2018 Open Hardware Summit badge features an ESP32 microcontroller running MicroPython firmware.  The firmware provides a Python interpreter prompt (REPL) on the serial port which allows interactive programming of the badge!

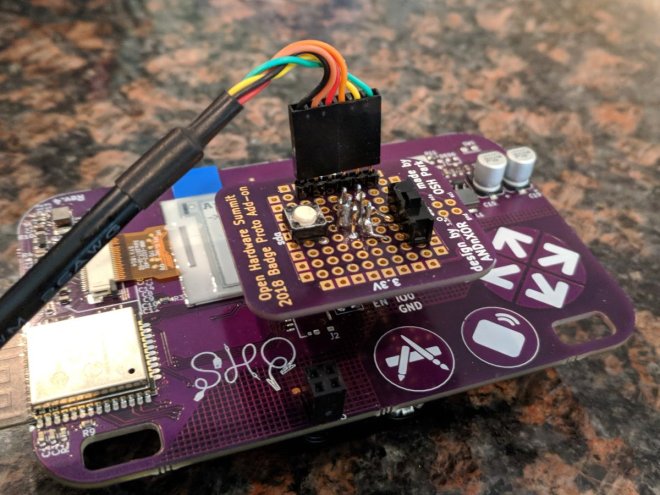
This post describes how to connect an FTDI 3.3V USB to serial cable to the J1 header on the badge.  In addition to the serial console, this adapter board for the J1 header enable new MicroPython firmware to be flashed on to the badge.
DorWBnpX4AAqRR_

First, solder a 2×3 pin header socket on to the badge at the J1.  Alternatively, a strip of 0.1″ header sockets could be cut into two 1×3 pieces.

IMG_20181003_235654

Here is a Fritzing diagram (PDF) of how to solder this J1 adapter board onto a perf board:

ohs18badge-j1-adapter_bb

Note: I re-purposed the OHS18 badge add-on proto dev board to act as a generic perf board.

The slide switch on the adapter board will allow the ESP32 to enter programming mode by connecting the IO0 pin on J1 to ground.  The push button on the adapter board will reset the board by connecting EN pin on J1 to ground.

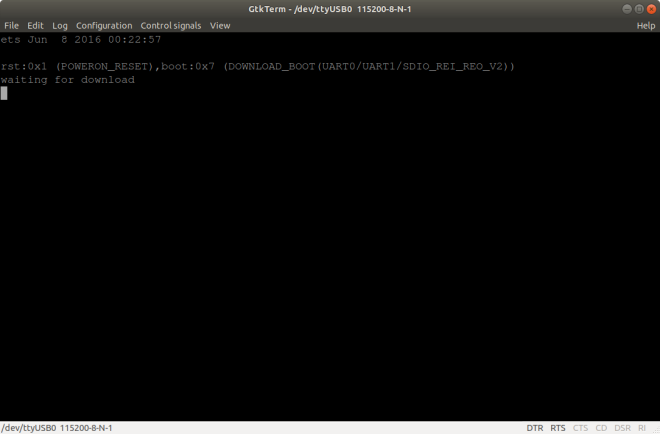
If you have the serial port open in a terminal emulator, then you should see this after switching into programming mode and pressing the reset push button:
Screenshot from 2018-10-03 22-48-12

Build the MicroPython firmware for the ESP32 on the badge by following these directions in the GitHub repo README.

To flash the ESP32, close your terminal emulator program so that esptool.py can open the serial port (which is /tty/USB0 on my Linux computer):

DorYWzaXUAAhTBT

Switch from programming mode to serial console mode so that IO0 pin on J1 is no longer grounded.  Then open the serial port in your terminal emulator again (115200 baud, 8-N-1) and press the reset push button:

DothUWiW4AInYIN

You should see the output from MicroPython firmware running.

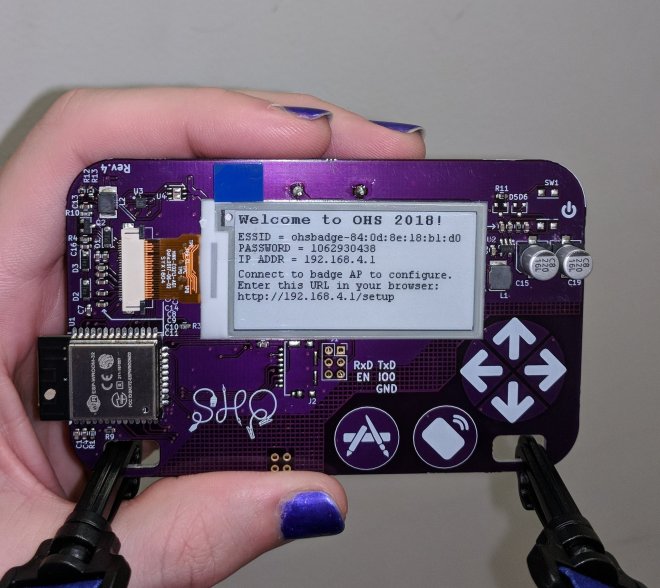
To use the interactive Python prompt (REPL), press the menu button on the badge (the icon with pencil and paintbrush) and select Serial REPL from the Available Apps menu:

IMG_20181004_113042 (1)

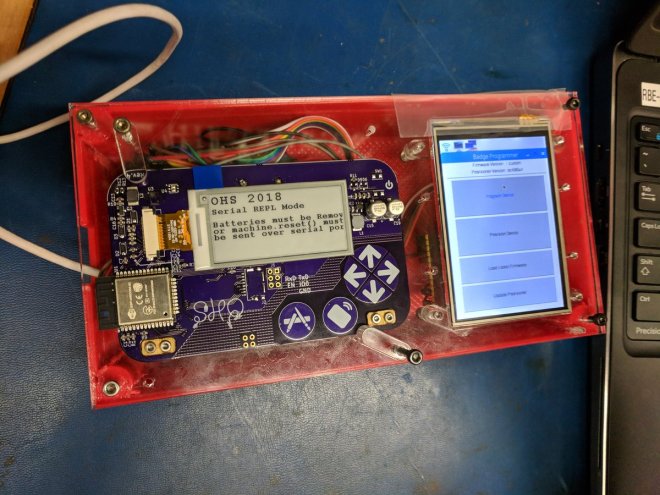
The terminal emulator connected to the serial port should then display the interactive Python prompt (REPL).  You can type in MicroPython code to experiment:

Screenshot from 2018-10-04 11-39-40 (2)

Here is an exmaple that displays text on the e-paper and prints that values from the accelerometer:

import gxgde0213b1
import font16
import machine
import struct
from ohsbadge import epd
from ohsbadge import fb

epd.clear_frame(fb)
epd.set_rotate(gxgde0213b1.ROTATE_270)
epd.display_string_at(fb, 0, 0, "Welcome to OHS 2018!", font16, gxgde0213b1.COLORED)
epd.display_frame(fb)

i2c = machine.I2C(scl=machine.Pin(22), sda=machine.Pin(21))
i2c.writeto_mem(30,0x18,b'\x80')
ACCX = struct.unpack("h",i2c.readfrom_mem(30,0x6,2))
ACCY = struct.unpack("h",i2c.readfrom_mem(30,0x8,2))
ACCZ = struct.unpack("h",i2c.readfrom_mem(30,0x10,2))
print("x={0} y={1} z={2}".format(ACCX[0], ACCY[0], ACCZ[0]))

Photo of the text displayed on the e-paper:

DorbVOzX4AUwAQ3

Resources:

Open Hardware Summit badge: adapter board for USB-to-serial cable

Open Hardware Summit badge: Magic 8-Ball app

Thanks to @Steve Pomeroy for creating this MicroPython demo app for the Open Hardware Summit badge:

ohs18apps/magic8ball.py

# created by Steve Pomeroy https://hackaday.io/xxv
# modified by Drew Fustini to run once and exit
#
# blog post:
# https://blog.oshpark.com/2018/10/04/open-hardware-summit-badge-magic-8-ball-app/
#
# photo gallery:
# https://photos.app.goo.gl/f1y8PSHfYAaa4xTu7
#
# transfer to Open Hardware Summit badge using FTP:
# https://oshwabadge2018.github.io/docs.html#uploading-over-ftp

import gxgde0213b1
import font16
import font12
from machine import I2C, Pin, TouchPad
import struct
import time
import urandom
from ohsbadge import epd
from ohsbadge import fb

class TouchButton(object):
   def __init__(self, pin, on_pressed, threshold=400, debounce_ms=50):
       self._touchpad = machine.TouchPad(pin)
       self._on_pressed = on_pressed
       self._threshold = threshold
       self._debounce_ms = debounce_ms
       self._down_ms = None
       self._pressed = False

   def read(self):
       if self._touchpad.read()  self._debounce_ms:
                       self._on_pressed()
                       self._pressed = True
       else:
           self._pressed = False
           self._down_ms = None

# from Magic 8-Ball app by Steve Pomeroy https://hackaday.io/xxv
# github.com/oshwabadge2018/ohs18apps/blob/master/magic8ball.py
class MagicBall():
   def clear_screen():
       epd.initPart()
       epd.clear_frame(fb)
       epd.display_frame(fb)

   def show_message(message):
       epd.init()
       epd.clear_frame(fb)
       epd.display_string_at(fb, 0, 52, message, font16, gxgde0213b1.COLORED)
       epd.display_frame(fb)

   def read_accel(i2c):
       i2c.writeto_mem(30, 0x18, b'\x80')
       x = struct.unpack("h", i2c.readfrom_mem(30, 0x6, 2))
       y = struct.unpack("h", i2c.readfrom_mem(30, 0x8, 2))
       z = struct.unpack("h", i2c.readfrom_mem(30, 0xA, 2))
       return (x[0], y[0], z[0])

   def get_orientation(i2c):
       new_orientation = None
       pos = MagicBall.read_accel(i2c)

       if pos[2] > 13000:
           new_orientation = "upright"
       elif pos[2] < -13000:
           new_orientation = "prone"

       return new_orientation

   def main(f):
           phrases = ["It is certain.", "It is decidedly so.", "Without a doubt.", "Yes - definitely.", "You may rely on it.", "As I see it, yes.", "Most likely.", "Outlook good.", "Yes.", "Signs point to yes.", "Reply hazy, try again", "Ask again later.", "Better not tell you now.", "Cannot predict now.", "Concentrate and ask again.", "Don't count on it.", "My reply is no.", "My sources say no.", "Outlook not so good.", "Very doubtful."]
           i2c = machine.I2C(scl=Pin(22), sda=Pin(21))
           epd.init()
           epd.set_rotate(gxgde0213b1.ROTATE_270)
           epd.clear_frame(fb)
           epd.display_frame(fb)
           prev_orientation = None

           keep_on = [True]

           def exit_loop():
               keep_on[0] = False

           exit_button = TouchButton(Pin(32), exit_loop)

           while keep_on[0]:
               exit_button.read()
               orientation = MagicBall.get_orientation(i2c)

               if orientation and orientation != prev_orientation:
                   if orientation == 'upright':
                       MagicBall.show_message(urandom.choice(phrases))
                   elif orientation == 'prone':
                       MagicBall.clear_screen()
               prev_orientation = orientation

ball = MagicBall()
ball.main()

This Python file can be transferred to Open Hardware Summit badge using the FTP server built into the MicroPython firmware.

Resources:

Open Hardware Summit badge: Magic 8-Ball app

Live from Artisan’s Asylum!

Dn-jpibXkAI2O2q

@Alex Camilo @AVR @Jimmie Rodgers @Andrew Sowa and Drew Fustini are all at Artisan’s  Asylum tonight and the badge firmware is coming together quite nicely!

Thanks so much to Artisan’s Asylum for giving us space to bring this badge project to completion!

Live from Artisan’s Asylum!

Open Hardware Summit: learn-to-solder badge add-on

41931822_10217675772634508_6864049649649451008_n

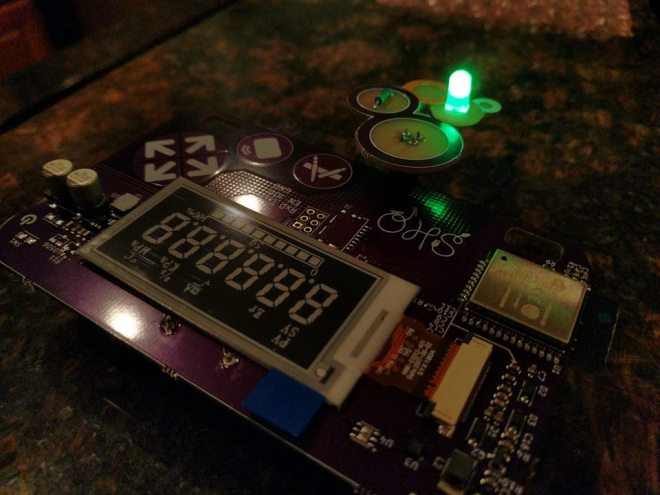
The Open Hardware Summit is coming on Thursday, September 27th at MITOSH Park and Screaming Circuits are producing an electronic conference badge this year for the Summit.  The badge features an e-paper display and an ESP32 microcontroller.


The OHS18 badge also features the DefCon 26 #badgelife add-on header.  Andrew Sowa designed this OSHWA-themed Learn to Solder add-on board to connector the badge add-on header:

Learn-to-solder OHS18 badge add-on

The board is a shared project on OSH Park:

Screenshot from 2018-09-20 10-04-11

Order from OSH Park


Open Hardware Summit: learn-to-solder badge add-on

Open Hardware Summit badges have arrived

4663241536763907298 (1)

The Open Hardware Summit is coming on Thursday, September 27th at MITOSH Park and Screaming Circuits are producing an electronic conference badge this year for the Summit.  The badge features an e-paper display and an ESP32 microcontroller.

All 300 badges assembled by Screaming Circuits have arrived!

Thanks to Duane Benson and the rest of the team at Screaming Circuits for all the support on this project.

Follow the Open Hardware Summit 2018 badge project on Hackaday.io!

Open Hardware Summit badges have arrived

NoodleCon Badge

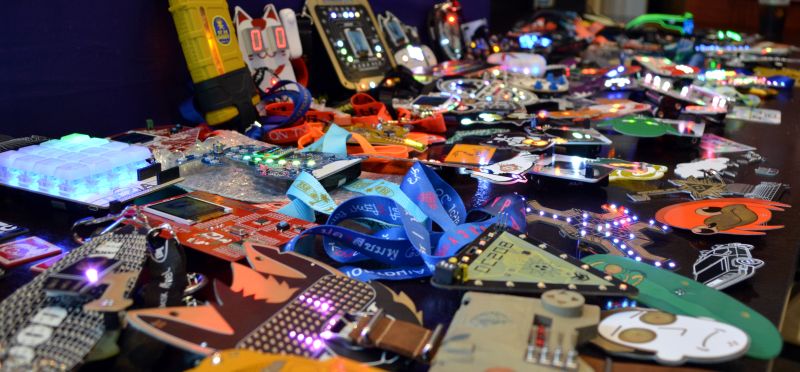
From All the Badges of DEF CON 26 (vol 4) on Hackaday:

noodlecon-badge-front

NoodleCon Badge

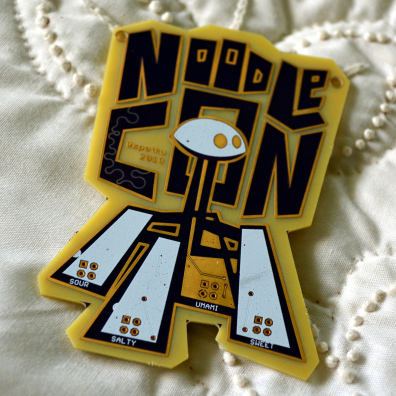
Hackaday Alum Sarah Petkus has been on a long quest to build an awesome robot with a lot of personality lovingly known as Noodle (check out her Hackaday Supercon talk on the adorable quadruped). For DC26 she decided to throw a con inside the con for Noodle and this is the badge.

noodlecon-badge-rear1.jpg

Anyone following Sarah’s work knows that her art is on point and here is a great example. Look at the solder mask on front and rear and you’ll notice the lettering is mirrored. This gives it the appearance that this is a design you can see through the board. The bold use of patches of silk screen and gold-plated copper deliver her aesthetic boldly and make you just want to stare at the design. There is a little squiggle through the C on the front that is a superb touch! Driven by an ATmega328 and a CR2032, there are 10 LEDs on the back that flash for a backlight effect.

NoodleCon Badge