Greg Steiert has added sound to his amazing NFC business card:
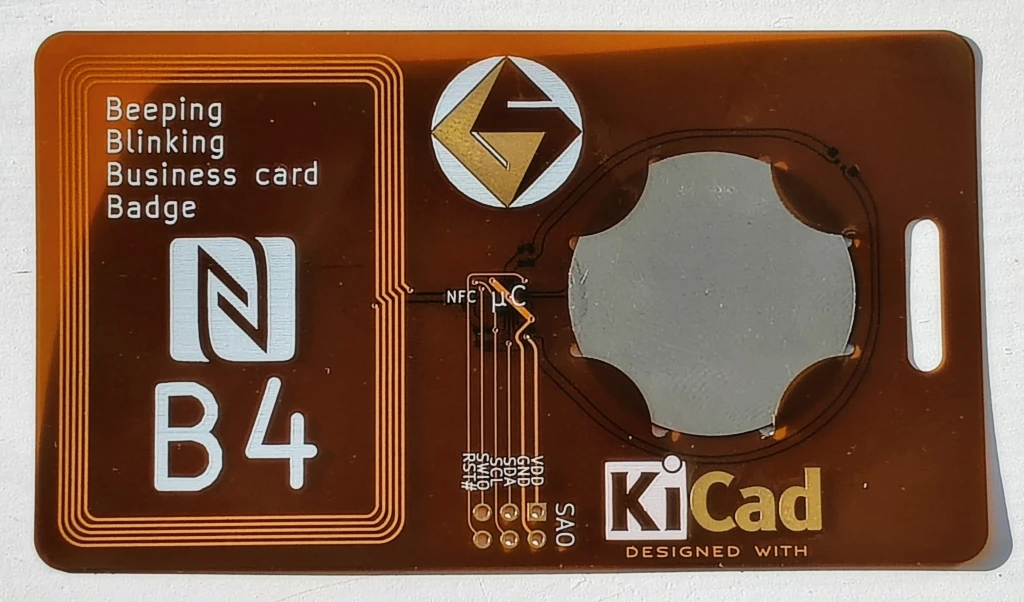
Beeping, Blinking Business-card Badge (B4)
This 1mm thick, environmentally friendly, re-usable business card delivers a vcard with a tap and actively indicates the access with audio and visual cues. Everything is powered from the energy harvested through NFC so there are no batteries to replace. The card provides a URL to a vcard. This is a great project for OSHPARK’s Flex service.
This video shows the 1mm thin Beeping Blinking Business card Badge playing a tune while being read:
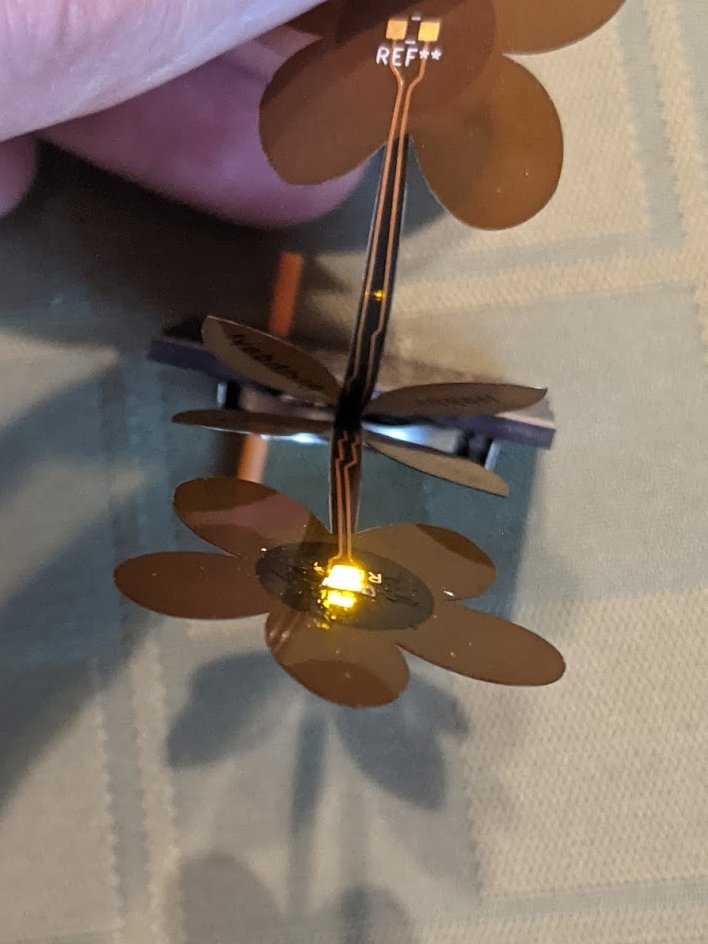
This project has evolved over the years. The current design consists of the NXP NTAG I2C Plus NFC EEPROM that supports energy harvesting. The NTAG device powers a WCH CH32V003 MCU that drives the buzzer and LED(s). There are three implementations of this circuit:
b4thin: 1mm thin flex-circuit design
b4handy: a full size hand solderable design
nfcwchsao a compact pocketable design
I’ve tried to document my learnings along the way, including designing a battle board to see which NFC EEPROM provides the most current. These insights are provided in the project logs.

These designs are ideal for OSH Park’s board service. OSH Park provides 3 copies of the design so you get three attempts to assemble your custom business card. Sometimes, I made use of all three. The KiCad files are available on github so you can customize them yourself and build your own personalized card. With the current three versions of the design there is something for every skill level. Think twice about the 1mm thin design if you don’t have access to a hot plate or heat gun to mount the thin leadless packages