
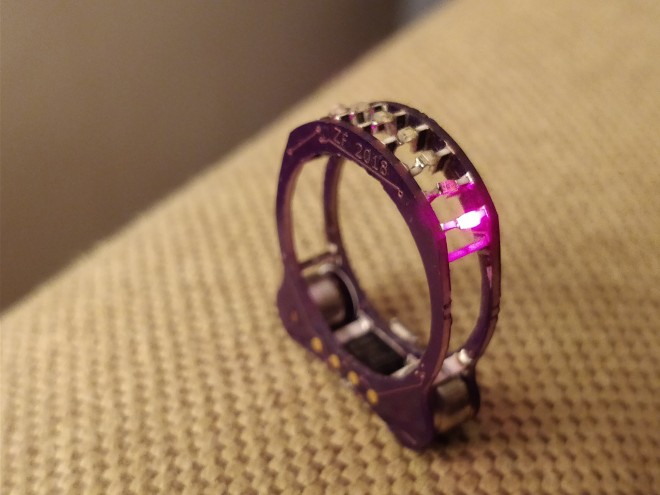
We were amazed to see the incredible wearable project by Zach from NeuroTinker while at CrowdSupply Teardown:
Cyborg Ring
Cordwood-style blinky ring, powered by an ATtiny85 and a pair of size 10 Zn-air hearing aide batteries.
We were amazed to see the incredible wearable project by Zach from NeuroTinker while at CrowdSupply Teardown:
Cordwood-style blinky ring, powered by an ATtiny85 and a pair of size 10 Zn-air hearing aide batteries.

It’s Friday, and that means this is your last weekend to get your project together for the Robotics Module Challenge in this year’s Hackaday Prize. We’re looking for tools for robots that blow the doors off what is commercially available.
via This Is Your Last Chance To Design The Greatest Robotics Modules — Hackaday

Hackers, Designers, and Engineers flooded into Dom Omladine on Saturday for what can only be described as an epic celebration of hardware culture. This is the second time Hackaday has organized a huge conference in Belgrade, and lightning really did strike twice.
via A Wild Hackaday Belgrade Confirms Status as One of World’s Greatest Hardware Cons
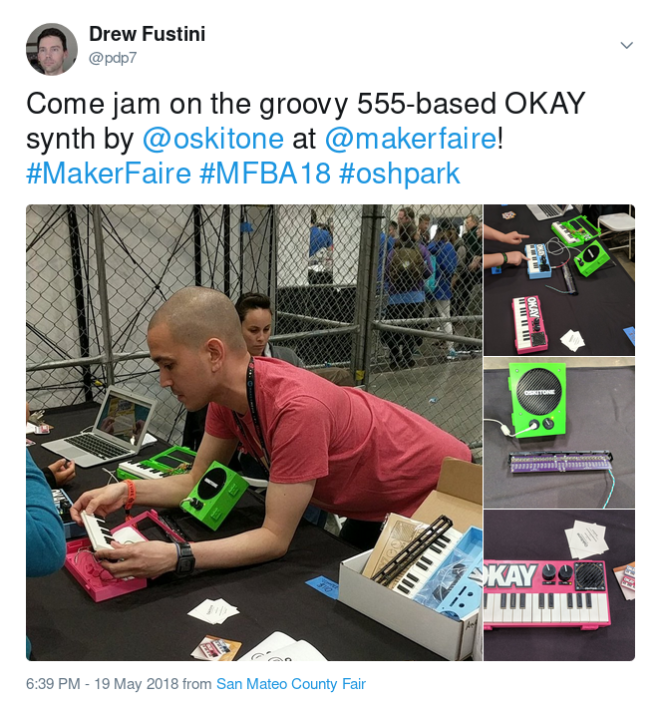
We are big fans of the OKAY 2 Monophonic Synth Kit and we were excited to see the creator, Tommy at Maker Faire Bay Area 2018. From the Oskitone newsletter:
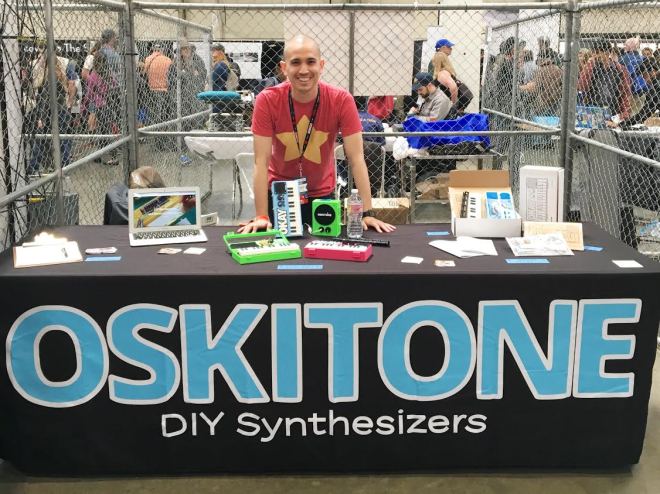
I spent last weekend at Maker Faire Bay Area, an annual event put on by the people behind Make Magazine. My exhibit stall was in between the Institute of Electrical and Electronics Engineers and the US Patent Office — pretty legit! I had synths out for people to play, gave demos and motivational speeches to kids, traded stickers for email addresses, and had some really great conversations with people.
Over three days, I talked to maybe 500 folks (+/- 100), which is a lot for an introvert! It was exhausting but incredible. I think I’m still processing it.
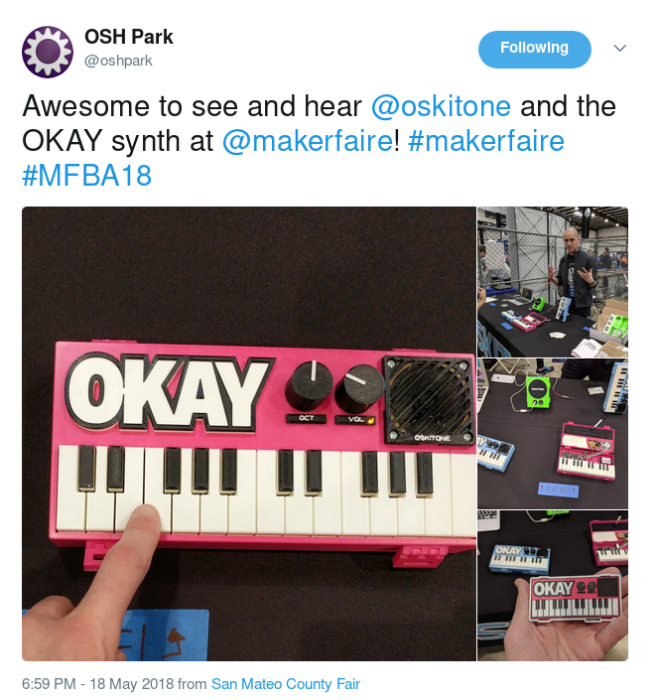
I met so many cool people… Makers, musicians, kids, parents, students, teachers, industrial designers, engineers, manufacturers, writers, editors, etc etc!
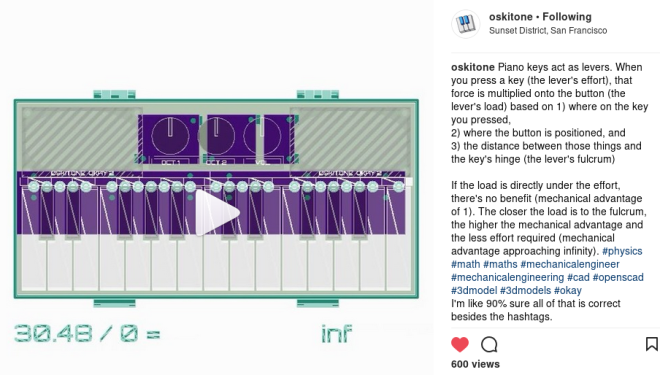
- I was happy to find a lesson outside electronics for the younger visitors: the piano keys on the OKAY 2 are actually levers — a mechanical “simple machine” already familiar to a lot of students. It was fun watching it “click” in their minds that the further back they tried to press the key, the more energy it required. (I also noticed a greater appreciation in parents for a more palatable educational takeaway, so I think they liked it too.)
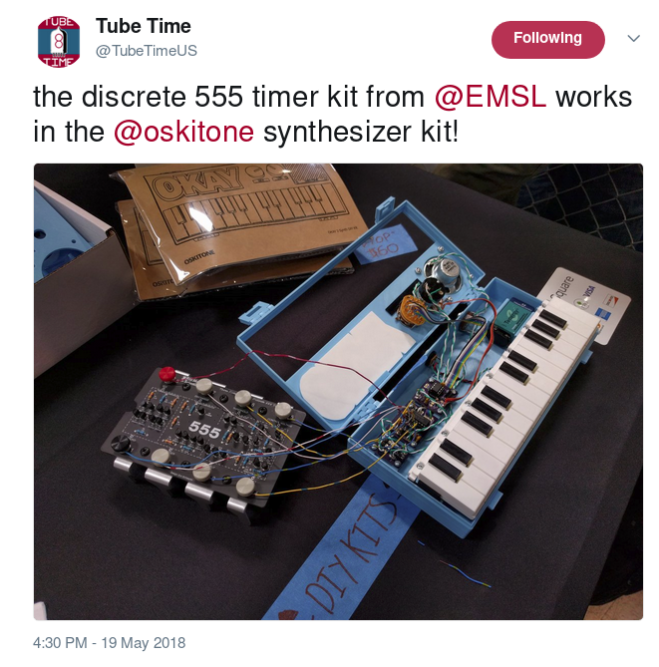
Evil Mad Scientist stopped by with a 555 recreated with discrete components and swapped it out for the 555 timer in the OKAY 2. It was such a great, uneventful demo. “What will it do?” “Exactly the same thing.” Awesome!
I got closer to perfecting my marketing. What started as a 5min dissertation talk on Friday became a 30sec elevator pitch by Sunday, saving my throat while seemingly having no negative sales effect. I may write a blog post on this.
There is no greater stress test for a physical product than 100 kids with candy smeared on their faces banging on it. I was relieved that the synths mostly stood up to the fatigue, but, of course, there’s room for improvement, which I now have a good idea on how to design. Thanks, kids! 🙂

From Roger Cheng on the Hackaday blog:
The security conference LayerOne 2018 took place this past weekend in Pasadena, California. A schedule conflict meant most of our crew was at Hackaday Belgrade but I went to LayerOne to check it out as a first-time attendee. It was a weekend full of deciphering an enigmatic badge, hands-on learning about physical security, admiring impressive demos, and building a crappy robot.
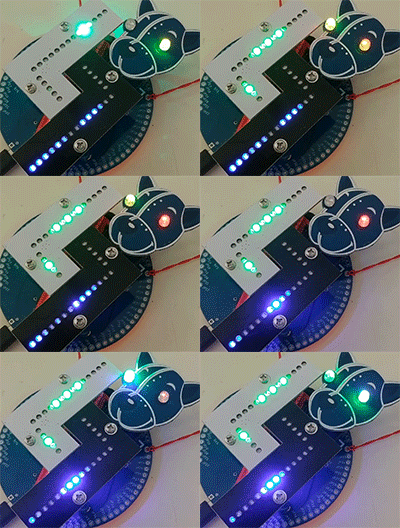
HELLO CONFERENCE BADGE
Immediately upon checking in to the conference, attendees were handed a populated circuit board, a battery, then herded onward so other people can get checked in. This is sheer luxury compared to tales of years past, when attendees were given a blank PCB and a bag of parts. “What does the badge do?” is part of the fun here and served as an excellent icebreaker for us to talk to each other and compare notes. Several previous LayerOne badges were documented on Hackaday.io, but not this one. (Yet?)
The ESP32-WROOM-32 on top tells us it is a networked device. There were only four LEDs on the board, but there is a speaker & microphone module telling us the badge is an aural showcase and not a visual one. There are five controls for human fingers. Three were fairly straightforward: power switch plus “BOOT” and “RESET” buttons. They were accompanied by a button labelled “DO NOT PRESS” (yeah, right) and a button labelled with our first hint: “MR MEESEKS”
Since this is a security conference, some attendees decided a mystery networked device with audio recording capabilities is not something they wanted to wear around their neck. Their badge hack to create a 100% secure IoT device is to not install the battery at all: a 18650 cell that proudly wore its eyebrow-raising name “UltraFire”.
Most of us who chose to install our battery were rewarded with illuminated LEDs. Some were then followed by an audio clip of “I’m Mr. Meeseeks, Look at me!” This announcement would randomly punctuate conference proceedings for the entire weekend.
Those who wanted to dive into the badge headed straight to the Hardware Hacking Village, but there were many other parts to the conference. The largest room was dedicated to security talks given throughout the weekend as well as the Saturday night dinner and game night. One room ran the conference capture-the-flag competition. There was a room dedicated to IoT devices, and a “chill-out” room with games where people could take a break from all of the above. Sadly, I could only be in one place at a time so I chose to check out the lock-picking village.

We were musing upon the relative paucity of education with respect to the fundamentals of electronic circuitry with discrete semiconductors, so we thought we’d do something about it. So far we’ve taken a look at the basics of transistor biasing through the common emitter amplifier, then introduced a less common configuration, the common base amplifier. There…
via Biasing That Transistor: The Emitter Follower — Hackaday

From Ben James on the Hackaday blog:
There are few scenes in life more moving than the moment the solder paste melts as the component slides smoothly into place. We’re willing to bet the only reason you don’t have a reflow oven is the cost. Why wouldn’t you want one? Fortunately, the vastly cheaper DIY route has become a whole lot easier since the birth of the Reflowduino – an open source controller for reflow ovens.
This Hackaday Prize entry by [Timothy Woo] provides a super quick way to create your own reflow setup, using any cheap means of heating you have lying around. [Tim] uses a toaster oven he paid $21 for, but anything with a suitable thermal mass will do. The hardware of the Reflowduino is all open source and has been very well documented – both on the main hackaday.io page and over on the project’s GitHub.
The board itself is built around the ATMega32u4 and sports an integrated MAX31855 thermocouple interface (for the all-important PID control), LiPo battery charging, a buzzer for alerting you when input is needed, and Bluetooth. Why Bluetooth? An Android app has been developed for easy control of the Reflowduino, and will even graph the temperature profile.
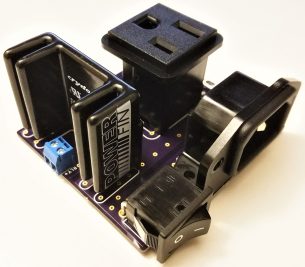
When it comes to controlling the toaster oven/miscellaneous heat source, a “sidekick” board is available, with a solid state relay hooked up to a mains plug. This makes it a breeze to setup any mains appliance for Arduino control.
An Intro to KiCad – Part 6: Place Parts and Define Outline:
In Part 6 of the Digi-Key Introduction to KiCad series Shawn walks us through the board layout stage with pcbnew. Shawn will show us how to import a net list, arrange components, draw a board outline, and make trace connections.

Maker Faire Bay Area is this weekend, and the Hackaday and Tindie crew are getting ready to jack some cupcake cars. The Bay Area Maker Faire is one of the greatest gatherings of…
via This Weekend: Hackaday x Tindie Meetup At Bay Area Maker Faire. — Hackaday

There’s a few open source options out there for creating electrical schematics. KiCad and Fritzing are two that will take you from schematic capture to PCB layout.
via QElectroTech: An Open Source Wiring Diagram Tool — Hackaday
 OSH Park