OnChip has posted a Crowd Supply update on their plans for Arduino compatibility:
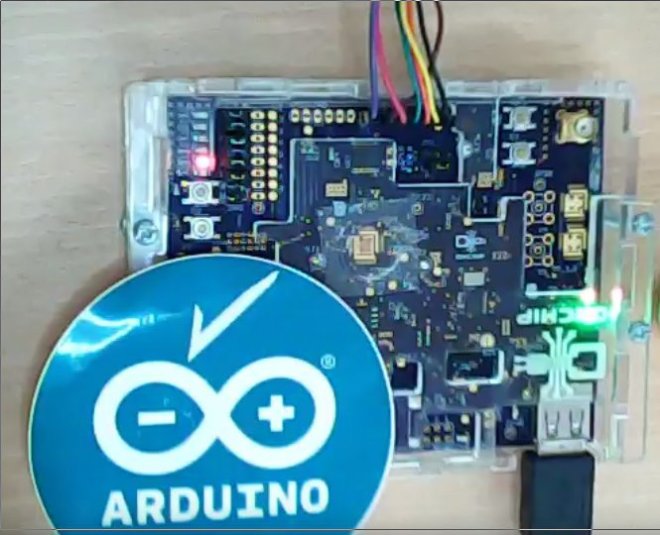
Open-V Arduino Compatibility
Arduino compatibility can mean a lot of things to a lot of different people, so we’ll try to be as concrete and specific as possible. For the Open-V, Arduino development tools, and interoperating on a hardware level with existing Arduino shields.

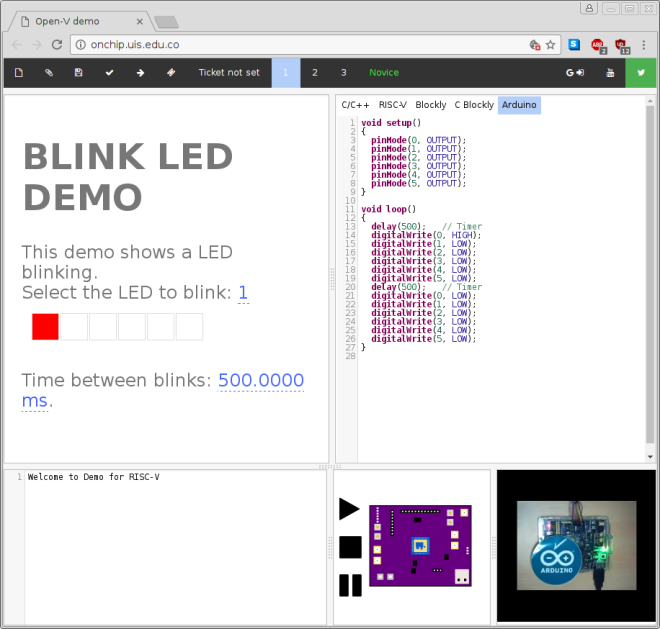
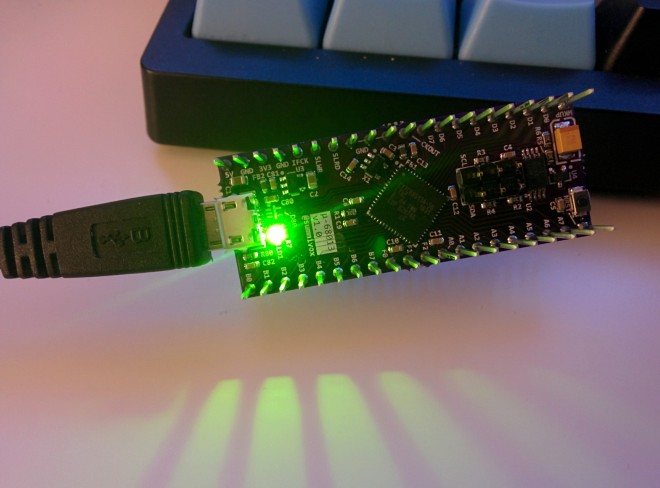
We’ve updated our live, web-streamed demos to include an Arduino mode in addition to the assembler and C modes we already have. You might also notice the relatively new Blockly modes and a refined layout of the demo page. Go write some code and see the results live streamed!