New HackadayU Classes: Antenna Basics, Raspberry Pi Pico, and Designing Complex Geometry

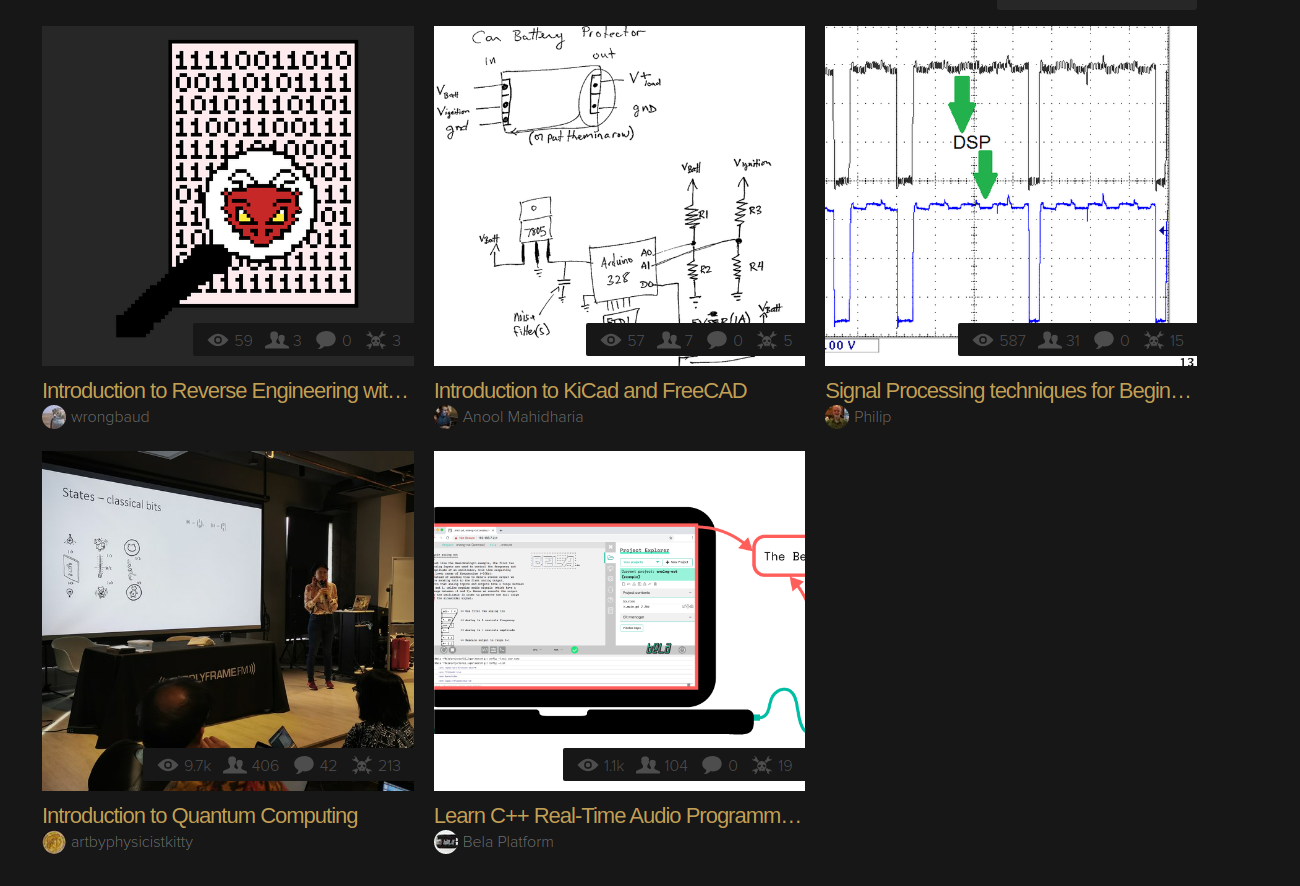
Get ’em while they’re hot: a new session of HackadayU just opened with classes from three fantastic instructors and seats are filling up fast.

Introduction to Antenna Basics — Instructor Karen Rucker teaches the fundamentals of antenna design as if it were your first year on-the-job. She’ll cover the common types of antenna designs and the fundamentals of radio frequency engineering that go into them. Begins Thursday, May 6th.

Raspberry Pi Pico and RP2040 – The Deep Dive — Instructor Uri Shaked guides the class through the internals of the RP2040 microcontroller, covering system architecture, hardware peripherals, and dipping into some ARM assembly language examples. Begins Wednesday, May 5th.

Designing with Complex Geometry — Instructor James McBennett helps you up your 3D modelling game with a course on using complex geometries in Grasshopper3D (part of Rhino3D). Dive into Non-uniform rational B-spline (NURBS) and go from simple shapes to incredibly complex objects with a bit of code. Begins Tuesday, May 4th.

Each course includes five weekly classes beginning in May. Being part of the live class via Zoom offers interactivity with the instructor and other attendees. All tickets are “pay-as-you-wish” with a $20 suggested donation; all proceeds go to socially conscious charities.

For the benefit of all, each class will be edited and published on Hackaday’s YouTube channel once this session has wrapped up. Check out our playlists for past HackadayU courses, or watch them all in one giant playlist.

You might also consider becoming an Engineering Liaison for HackadayU. These volunteers help keep the class humming along for the best experience for students and instructors alike. Liaison applications are now open.

Read more New HackadayU Classes

New HackadayU Classes: Antenna Basics, Raspberry Pi Pico, and Designing Complex Geometry

Robotics Club Teaches Soldering

From Al Williams on the Hackaday blog:

Robotics Club Teaches Soldering

Oregon State University must be a pretty good place to go to school if you want to hack on robots. Their robotics club, which looks active and impressive, has a multi-part video series on how to solder surface mount components that is worth watching. [Anthony] is the team lead for their Mars Rover team and he does the job with some pretty standard-looking tools.

The soldering station in use is a sub-$100 Aoyue with both a regular iron and hot air. There’s also a cheap USB microscope that looks like it has a screen, but is covered in blue tape to hold it to an optical microscope. So no exotic tools that you’d need a university affiliation to match.

Even if you’ve done a lot of SMD soldering, you can always pick up new tips and tricks. There’s lots of flux, of course, and careful alignment before you secure the component down. We know the feeling of leaving a bad solder joint long enough to go secure the other pads and then cleaning it up at the end.

Robotics Club Teaches Soldering

KiCad class starts July 7th

Anool Mahidharia will be teaching an introduction to KiCAD and FreeCAD:
https___cdn.evbuc.com_images_103358060_360176848959_1_original

Classes are Tuesdays at 19:00 IST. Classes are recorded and released on the course page within a few weeks so you can learn at your convenience. Office Hours are Fridays at 1630 IST and limited to 30 people per session. A second session in evening PDT will be offered August 2020.

The complete course is 4 classes long. For those who would like to attend each class, please sign up for each class individually.

Overview: We’ll start off with a hand drawn schematic, and progress from schematic capture to creating production files such as Gerbers, BoM, and 3D CAD export. We’ll then switch to FreeCAD and do a simple enclosure design for our project.

Schedule: The course will consist of four sessions total. Each section will contain a video component and an office hour component where the instructor will be available for questions.

Prerequisites: It will help to have a good understanding of electronics and some basic understanding of engineering drawing.

KiCad class starts July 7th

Hackspace column on PCB design

My recent Hackspace magazine column is an introduction to printed circuit boards (PCBs) and how they can improve DIY projects:

PcB

PCB love – making circuit boards

You made your first LED blink, you learned how to use a breadboard, and you know which end of the soldering iron to hold. So what’s next? High up on the list of essential electronics skills is learning how to design and make your own printed circuit board (PCB). My first PCB was a POV (persistence of vision) display, a modified version of an Adafruit open hardware design. I still remember how exciting it felt to open up my mail and solder a board I designed myself!

A PCB is a board with traces (lines) that connect different pads or holes for electronic components to each other, or to connectors that allow us to hook up power, microcontrollers, or other parts. We use solder to connect the pads or holes on the bare board to the component that the board was designed for. Once the components are in place, the traces let us push power or data around our boards.

Screenshot from 2020-05-21 14-23-56

PCBs themselves are like a sandwich made up of layers of different materials. The main ‘body’ of a PCB is made of some kind of substrate; typically a fibreglass called FR4. On top of that is a thin layer of copper-foil that lays out the traces and pads, then a layer of coloured solder mask which prevents solder from sticking where it shouldn’t.

This solder mask is often green, but you can get all sorts of colours, such as my favourite – purple. The copper that is not covered by solder mask then gets protected by a surface finish such as HASL (solder) or ENIG (gold plating). Finally, there is the silkscreen layer where text and symbols are printed.

Like any good sandwich, you can keep adding in more layers of copper, from two layers up to tens of layers. It’s also worth knowing that rigid fibreglass isn’t your only option: you can choose a material called Kapon (polyimide film) to make flexible PCBs. You can even make your PCB sandwich using both fibreglass and Kapon to make a board that is flexible in some places and rigid in others. One super-cool option, that both OSH Park and Evil Mad Scientist Laboratories have been using recently, is black fibreglass paired with a clear solder mask, so all your copper traces are visible.

In next month’s column, I’ll be talking about the awesome ways the hardware hacker community has been using PCB design to make cool electronics projects and beautiful art, as well as sharing some of the tools they’re using to make their boards. In the meantime, I recommend this excellent video that visualises the composition of a PCB: hsmag.cc/SI2m31 (How do PCBs Work?  by Branch Education).

Hackspace column on PCB design

KiCad and FreeCAD meetup with Anool on Sat. May 2nd

EW6q5tUXsAApKYP

There will be another KiCAD and FreeCAD meetup tomorrow with Anool on Saturday, May 2nd, at:

  • 9:00 US EDT / 13:30 UTC / 15:30 CEST / 19:00 India

TechDraw basics – I’ll demo using the FreeCAD TECHDRAW workbench to produce dimension drawings of KiCAD PCB.

Sometimes, it is useful to add this to project documentation.

Will try & answer questions too.

Join the Jitsi Meeting


KiCad and FreeCAD meetup with Anool on Sat. May 2nd

Fetch: World’s Largest Open-Source Ferrofluid Display

Applied Procrastination has created a 252 electromagnet-matrix that controls ferrofluid:

Screenshot from 2020-04-20 16-42-09

Fetch: A Ferrofluid Display

A student-project at the University of Oslo. We have designed and built a massive ferrofluid-display with 252 electromagnetic “pixels”. The display has a 12×21 resolution (the closest we could get to 16:9 on our budget), and is not DONE.

On Applied Procrastination we’ve shared all the details of this project and hope that it will inspire you to make something similar – or follow your own dream projects.

https://www.youtube.com/watch?v=5PFgVtzsXHM

Fetch: World’s Largest Open-Source Ferrofluid Display

iCEBreaker FPGA: new video streams and new content

https://twitter.com/esden/status/1249917248795340800

An update from our Dorkbot PDX friend, Piotr Esden:

iCEBreaker FPGA: new video streams and new content

iCEBreaker Production

As you read in our last update in November, we finished fulfilling the campaign, but that does not mean work on iCEBreaker has stopped. We keep producing iCEBreakers and Pmods to keep 1BitSquared US and 1BitSquared DE, as well as Crowd Supply and Mouser, stocked.

For those of you who are patiently waiting for your shipments, don’t worry. A package with additional inventory is going out to the Mouser warehouse today!

Continuing Work on iCEBreaker

We are continuing work on new examples and additional iCEBreaker hardware. If you are not following 1BitSquared or Piotr on Twitter, you might have missed some stuff that Piotr is working on. Since January, Piotr started streaming on Twitch on a fairly regular basis. You can follow him on Twitch and be notified every time he goes live. Piotr is also announcing upcoming streams at least a day in advance on Twitter as well as on the 1BitSquared Patreon page.

As a result of the Twitch streams, we’ve had a few interesting new developments for the iCEBreaker platform. A few weeks ago, we published Litex RISC-V SOC generation examples that you can find in the iCEBreaker GitHub Organization. Piotr gave a Twitch stream presentation about the build system and how to use it. You can watch the stream Archive on Twitchdiode.zone, and YouTube. This example gives you the foundation to create your own SOC for the iCEBreaker, start adding your custom hardware to the RISC-V core, and program it in C or Rust. We are also working on MicroPython and maybe even CircuitPython support in the not too distant future.

Upcoming Twitch Stream

Piotr has scheduled a Twitch Stream for Tuesday, April 13th, 2020 at noon PDT. He will be working on a new Pmod for the iCEBreaker that will allow us to connect NES or SNES controllers from two very popular 8-bit game entertainment systems. 😉 That same Pmod will also contain a stereo audio output. This Pmod together with a DVI output, LED Panel output or VGA output will be an ideal combination to recreate old or build new custom game consoles and a wide range of emulations, for entertainment, preservation, and education.

electronics-lets-play-stream

If you are curious when the stream will happen in your timezone you can either check on Twitch itself, as there is a countdown timer till the next stream below the video streaming window, or you can check timeanddate.com.

Keep Supporting our iCEBreaker work

If you like to see continuing work and content creation for the iCEBreaker platform, and you already have all the hardware you need, then consider supporting us through Patreon. We keep adding perks for Patrons, like KiCad panel templates and behind the scenes news. We have a few very generous supporters that make the Twitch streams possible, but any additional support is appreciated.

Stay in Touch

And don’t forget, the continuing development and support for iCEBreaker keeps on rolling on the 1BitSquared Discord server, and iCEBreaker forum! So join the fun and show off your iCEBreaker projects! 🙂

Stay safe and healthy,
Piotr and Danika

iCEBreaker FPGA: new video streams and new content

Three years of HardwareX: Where are they now?

After three years of online publications, HardwareX may have solidified itself as an academic journal for open-source hardware. We originally wrote about HardwareX back in 2016. At the time, HardwareX hadn’t even published its first issue and only begun soliciting manuscripts. Now after three years of publishing, six issues as of October 2019 (with the seventh scheduled for April 2020), and an impact factor of 4.33, it’s fair to say that Elsevier’s push into open-access publications is on a path to success.

To give you a bit of background, HardwareX aims to promote the reproducibility of scientific work by giving researchers an avenue to publish all the hardware and software hacks that often get buried in traditional manuscripts. The format of HardwareX articles is a bit different than most academic journals. HardwareX articles look more like project pages similar to Hackaday.io. (Maybe we inspired them a bit? Who knows.)

It’s a bold attempt on Elsevier’s part because although open-access is held as an ideal scenario for scientific work, such efforts often come under quite a bit of scrutiny in the academic community. Don’t ask us. We can’t relate.

Either way, we genuinely wish Elsevier all the best and will keep our eyes on HardwareX. Maybe some of our readers should consider publishing their projects in HardwareX.

via Three years of HardwareX: Where are they now? — Hackaday

Quote