[Written by OSH Park engineer Jenner Hanni on Wickerbox Electronics]
Portland State University’s Maseeh College of Engineering and Computer Science runs an innovation program that awards small thousand-dollar grants to students working on interesting projects. In 2011 there were a handful of GPS-related projects that needed a way to work directly with the raw I/Q data coming from the GPS satellites before any processing or correlating had been done.

Background
Commercial off-the-shelf GPS receivers are cheap and ubiquitous but they don’t expose that data. One of my mentors, Andrew Greenberg, developed an open source GPS receiver for his Masters thesis (PDF) in 2005 and suggested I take a look at doing the same thing with current hardware. I said I would if he would help, so together we built a board, built a revision, and are in the process of figuring out what modifications will be needed for a third.
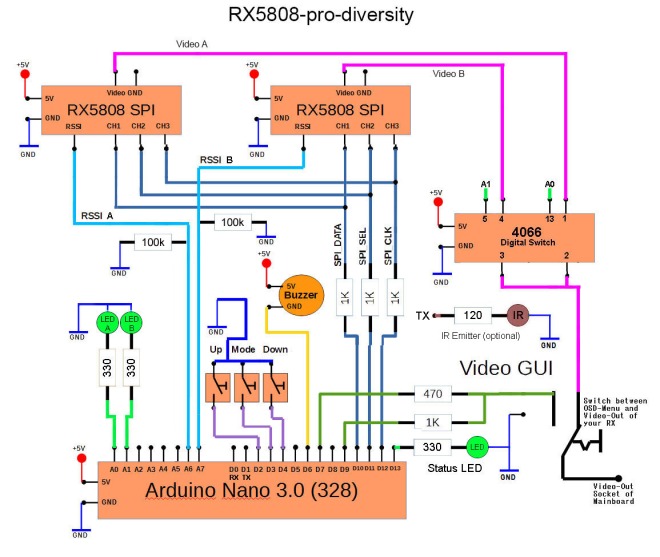
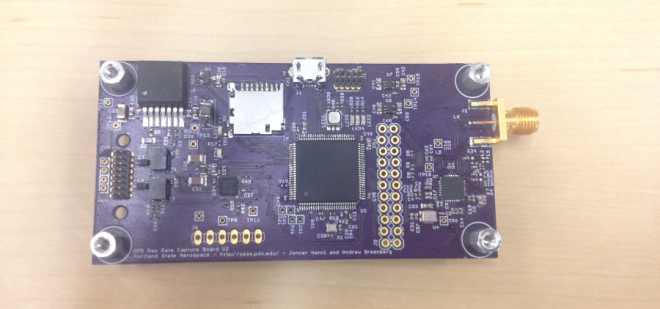
The board isn’t a full GPS receiver. Instead, it’s an “RF front end” board that has a MAX2769 Universal GPS Receiver chip to read the GPS signals and pass them out over something that looks a lot like SPI but isn’t. We chose to place an STM32F407 microcontroller running the ChibiOS embedded operating system on the board to support streaming the data out over Ethernet and USB. We exposed the raw pins over a header between the MAX2769 and STM32F407 to allow a user to skip the microcontroller entirely. We also included an SD card to log the data.
The board does not currently support a battery so it must be powered over USB or Ethernet at all times.
This project is open hardware and software licensed under the 3-clause BSD license and maintained on the Portland State Aerospace Society’s Github account. You can find the bill of materials and Eagle schematics at psas/gps-rf-board and the software as part of psas/stm32.
It’s been a big group effort in the push to get it talking; Andrew, K, Theo, and Kenny at least have helped out with software and modwire soldering, and I might have missed someone.
Board Layout Overview
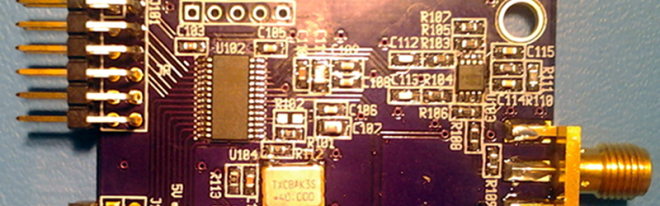
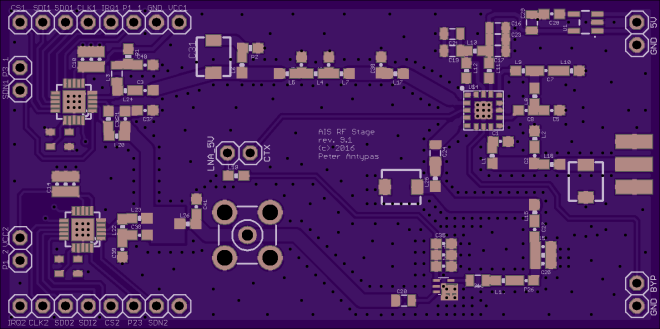
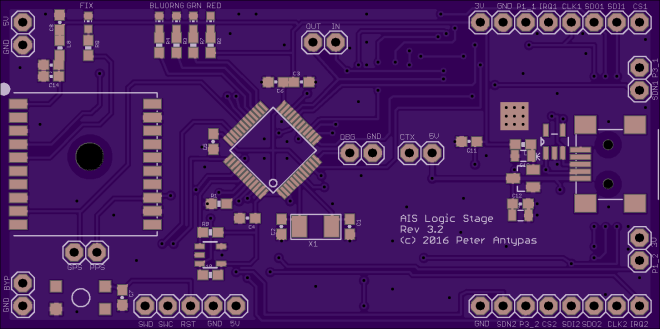
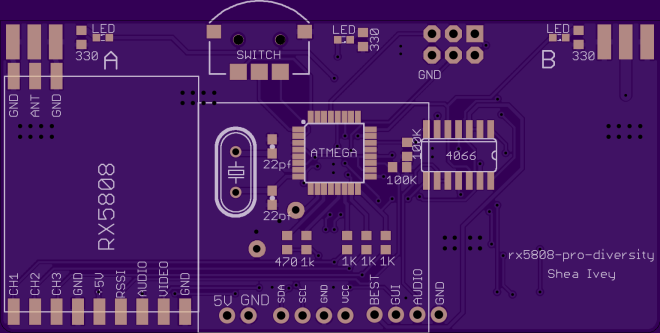
The board has four layers and was ordered from OSH Park.

Power
We can power the board from Rocketnet Ethernet (up to 20V) or over USB (about 5V) so we used an LMZ12001 switching regulator with an input voltage range from 4.5V to 20V to output 3.3V for the digital side of the board. We then used two ultra-low noise MAX8510 LDO linear regulators to provide 2.85V on separate digital and analog supply lines for the RF side of the board.
GPS
The MAX2769 is a tiny 28-pin universal GPS Receiver with a 1.4dB noise figure. The datasheet says we don’t need external SAW filters but we used them anyway. The chip has two LNA inputs and the eval kit is set up for to support both passive and active antennas. We used the MAX2769 Eval Kit as a reference but it was a particularly difficult schematic to work with.
Our board has a single antenna attachment point with a couple of optional circuits that the user chooses by where you populate capacitors and resistors. Option #1 is whether or not to have an LNA1 and its ANTBIAS-pin power circuit. Option #2 is whether to put into LNA1 or LNA2 on the chip.

Output
We use a 100-pin ARM Cortex-M3 STM32F407 running the Portland State Aerospace Society’s version of ChibiOS to program the MAX2769 and to support USB, Ethernet, and an SD card. We also break out raw data signals at pin test points.
Ethernet requires the Portland State Aerospace Society’s Rocketnet connector for programming, data streaming, and power.
A micro-USB connector is available for programming, data streaming, and power.
The micro-SD card is available for data logging.
The serial breakout is two 1×11 0.1” headers which we also used for debug. We ran traces between the two breakouts because we were unsure about some of the pinouts from the MAX2769 and wanted to be sure we could cut traces and easily run modwire.
Build

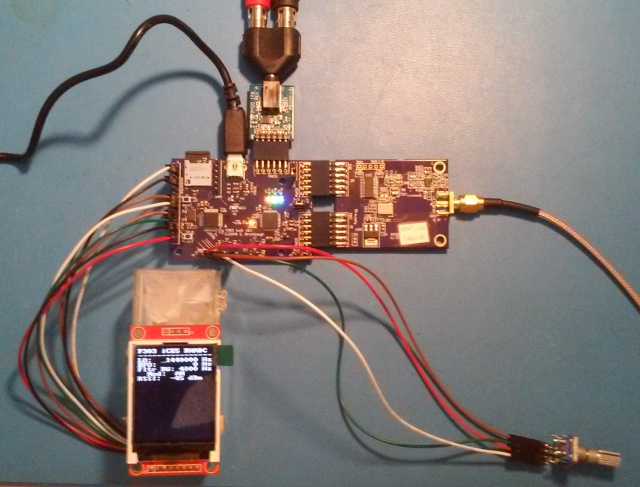
This is the board installed on the avionics module that carries the flight computer, sensor packages, and battery packs. The green board on top is the commercial Crescent GPS unit. The purple board down below is the JennerGPS. They’re both connected to the splitter in the middle, which runs off to the cylindrical patch antenna on the skin of the rocket.

Current Status
The v2 board was flown on the Portland State Aerospace Society’s LV2.3 airframe for Launch 11 on July 20th, 2014, in Brothers, Oregon, to an altitude of 15,000 feet. The hardware was complete but the software on the board was not entirely ready for launch and, anyway, the entire GPS system failed so no data was retrieved.
More information on the launch is available at the PSAS Launch 11 page.
Launch 12 in 2015 carried a third version of the GPS RF front-end board designed and laid out by Andrew Greenberg, and GPS packets were successfully captured.
Links and References
The Github repository has all the schematics. The current version described here is v2, but the newest version is v3. PSAS welcomes collaboration, but you’ll wan to contact PSAS directly through the main GPS repository. The best way to contribute is to come to a meeting.
It was super helpful to reference Swift Navigation’s Piksi GPS Receiver which uses the MAX2769 chip with an STM32F407 and FPGA.
The first version of this board was funded by the MCECS Innovation Program.
License
This project was released under the BSD “3-clause” license. See here for more information.