From MakersBox on Instructables:
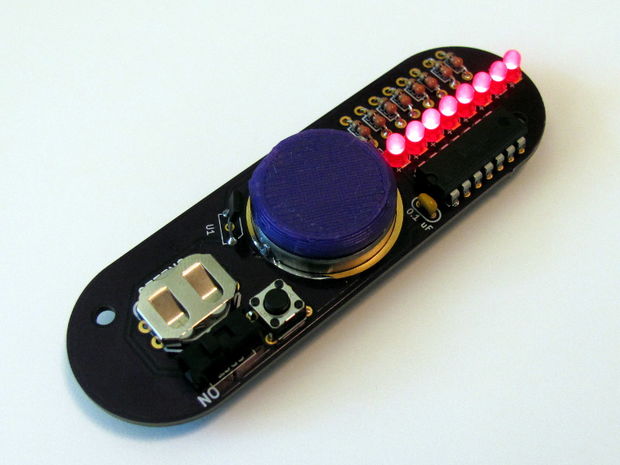
Programmable POV Fidget Spinner
Fidget spinners are fun, and you can find one at about any check-out counter for just a few bucks these days, but what if you could build your own? And it had LEDs? And you could program it to say or show whatever you wanted? If that sounds geeky cool, THIS IS THE PROJECT FOR YOU.

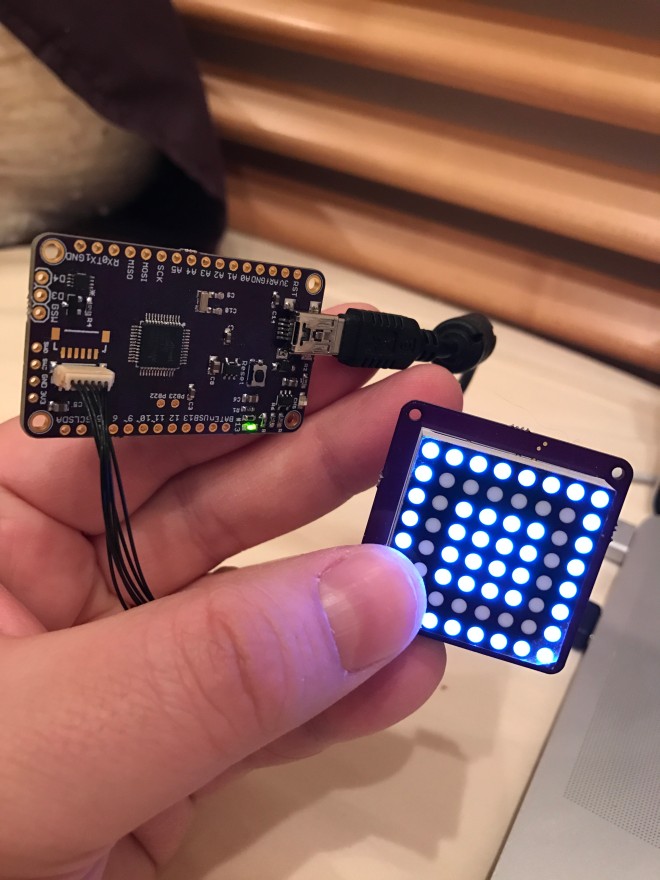
I’ve always been interested in using blinking LEDs to get kids interested in programming. The most simple project with an Arduino microcontroller is to blink an LED on and off. Then you get them to see how fast an LED can blink before it looks like it is on continuously (about 12 millisecond intervals). Then you shake the LED back and forth and you can see it blink again! This phenomena is call “persistence of vision” (POV) and is how this project works. It can lead to discussions of both how the eye works and how incredibly fast computers are.
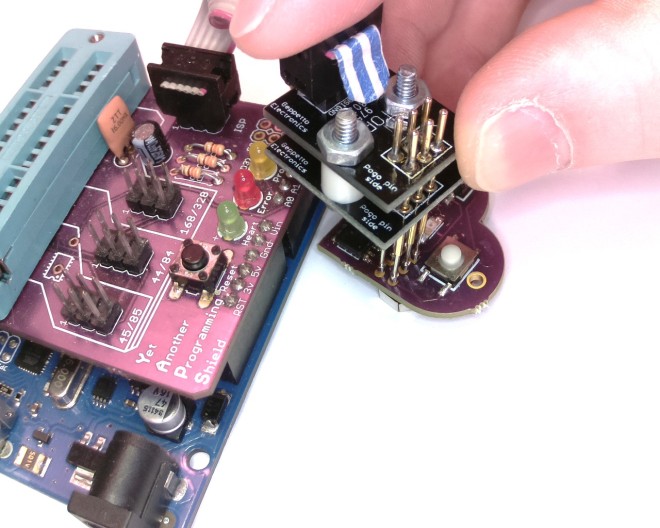
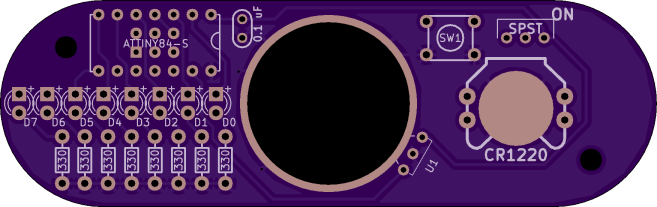
This project uses a programmable 8-bit microcontroller, eight LEDs, and a coin cell. It spins using a standard skateboard bearing, and uses a Hall-effect sensor and a magnet to determine rotation. It is made using beginner-friendly through-hole parts and can be programmed using the Arduino programming environment.
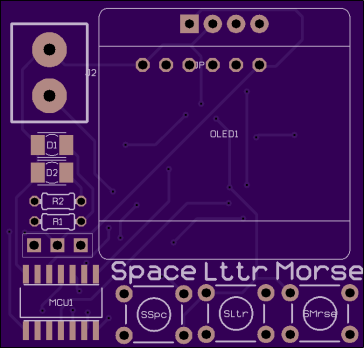
MakersBox has shared the board on OSH Park:
Geek Spinner 0.1
![]()


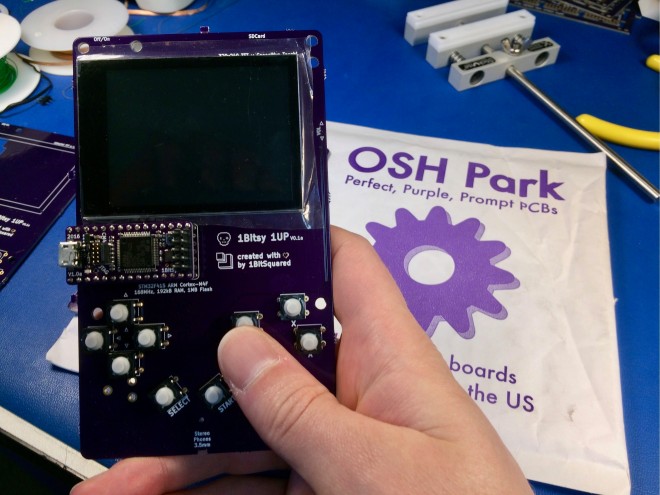
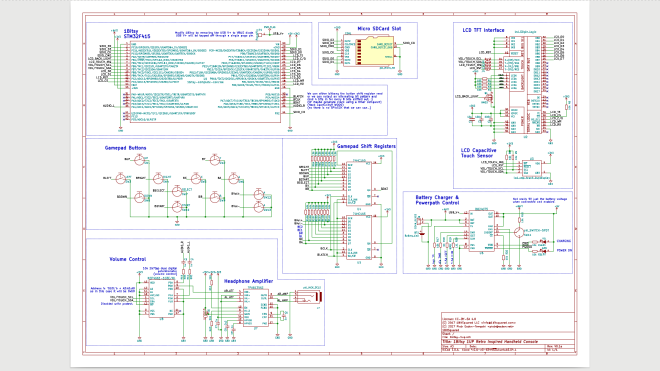
 1bitsy/1bitsy-1up