How To Share Your Project on OSH Park

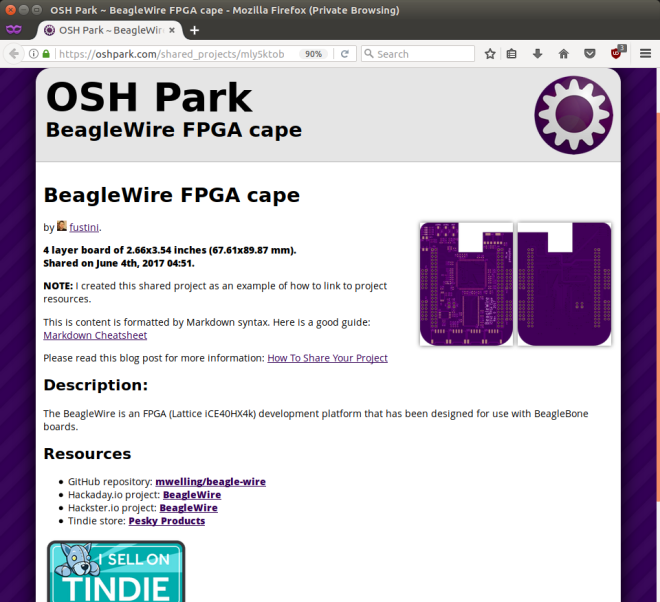
This shared project has been created as an example of how to link to project resources:

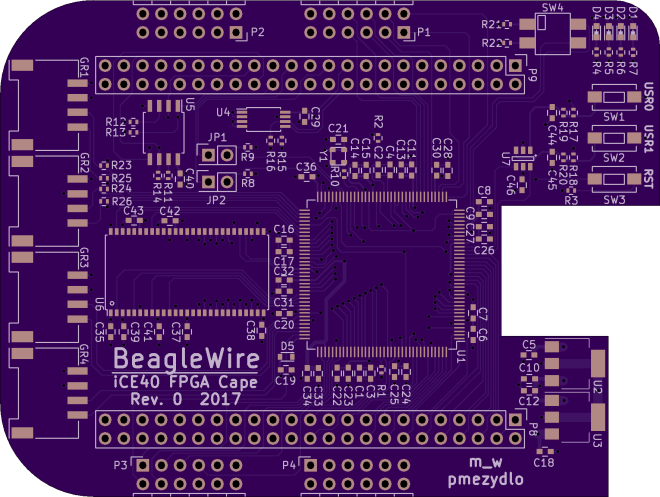
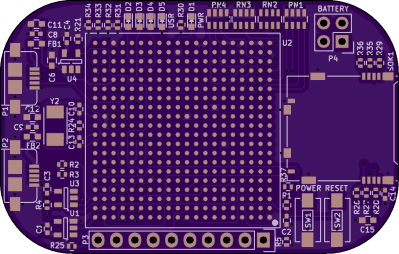
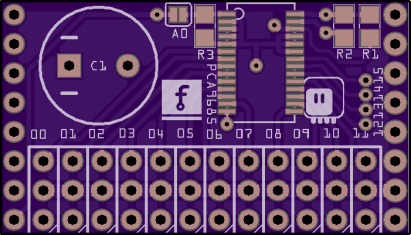
BeagleWire FPGA cape

Screenshot from 2017-06-10 15-09-51

Here’s the steps to share your OSH Park project:

Step 1: Click ‘Start sharing’

Navigate to your Projects page and click the ‘Start sharing‘ link for the project that you wish to share:


Step 2: Edit your shared project content

The shared project content is formatted by Markdown syntax.  This is a good guide:  Markdown Cheatsheet

We recommend you include a link to your projects primary documentation such as Github, Hackaday.io, Hackster.io, or Tindie.  Remember to publish your BOM as well, since your project cannot be built without it.

Here is what the shared project edit page looks like:


Step 3: View the Shared Projects directory

Navigate to the Shared Projects directory page and you should see your new shared project at the top.  You can also search for shared projects from this page.

Screenshot from 2017-06-04 03-52-25

How To Share Your Project on OSH Park

Open Panzer Sound Card

opsoundcard_separate.png

Open Panzer Sound Card

The Open Panzer Sound Card is a work in progress with the goal of bringing inexpensive, high quality, and open source sound functionality to RC models but especially to tanks using the Tank Control Board (TCB).

The board is actually made up of two components. First, an off-the-shelf PJRC Teensy 3.2 is used as the onboard processor. The Teensy is then plugged into a socket on our custom carrier board that adds a Micro SD card slot (max 32 GB), an additional 16 MB of flash memory, an LM48310 2.6 watt audio amplifier, and headers for external connections.

a170cbb22d9b7532bb1e0a84f422ec86.png

Order from OSH Park

Resources

Open Panzer Sound Card

BeagleBone FPGA cape and Google Summer of Code

From the BeagleBoard.org Foundation blog:

Google Summer of Code project videos

Watch the introduction videos from our Google Summer of Code 2017 students including BeagleWire software support by Patryk Mężydło

Checkout hackaday.io more information on the cape:

BeagleWire

The BeagleWire is an FPGA(Lattice iCE40HX4k) development platform that has been designed for use with BeagleBone boards.

2760301495639733818.png

mwelling has shared the board on OSH Park:

BeagleWire

225869310c043fd79b4d28c6601ac566.png

Order from OSH Park

BeagleBone FPGA cape and Google Summer of Code

I/O Expander for LED Arcade Buttons

Teensy creator Paul Stoffregen has shared a new project on OSH Park:

I/O Expander for LED Arcade Buttons

The Monolith Synth Project needed to use a large number of these LED lit arcade buttons.

Dimming of the LEDs was required. Initially I considered using this Adafruit 16 Channel PWM board. But the LEDs in these buttons have integrated resistors which require 12 volts, so 16 transistor circuits and another board for reading the switches would have also been needed.

It uses the same PCA9685 chip for 12 bit PWM control on every LED, with mosfet drivers to handle 12V outputs, and also a MCP23017 chip to read the buttons. Every button has a discrete 1K pullup resistor (rather than using the higher impedance on-chip pullups) to help with use in the same cable bundles cross coupling to 12V PWM signals.

9d1c5f0db6e661f060551e9470b25e02
Order from OSH Park

Monolith Synth

Four of these boards where used in the Monolith Synth project:

monolith_before_mf

The project is featured in this Tested video:

I/O Expander for LED Arcade Buttons

Teensy 3.6 DIY Reference Board

Shared project from Teensy creator Paul Stoffregen on OSH Park:

ic_mkl04_refboard2

Teensy 3.6 DIY Reference Board

A known good reference board for testing the MKL04 chip when building a DIY Teensy 3.6. Refer to this table for the differences between Teensy 3.6 and other models. The soldering friendly LQFP package (at least more friendly than BGA) is used on this board.

712e221628a5c2654abe24921821e521
Order from OSH Park

Parts Placement Diagram

Bill Of Materials

1   MK66FX1M0VLQ18
1   IC_MKL04Z32_TQFP32
1   USB A Connector
1   USB Mini B Connector
1   Micro SD Socket
1   MCP1825S Voltage Regulator
1   TPD3S014 USB Power Switch
1   Crystal, 16 MHz
1   Crystal, 32.768 kHz
3   Diode, Schottky, B120
1   Capacitor, 100uF, 6.3V
4   Capacitor, 4.7uF
10  Capacitor, 0.1uF
1   Resistor, 100K
2   Resistor, 470
2   Resistor, 220
2   Resistor, 33
1   Pushbutton
2   Test Point, Black
Teensy 3.6 DIY Reference Board

E-Ink controller with ice40 FPGA

eink_featured

writes on Hackaday:

E-ink Display Driven DIY

E-ink displays are awesome. Humans spent centuries reading non-backlit devices, and frankly it’s a lot easier on the eyes. But have you looked into driving one of these critters yourself? It’s a nightmare. So chapeau! to [Julien] for his FPGA-based implementation that not only uses our favorite open-source FPGA toolchain, and serves as an open reference implementation for anyone else who’s interested.

Watch the E-Ink controller in action:

Design files and source code are available on GitHub:

github-smalljulbouln/ice40_eink_controller

julbouln has shared the board on OSH Park:

eink controller

e21cd1133ba415c96eb3b15c965bc7f7

Order from OSH Park

E-Ink controller with ice40 FPGA

Manual assembly of KiCad PocketBone

We’re excited to see that Michael Welling of QWERTY Embedded Design has completed manual assembly of his KiCad-designed PocketBone with the Octavo Systems OSD3358 SiP (System-in-Package):

BGA achievement unlocked

Michael used vacuum pickup tool to manually place the components:

Here is a video of him placing the components:

Michael then used Reflowster to reflow the solder paste:

16 - 1

Here is a video of the reflow process:

white

Check out the Hackaday.io project for more info:

Pocketbone KiCAD
3788351489463258322.gif

white

The KiCad design files are available in the GitHub repo:

github-smallmwelling/pocketbone-kicad

white

mwelling has shared the board on OSH Park:

PocketBone KiCAD (OSHPark Edition)

430cf4b5e7209149b34a565546a14259.png

Order from OSH Park

Manual assembly of KiCad PocketBone

Servo Shield for OpenMV

Radomir Dopieralski created this PCA9685-based servo shield for the OpenMV machine vision board:
4138171491641694458

Servo Shield for OpenMV

OpenMV has a couple of pins that you can use for connecting servos (for example, if you want to mount it on a pan-and-tilt base), but you can’t use those if you also want to use the WiFi shield or any other shield that uses up a lot of pins. Practically the only pins left to use are the I²C ones

deshipu has shared the board on OSH Park:

OpenMV Servo Shield

e78e5b88d0df930c5691ccdb68e7f192
Order from OSH Park

Servo Shield for OpenMV