Hackaday Prize Entry: MakerNet

https://youtube.com/watch?v=rZLKJq-t7fU%3Fversion%3D3

One of the biggest trends in whatever market ‘Maker’ stuff belongs to is the Legofication of electronics. Building electronics is hard, if you haven’t noticed. Anything that turns transmission lines, current loops, and RF wizardry into something a five-year-old can use has obvious applications to education. For his Hackaday Prize entry, [Jeremy Gilbert] is building…

via Hackaday Prize Entry: MakerNet — Hackaday

Hackaday Prize Entry: MakerNet

Hardware Happy Hour (3H) Chicago for June 2017

3h.png

The next Hardware Happy Hour (3H) Chicago is Tuesday, June 13th, 6:30pm at St. Lou’s Assembly:

https://www.meetup.com/Hardware-Happy-Hour-3H-Chicago/events/240425517/

Here’s some photos from the previous meetups:

Hardware Happy Hour (3H) Chicago for June 2017

Design a Raspberry Pi add-on board with KiCad

IMG_-ez0i4z(1).jpg

Learn how to design a simple add-on board for Raspberry Pi with KiCad in 20 minutes with this new tutorial from Chris Gammell of Contextual Electronics:

Screenshot from 2017-06-05 00-24-15.png

Shine On You Crazy KiCad

This course shows how to make a custom but very simple piece of electronics for the Raspberry Pi platform. The primary purpose is to get users building something in KiCad as fast as possible.

The free course contains four videos:

Designing a PCB in KiCad in 20 minutes

Buying Components

Assembling a simple circuit board with SMD components

Writing code, blinking an LED with a Raspberry Pi

ChrisGammell has shared the board on OSH Park:

Shine

e987dbba531c97c1b793b1a2969fd266
Order from OSH Park

Design a Raspberry Pi add-on board with KiCad

How To Share Your Project on OSH Park

This shared project has been created as an example of how to link to project resources:

BeagleWire FPGA cape

Screenshot from 2017-06-10 15-09-51

Here’s the steps to share your OSH Park project:

Step 1: Click ‘Start sharing’

Navigate to your Projects page and click the ‘Start sharing‘ link for the project that you wish to share:


Step 2: Edit your shared project content

The shared project content is formatted by Markdown syntax.  This is a good guide:  Markdown Cheatsheet

We recommend you include a link to your projects primary documentation such as Github, Hackaday.io, Hackster.io, or Tindie.  Remember to publish your BOM as well, since your project cannot be built without it.

Here is what the shared project edit page looks like:


Step 3: View the Shared Projects directory

Navigate to the Shared Projects directory page and you should see your new shared project at the top.  You can also search for shared projects from this page.

Screenshot from 2017-06-04 03-52-25

How To Share Your Project on OSH Park

Hackaday: Ohm? Don’t Forget Kirchhoff!

https://youtube.com/watch?v=2lY757QaaKs%3Fversion%3D3%26rel%3D1%26fs%3D1%26autohide%3D2%26showsearch%3D0%26showinfo%3D1%26iv_load_policy%3D1%26wmode%3Dtransparent

It is hard to get very far into electronics without knowing Ohm’s law. Named after [Georg Ohm] it describes current and voltage relationships in linear circuits. However, there are two laws that are even more basic that don’t get nearly the respect that Ohm’s law gets. Those are Kirchhoff’s laws. In simple terms, Kirchhoff’s laws…

via Ohm? Don’t Forget Kirchhoff! — Hackaday

Hackaday: Ohm? Don’t Forget Kirchhoff!

Open Panzer Sound Card

opsoundcard_separate.png

Open Panzer Sound Card

The Open Panzer Sound Card is a work in progress with the goal of bringing inexpensive, high quality, and open source sound functionality to RC models but especially to tanks using the Tank Control Board (TCB).

The board is actually made up of two components. First, an off-the-shelf PJRC Teensy 3.2 is used as the onboard processor. The Teensy is then plugged into a socket on our custom carrier board that adds a Micro SD card slot (max 32 GB), an additional 16 MB of flash memory, an LM48310 2.6 watt audio amplifier, and headers for external connections.

a170cbb22d9b7532bb1e0a84f422ec86.png

Order from OSH Park

Resources

Open Panzer Sound Card

LiFePO4wered/Pi+

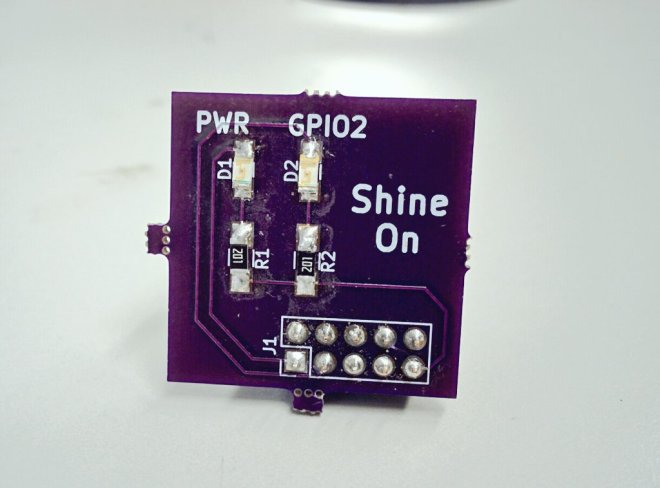
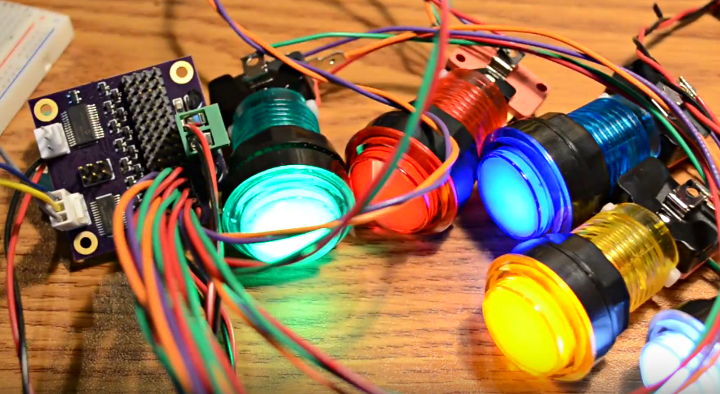
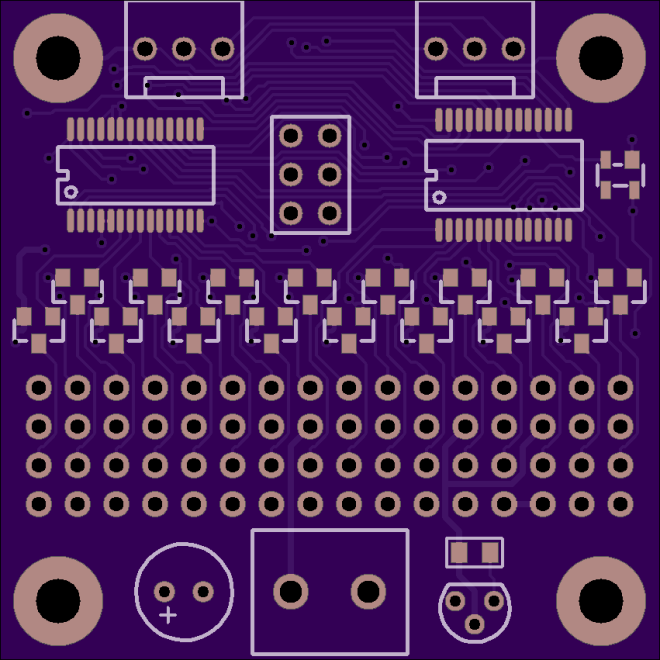
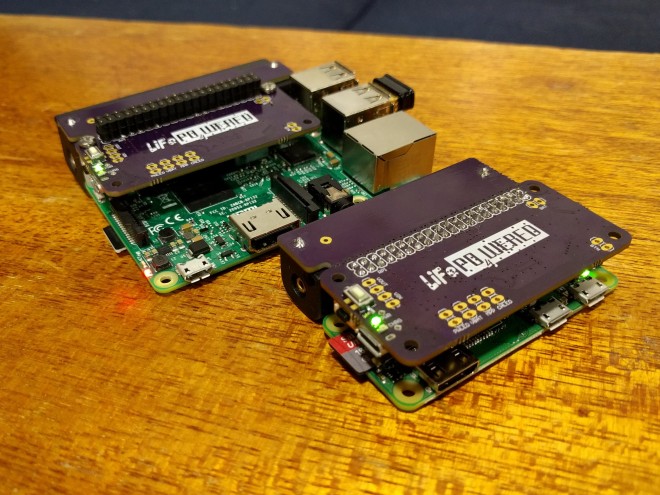
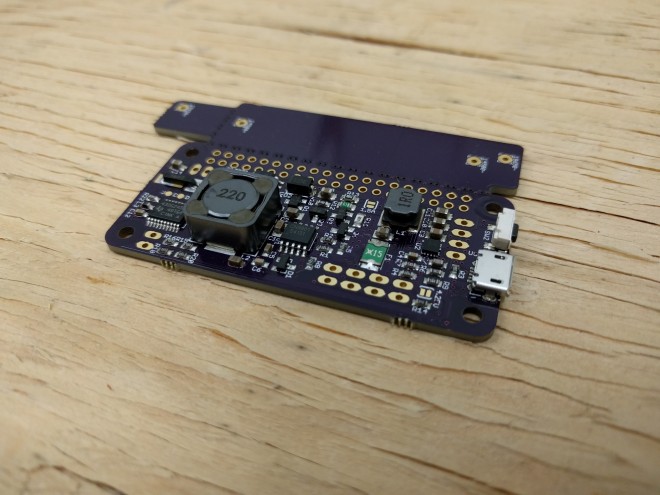
Patrick Van Oosterwijck created this board to power the Raspberry Pi with a LiFePO4  battery:

8299171495235174731.jpg

LiFePO4wered/Pi+

Many IoT and other projects are based on the Raspberry Pi, but usually little thought is given to the power supply. Most project use generic cell phone adapters or USB power banks, which is fine for one-off projects where the duct taped parts and cabling don’t matter and it’s expected that SD cards will die because power was removed with the Pi running.

4329311494287958573.jpg

But when you need reliable non-stop operation for your prototypes, or you’re ready to turn your project into a good looking product, or you want to use different power sources such as solar, it’s time to look for a serious power manager for your Pi.

3736911495233127125

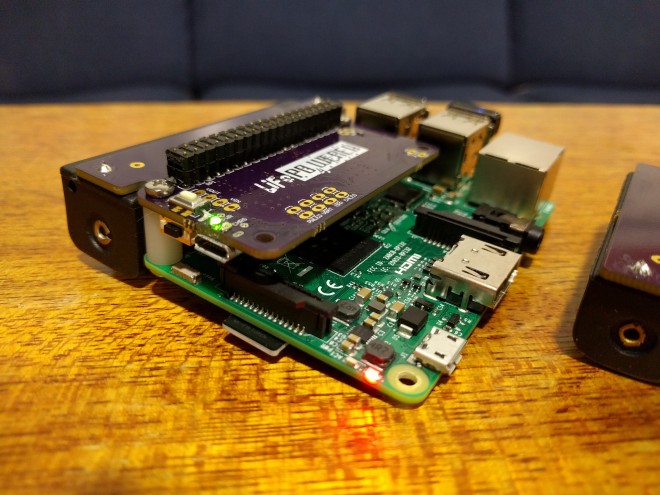
Built on the solid foundation of the #LiFePO4wered/Pi, this project provides Pi bootup and shutdown management based on button or touch, input voltage, battery voltage and time, all while making sure the Pi always performs a clean shutdown before power is removed.

LiFePO4wered/Pi+

BeagleBone FPGA cape and Google Summer of Code

From the BeagleBoard.org Foundation blog:

Google Summer of Code project videos

Watch the introduction videos from our Google Summer of Code 2017 students including BeagleWire software support by Patryk Mężydło

Checkout hackaday.io more information on the cape:

BeagleWire

The BeagleWire is an FPGA(Lattice iCE40HX4k) development platform that has been designed for use with BeagleBone boards.

2760301495639733818.png

mwelling has shared the board on OSH Park:

BeagleWire

225869310c043fd79b4d28c6601ac566.png

Order from OSH Park

BeagleBone FPGA cape and Google Summer of Code

Designing PCBs for Assembly

Designing pcbs for assembly is easy, right? We just squirt all the footprints onto a board layout, connect all the traces, send out the gerbers and position files, and we’re done–right? Whoa, hold the phone, there, young rogue! Just like we can hack together some working source code with variables named after our best friends, we can also…

via Designing for Fab: a Heads-Up before Designing PCBs for Professional Assembly — Hackaday

Designing PCBs for Assembly

I/O Expander for LED Arcade Buttons

Teensy creator Paul Stoffregen has shared a new project on OSH Park:

I/O Expander for LED Arcade Buttons

The Monolith Synth Project needed to use a large number of these LED lit arcade buttons.

Dimming of the LEDs was required. Initially I considered using this Adafruit 16 Channel PWM board. But the LEDs in these buttons have integrated resistors which require 12 volts, so 16 transistor circuits and another board for reading the switches would have also been needed.

It uses the same PCA9685 chip for 12 bit PWM control on every LED, with mosfet drivers to handle 12V outputs, and also a MCP23017 chip to read the buttons. Every button has a discrete 1K pullup resistor (rather than using the higher impedance on-chip pullups) to help with use in the same cable bundles cross coupling to 12V PWM signals.

9d1c5f0db6e661f060551e9470b25e02
Order from OSH Park

Monolith Synth

Four of these boards where used in the Monolith Synth project:

monolith_before_mf

The project is featured in this Tested video:

I/O Expander for LED Arcade Buttons