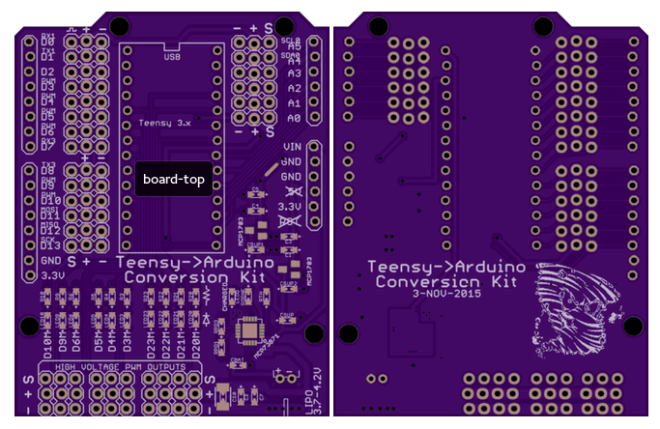
- Adapts Teensy pinout to Arduino shield, so existing shields can be fit to a Teensy
- Adds LiPo battery monitoring and charging capability
- Adds three wire pinouts for all pins
- All PWM outputs have an LED
- All PWM outputs connect to 3 wire servo headers that supply input or battery voltage for use with servos or motor controllers
- Contains small Stormy logo on back since the Stormbots were the inspiration for this board’s existence
BOM
Due to the nature of the breakout, many components can be omitted depending on the needed sections.
Components
| Part |
Quantity |
Description |
Part Number |
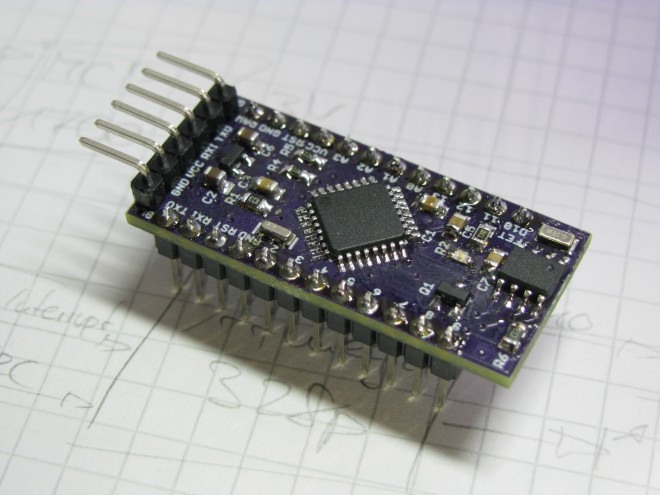
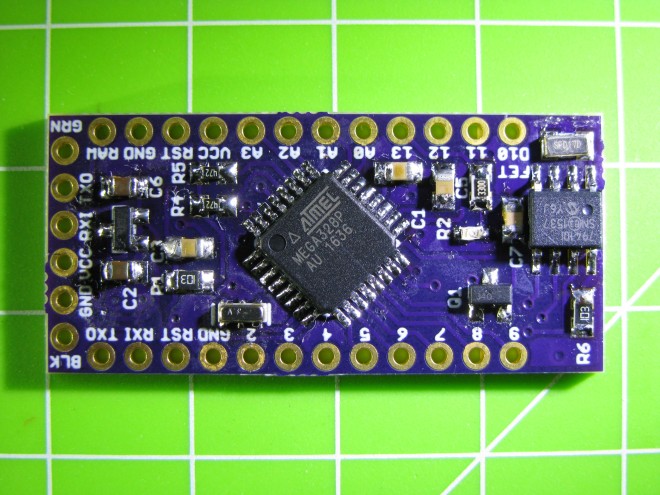
| Teensy |
1 |
Teensy Microcontroller |
OSH Park or Adafruit or |
| PCB |
1 |
Bare PCB |
OSH Park |
| LED |
11 |
0603 or 0805 LED |
any |
| 1uF cap |
2 |
0603 or 0805 cap |
any |
| 0.1uF cap |
4 |
0603 or 0805 LED |
any |
| 10uF cap |
2 |
0603 or 0805 cap |
any |
| LiPO Battery |
4 |
Any with JST connector |
Adafruit |
| JST Battery Connector |
4 |
|
JST-PH-2-THM-RA |
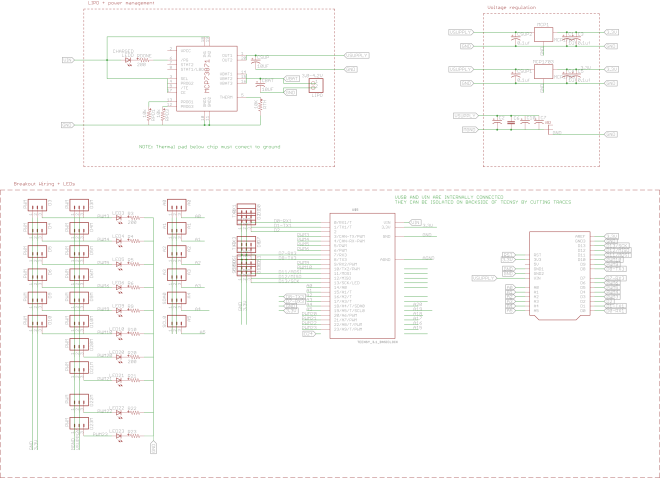
| MCP73871 |
2 |
LiPO Battery Management IC |
MCP73871 |
| MCP1703 |
2 |
3.3V voltage regulator |
MCP1703 |
| Large (100uF+ cap) |
2 |
0603 or larger |
any |
Pin Connections
The various use cases may or may not require some or all of these pins. Here’s the most you can solder to the board in the simplest orientation
Most of these can be swapped, omitted, or assembled with small 1×3 connectors or whatever you have on hand. Otherwise, they can be purchased at Digikey or Adafruit
| Part |
Quantity |
Description |
| Arduino Sockets |
2 |
0.1″ 1×8 F socket |
| Arduino Sockets |
2 |
0.1″ 1×6 F socket |
| 3 wire output headers |
2 |
0.1″ 3×8 M Angle Pins |
| 3 wire output headers |
1 |
0.1″ 3×6 M Angle Pins |
| Servo output headers |
2 |
0.1″ 3×3 M 90 degree Pins |
| Servo output headers |
1 |
0.1″ 3×4 M 90 degree Pins |
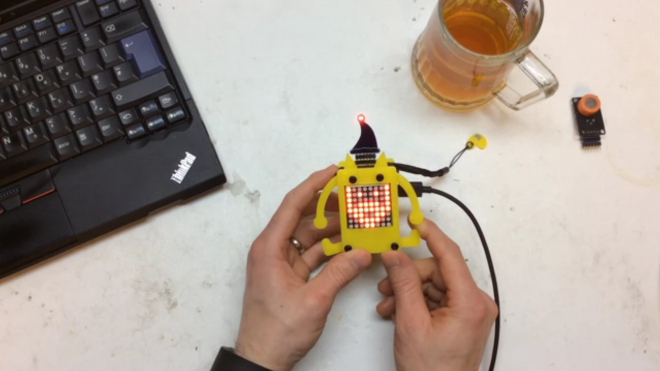


 facelessloser/electro_pet