Timothy Woo has launched a Indiegogo campaign to manufacture his open-source, Arduino-compatible, wireless PCB reflow oven controller:
Reflowduino: Circuit Board Assembly for Everyone!
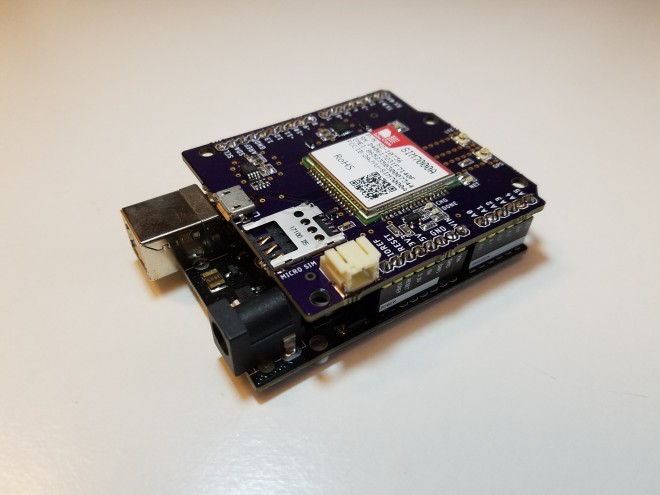
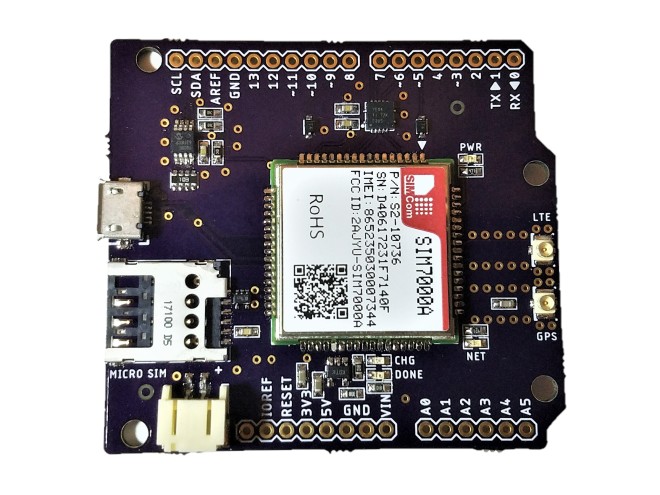
Reflowduino is the first completely open-source, Arduino-compatible reflow oven controller of its kind that enables practically anyone to assemble their own beautiful circuit boards at home!
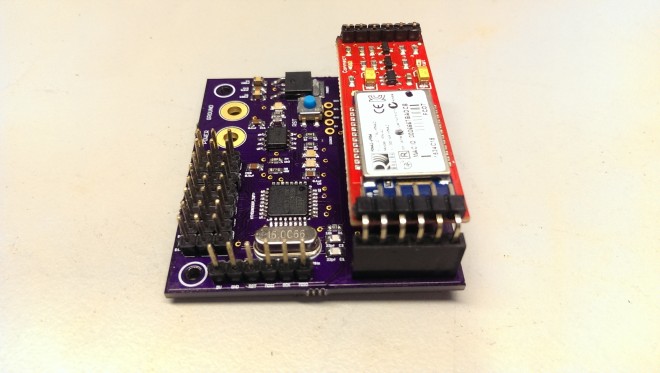
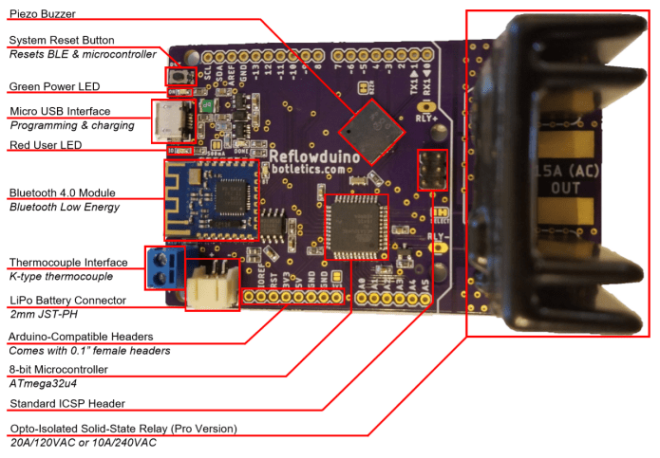
Reflowduino comes loaded with features, all in a compact Arduino-compatible package, with full documentation, example code, demo app, and comprehensive wiki on Github.
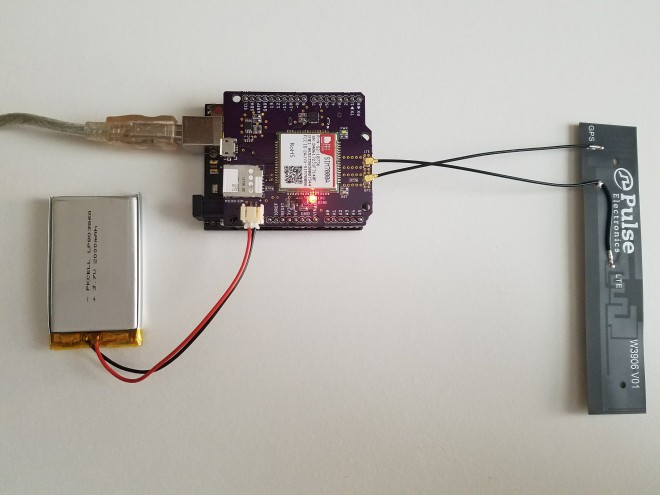
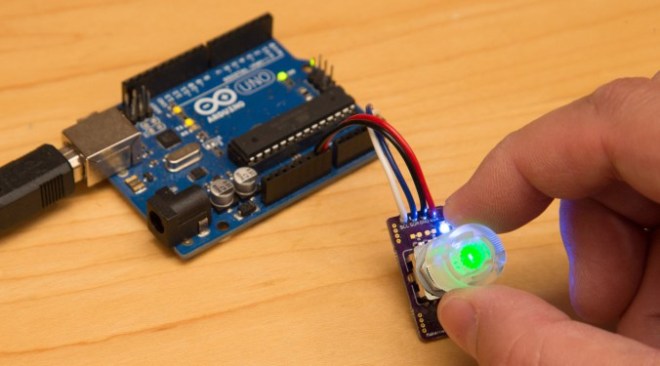
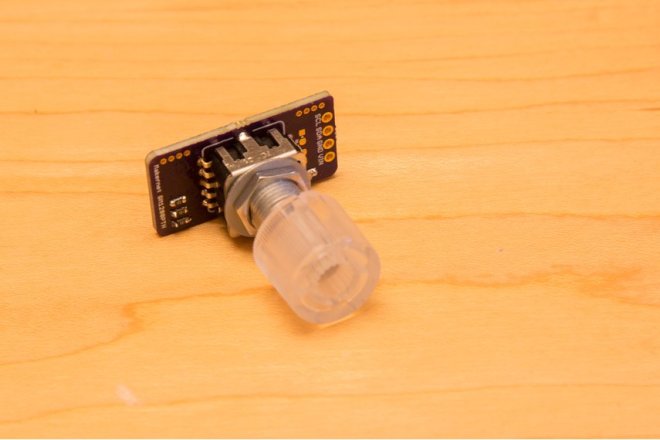
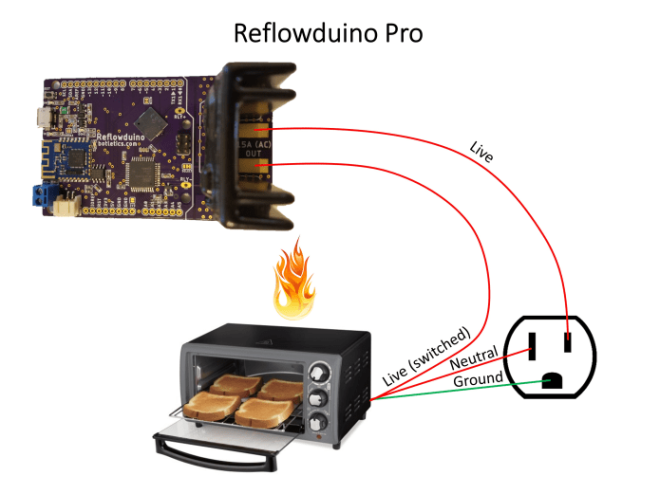
Reflowduino is designed to be extremely easy to use! The general concept is to switch the power of the appliance on or off with a solid-state relay as shown below, measuring the temperature by placing the thermocouple tip inside the oven during the whole process.


If nothing else, please share this campaign to your friends, family, and anyone who might be interested on social media! Remember that every view counts for me, and I’m depending on you to make this happen!